Charlie’s Cardigan

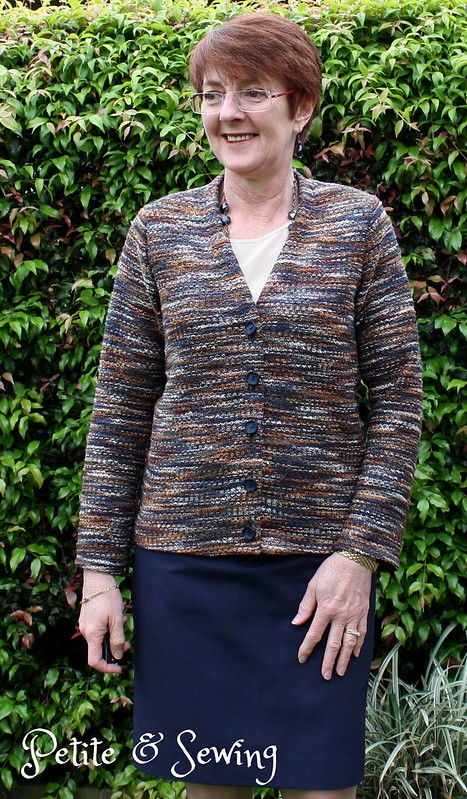
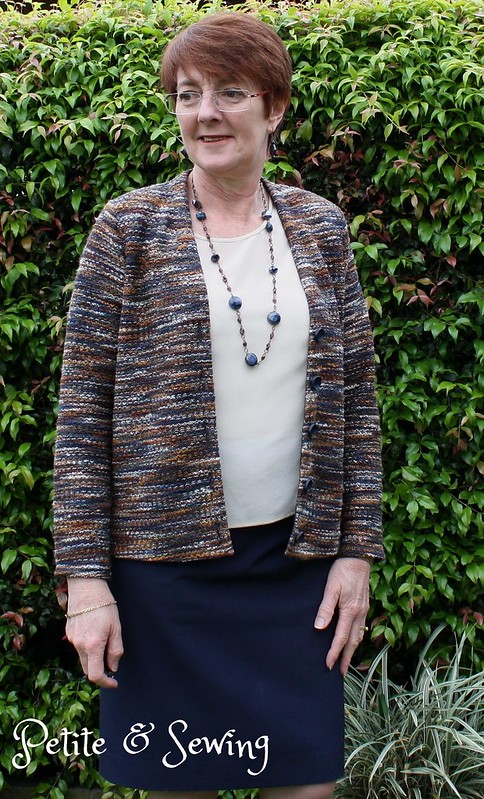
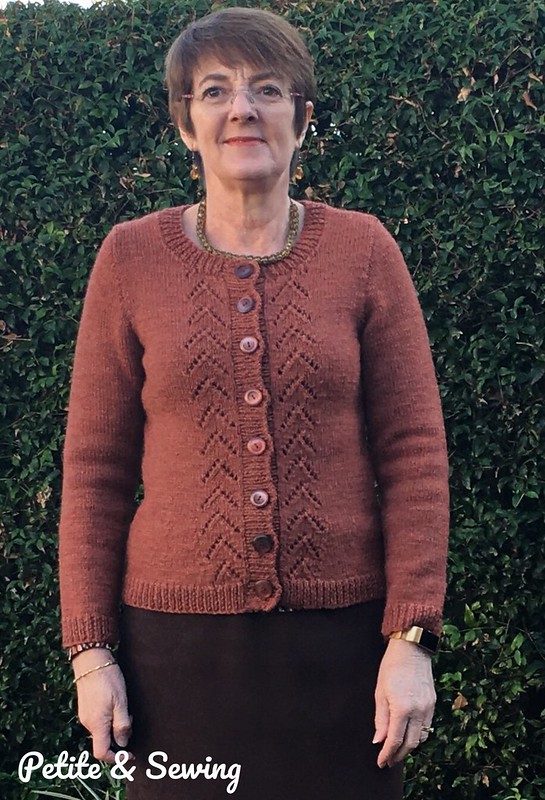
I am so happy with my new cardigan for a couple of reasons.

Firstly I found out about Amy Herzog a few years ago over at Stitcher’s Guild and have since purchased her 3 books as well as her Craftsy classes.

As soon as I started to read and listen to Amy I loved the way she spoke about Fabric, body shapes and styles to suit your body all based on your knitting.  In fact Franklin Habit from Mason-Dixon Knitting wrote a great post about Amy’s 3 books.

Now I struggle with maths, whether it is drafting a pattern or working out how to increase or decrease my stitches for my knitting it just gets me so flustered that I choose not to do it.

This is where Amy’s CustomFit has come to my rescue.

There are a number of steps, in no particular order.

Essentially you and a friend take all your measurements, which I found to be more comprehensive than what I have previously done for sewing.  The measurement are entered into the CustomFit site (once you have joined).

Then you decided on what wool you want to use, yes you can choose any wool, linen, cotton that you have and that you want to knit a garment with.  You knit a swatch of at least 30 stithces by 15 cm (6 inches) and work out your stitch and row gauge and then this information is entered into CustomFit.

Thankfully my knitting stash is not as large as my fabric stash but I had purchased this Bendigo Woollen Mills 8ply Rustic in Sienna back in May 2015 and decided to use this for my first CustomfFit cardigan.

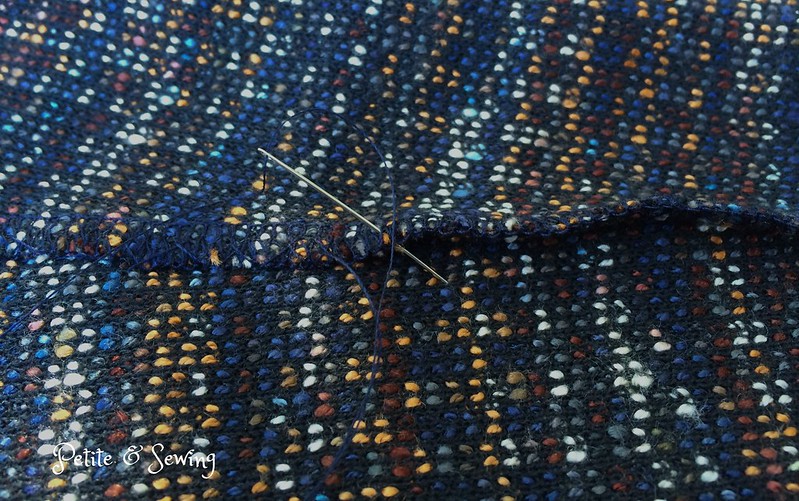
Here is my 3rd swatch, I wanted fabric that I liked the feel of and it was achieved with 4.75mm needles.

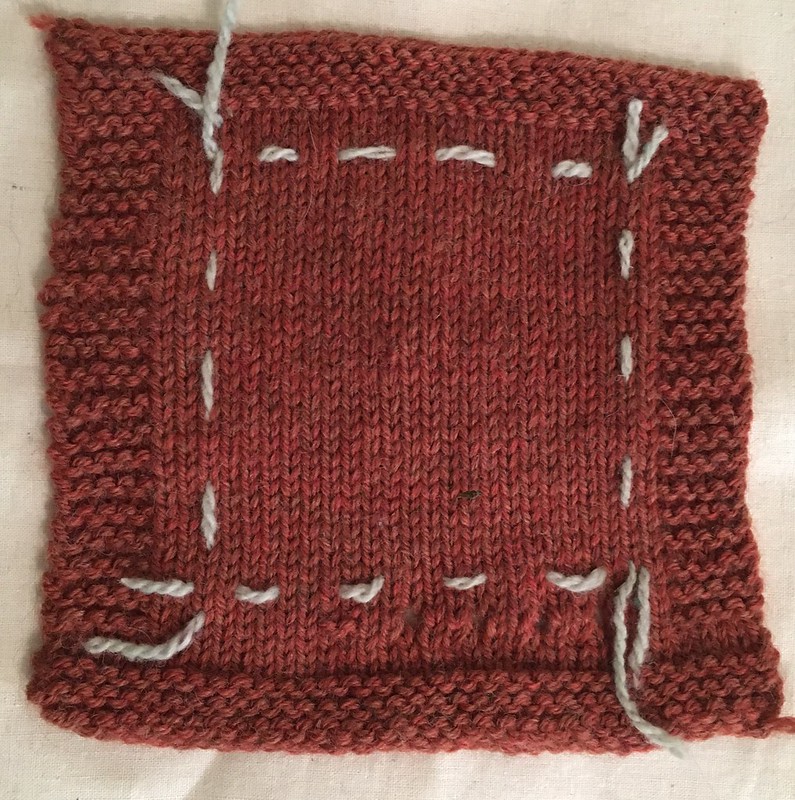
Amy Herzog has a huge amount of information on swatching

Next you choose a pattern, add your swatch information and then your measurements are combined and you have a pattern made just for you.
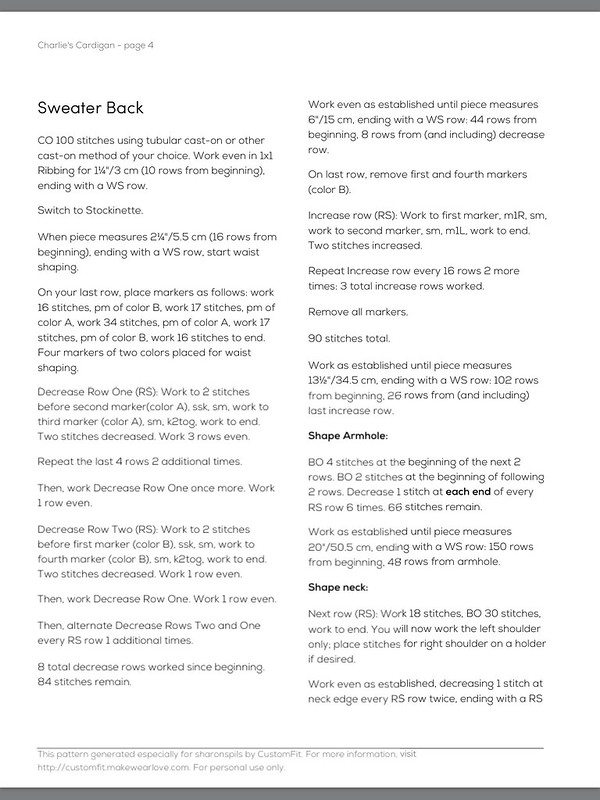
My pattern page.

You are not limited to the Customfit patterns, there is a whole board over at Ravelry on how to Customfit non CustomFit sweaters.

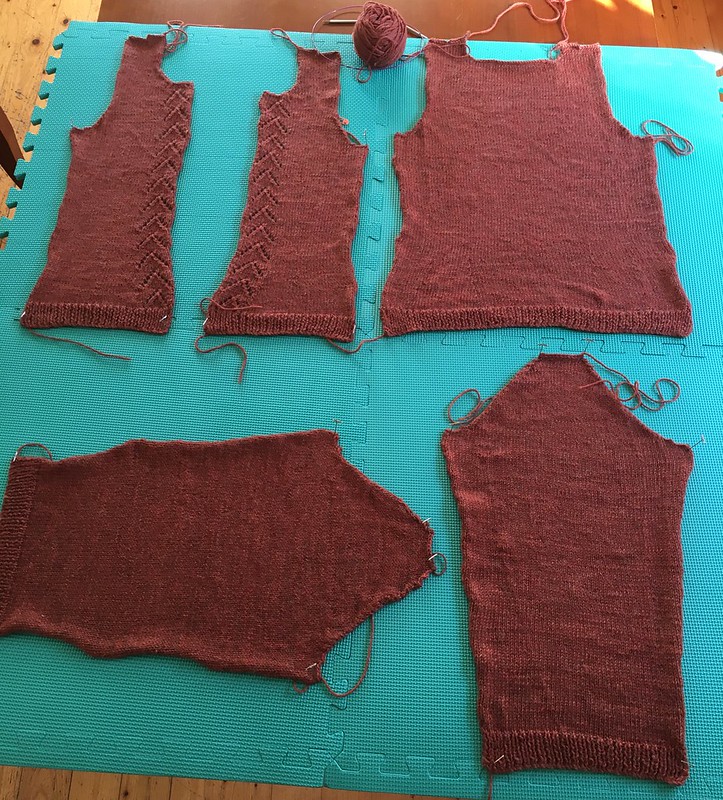
The other reason I am so happy with this cardigan is as you know I have changed my knitting style to Continental and was completely blown away that I could knit this cardigan in 7 weeks!!  Normally it takes me at least a year to knit the pieces!

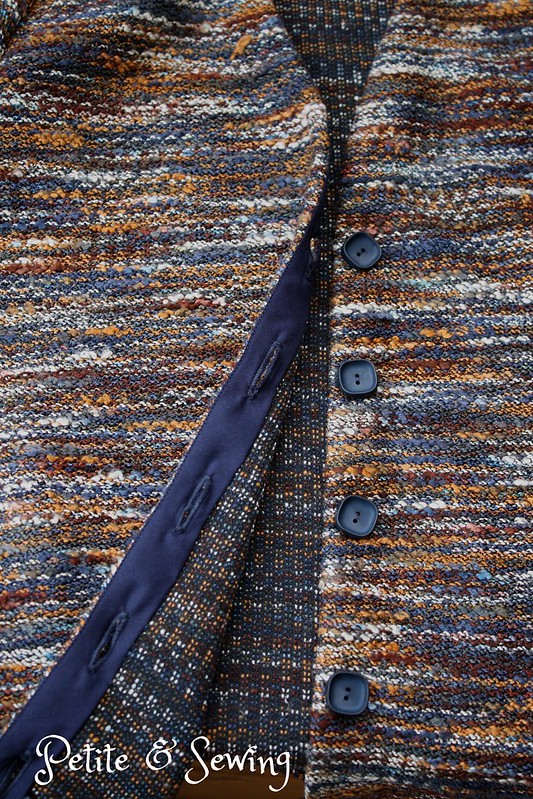
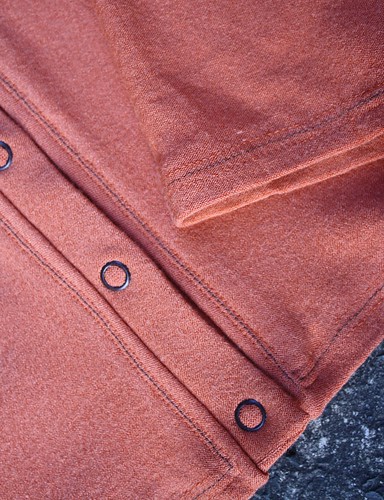
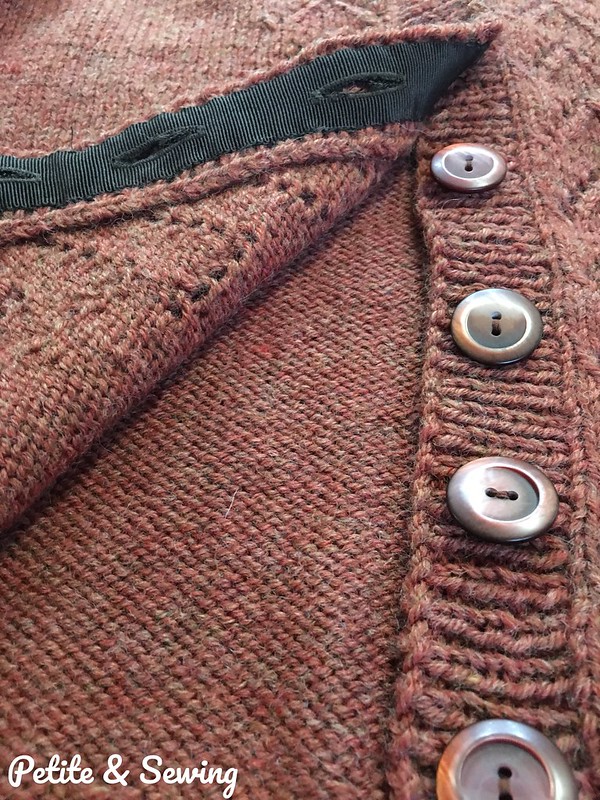
But then it did take me another 7 months to finish it as life got in the way and this was my first button band and then summer was upon us.  I finally got motivated to do the neckband and button bands which I also stablised with Panda Petersham purchased from Torb & Reiner in Melbourne.

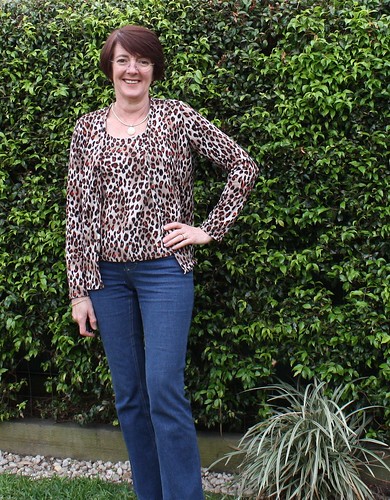
and it was finally ready for the cooling weather.

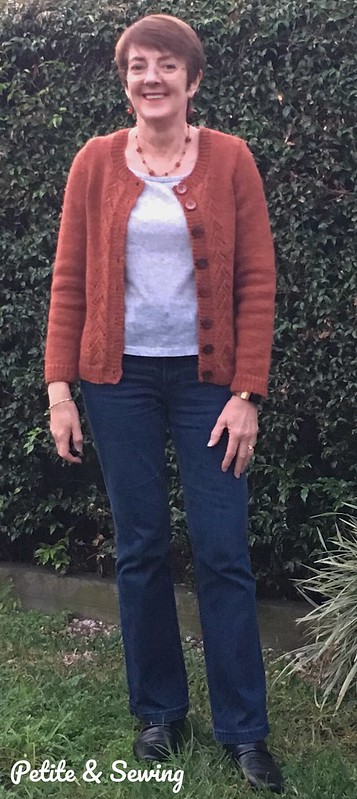
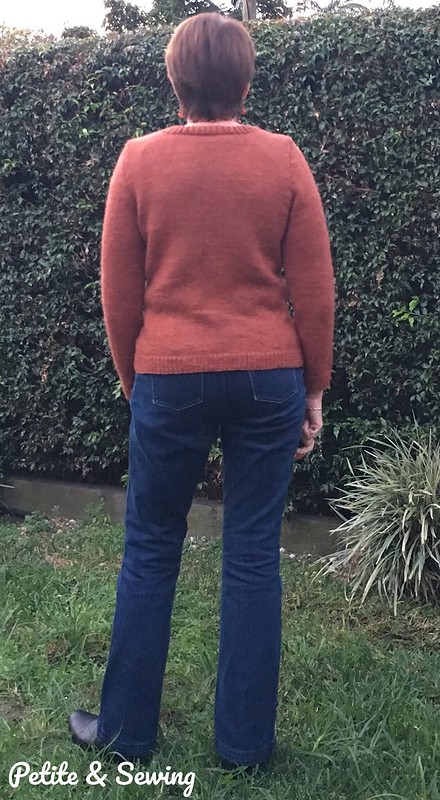
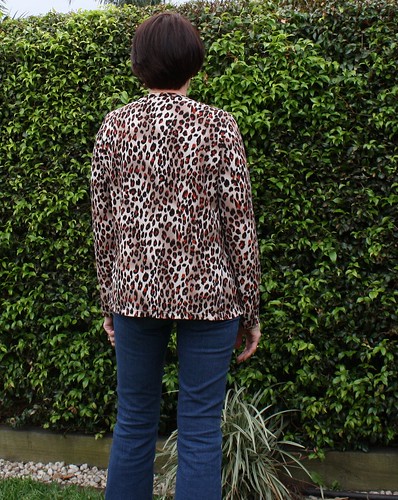
The only change I know I need to make to my measurements is the sleeve length for long sleeves, these could be longer but are quite wearable as they are.

Expect to see a lot more CustomFit knitting!

Accent Cardigan

I love cardigans and it so hard to find ones that I really like.

So when I saw this amazing sweater knit fabric in Adelaide in 2012 it just had to come home with me.

Blue, caramel, cream, rust, brown sweater knit

The next decision was how I was going to make this work with Jalie 2566 as my previous versions here and here are made from knits that are a lot thinner.

I decided to do the following:

  • Not add the neck band facing at this would be too bulky, so I added 3.5cm to the neck edge.
  • As this knit does not have a lot of stretch, I added 1cm to the side seams as well as the sleeve seams.
The cardigan was sewn with navy thread on my trusty 4 thread Singer Overlocker and to keep the seams flat I whipped stitched them down.

 the colour is really wrong in this photo!

and now they are almost invisible in the cardigan

To finish the neck edge I fused some 2.5cm wide stabilising tape to the edge and then sewed some purchased bias binding, turning it to the wrong side and hand stitching it in place.

The lovely ladies at All Buttons Great and Small at Newtown found these gorgeous buttons for me and then I again purchased the buttonholes again from Mick at Quick Buttonhole Service at Alexandria.

and finally,

I’ve realised I need some new necklaces that will fill the “v” for when I want to wear the cardigan buttoned up.

This cardigan has turned exactly how I wanted it to.  I’m not sure how much wear it will get this year now that Summer has arrived with haste!

******************
2014 Stash Out: 32.2 m
2014 Stash In: 48.75 m

A lot more animal print

Here is the cardigan finished and like the t-shirt before it has all the alterations of the Fractured Knit cardigan except the FBA.

This is the first time that I have done buttonholes on a knit fabric which had me very nervous, however Suzanne told us to use tearaway underneath the band, and using the knit buttonhole on my Janome I was very pleased with the result.

Now Sew Hopeful did make a comment about my use of waxed thread, Burda have the perfect explanation for this Unsung Notion.

Cardigan – BWOF 04-2010-117

This was supposed to a quick project and I have evidence of it its initial construction back in September 2011, not so quick!

My stumbling block came about when I tried to use my Coverstitch to stitch down the very thick seam allowance along the band edge due to the thicker cotton knit and interfacing I used, I ended up with a very thick seam here.  After spending quite a few hours trying to get the tension to work, it was then left for time out on my sewing table.

So the other weekend it was packed with this top and taken to my guild meeting.

When I was in the USA last year, I purchased a number of different sewing machine needles and I thought I would have a play with the Schmetz Drilling needle to see how it would work on this band.

I used two matching thread colours and a olive colour for the 3 threads and I am very happy with the way it has turned out.

I then used my Coverstitch with the triple needles to sew the hems.  Unfortunately the stitches disappeared into the fabric as it isn’t interfaced, but you can still seem them just.

Last weekend was the first time I have been able to add the Snap Source Espresso size 16 Open Prong Ring Snap Fasteners.

For some reason I didn’t do my usual adjustments to this pattern, and the only change I can see that I did do was to try and reduce the sleeve cap height.

This was a toile and after seeing these photos I can see I need to do more pattern adjustments e.g. reduce the shoulder length, do a better job of the sleeve cap height, add some width to the sleeves, they very snug with a long sleeve top underneath, and those pull lines?

I’m heading to the ASG Convention in Adelaide at the end of the month and have booked myself into the Fractured Knits Cardi workshop and I plan on using the Jalie 2566 cardigan, so it will be interesting to see the differences between the two cardigans.

I love cardigans but have found it difficult over the last few years to get them at the length and colour that I want them to be, so this is a pattern style that I really want to have as a TNT.