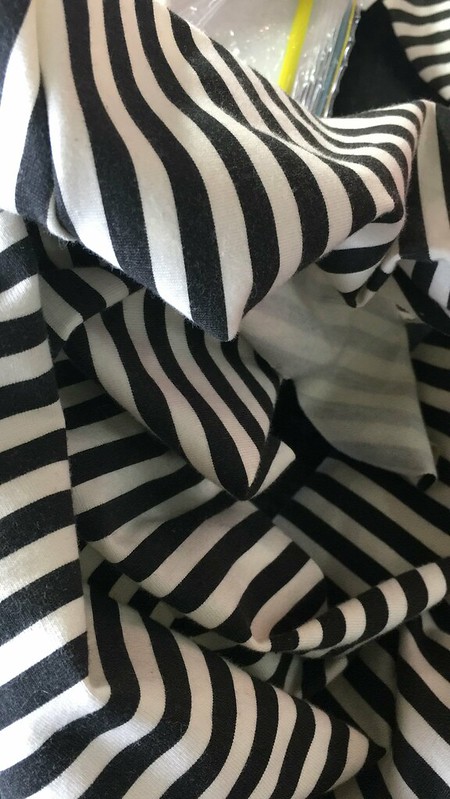
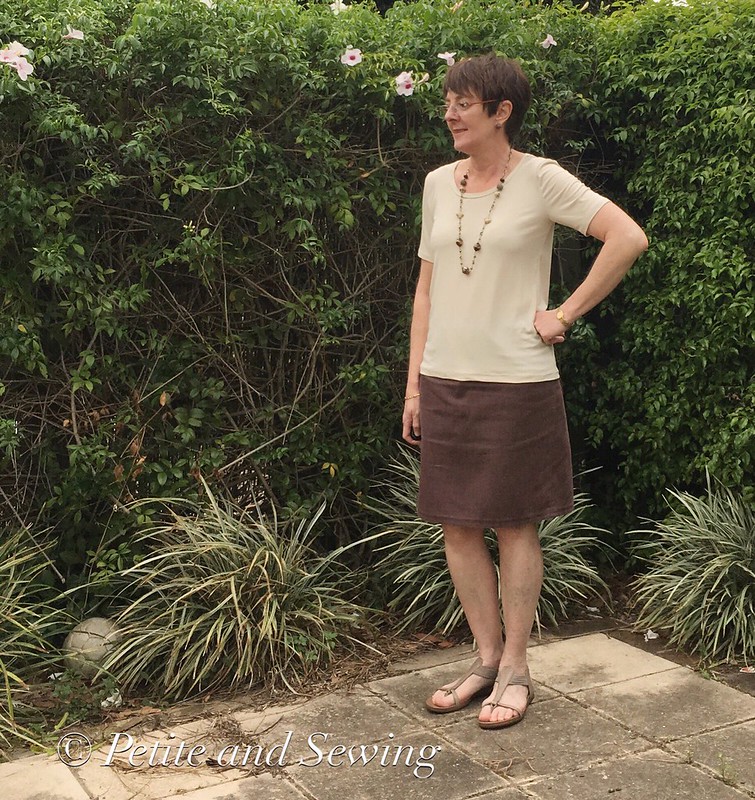
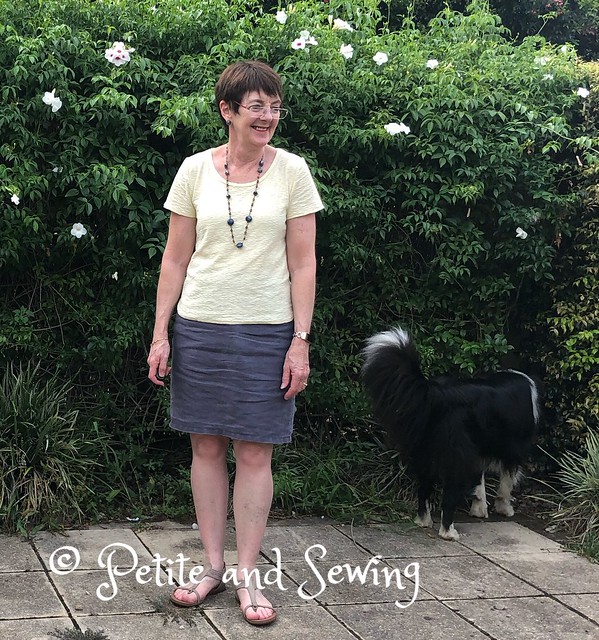
This is another version of KS 3740 in a lemon slub knit that was in the stash.
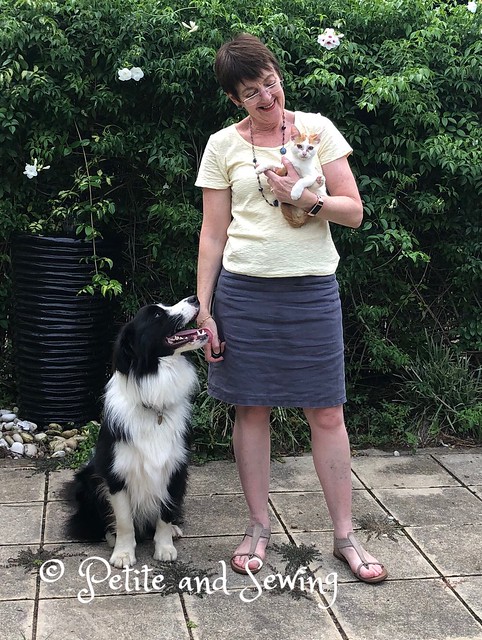
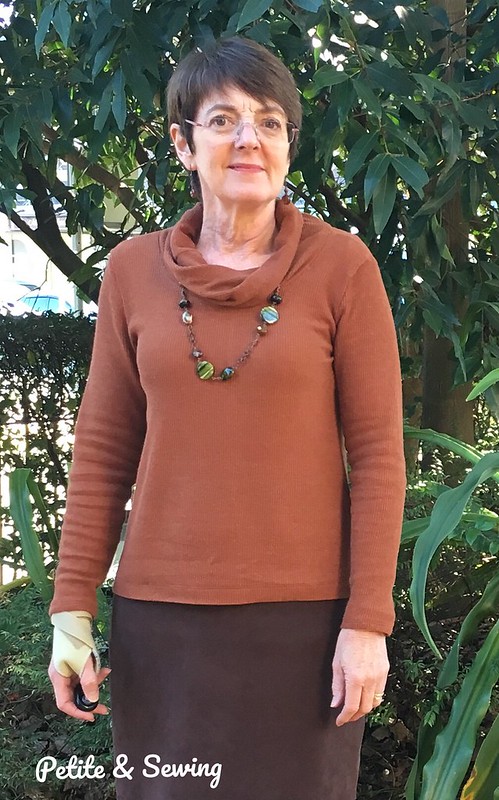
I would also like to introduce you to Katniss our new family member. This is why Tomba is in nearly every photo as he is busy trying to find out where she is in the hedge.
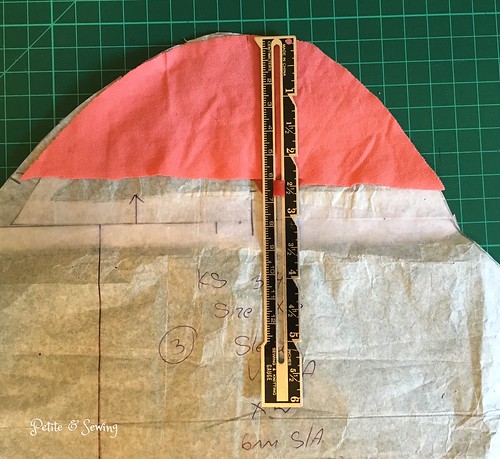
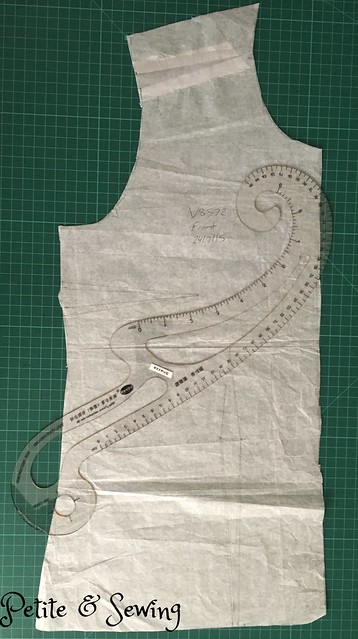
Now to change up a plain t-shirt I decided to use the downloaded shirt-tail hem extension from Christine Jonson Patterns that I had downloaded sometime last year that has been sitting in my KS3740 pattern folder waiting for me to remember to use it.
So finally I got to play with it.
My t-shirt length is long meaning I usually cut off around 7cm depending on the fabric drape, so I already had some length built into my pattern to play with.
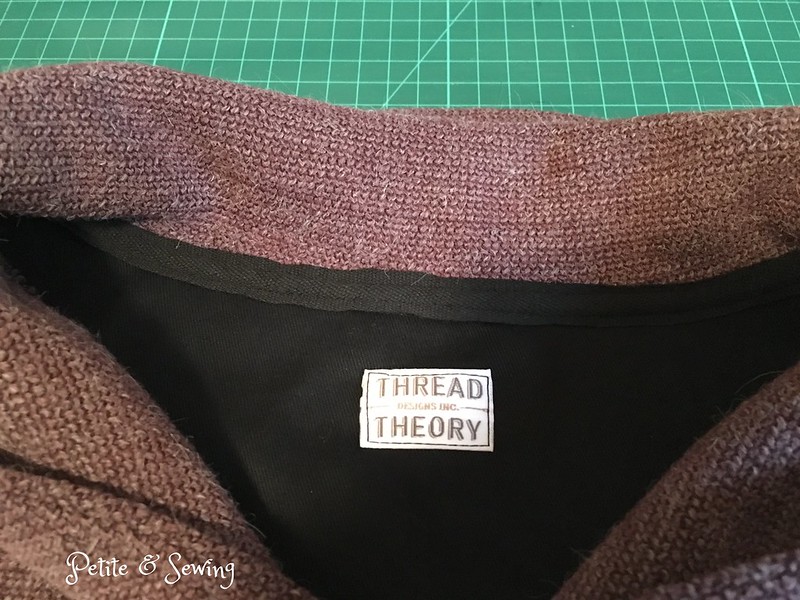
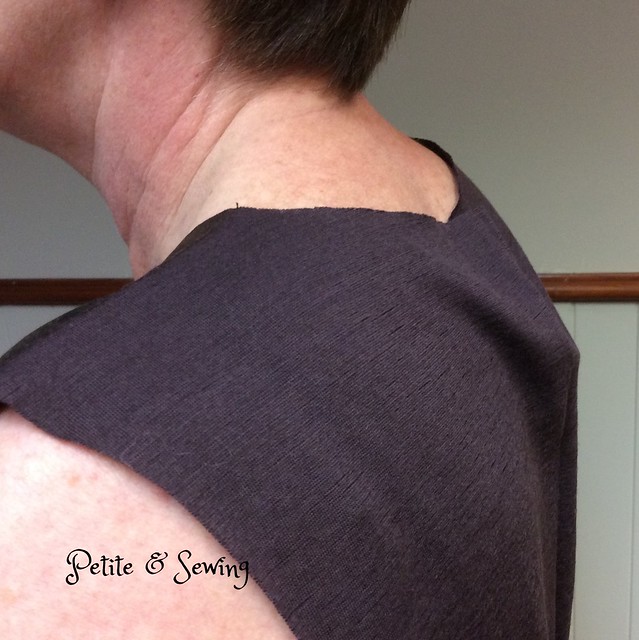
You make your t-shirt as normal until the side seams, so I used the binder on my Coverstitch for the neckband,

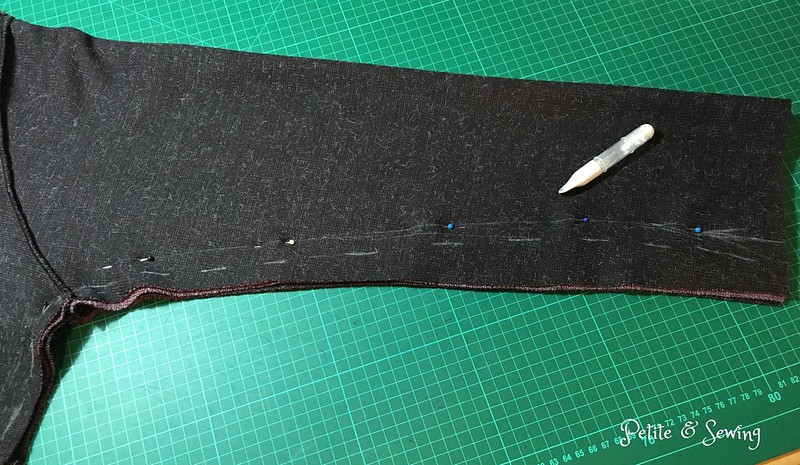
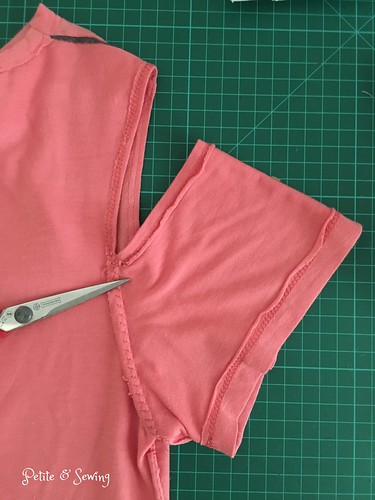
and then used the chain stitch on my Coverstitch to baste the side seams together so I could work out the length of my top and the point I wanted the split to occur.
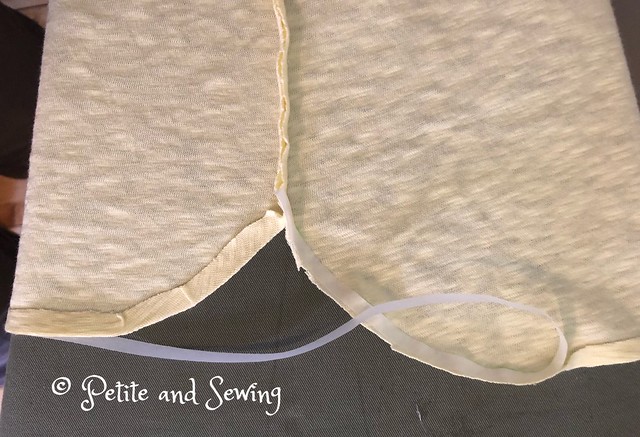
I then machine stitched my side seams, stopping 6cm from the hem, where I pressed open the seam allowances and then had Mark level the front and back hems.
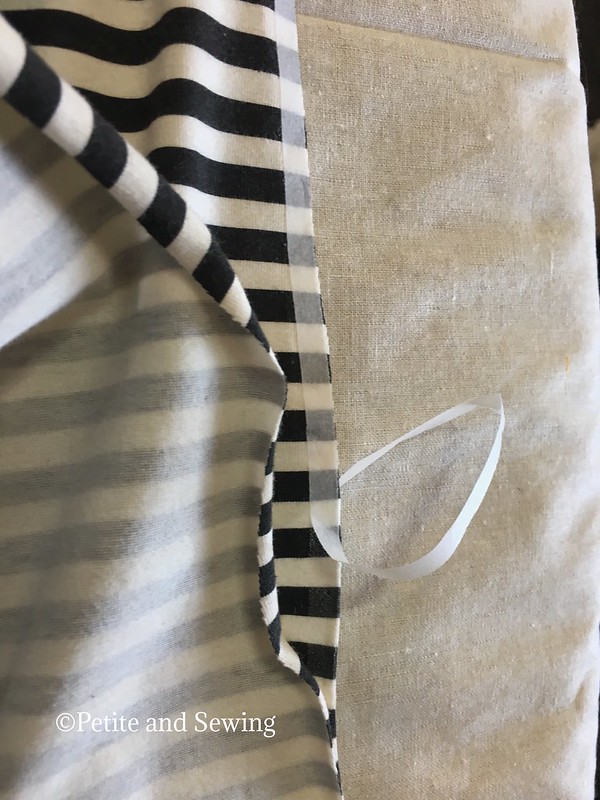
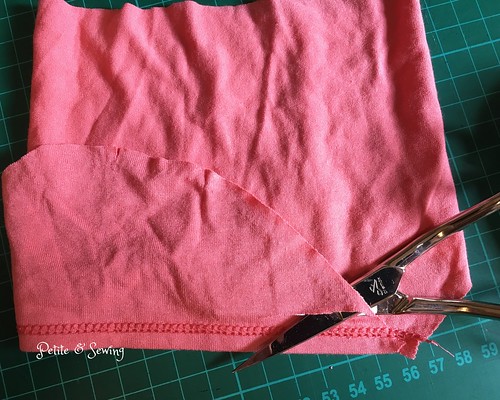
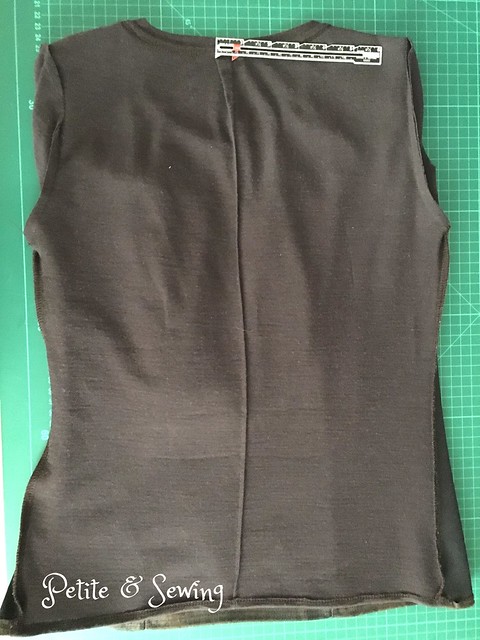
Once this was done, I pressed the hems and then used the shirt-tail hem extension to draw in the shaped hem with a FriXion pen.

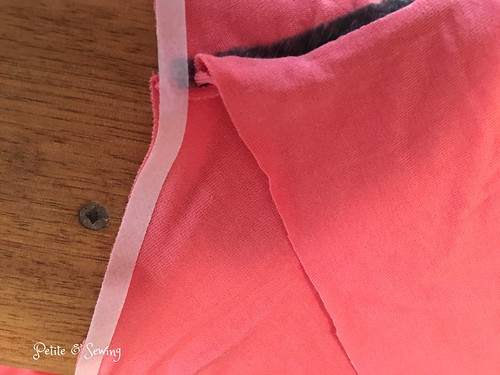
Then with some 6mm Steam A Seam I finger pressed this around right at the outside edge the hem allowance,
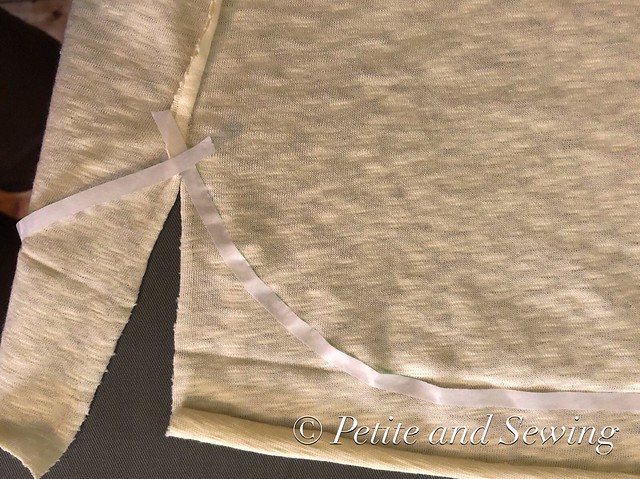
and then trimmed the fabric back so I only had a 6mm hem allowance.
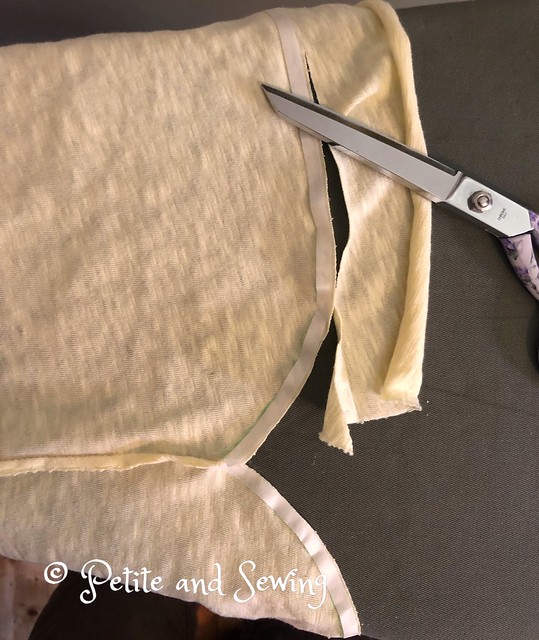
which I then carefully removed the backing tape from the Steam A Seam and finger pressed the hem in place
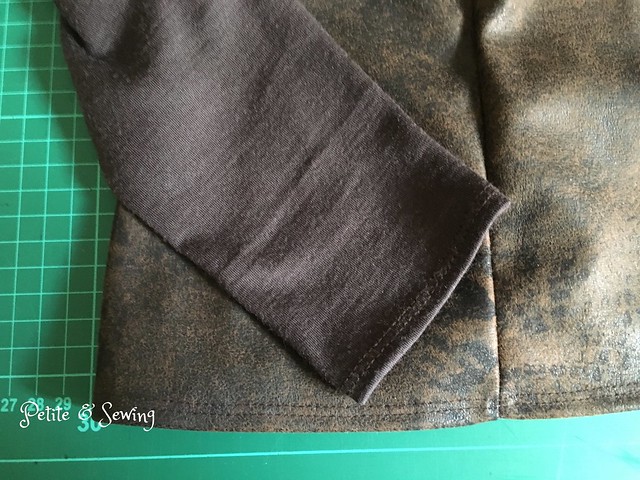
so it was ready to be taken over to the Coverstitch to finish the body and sleeve hems.
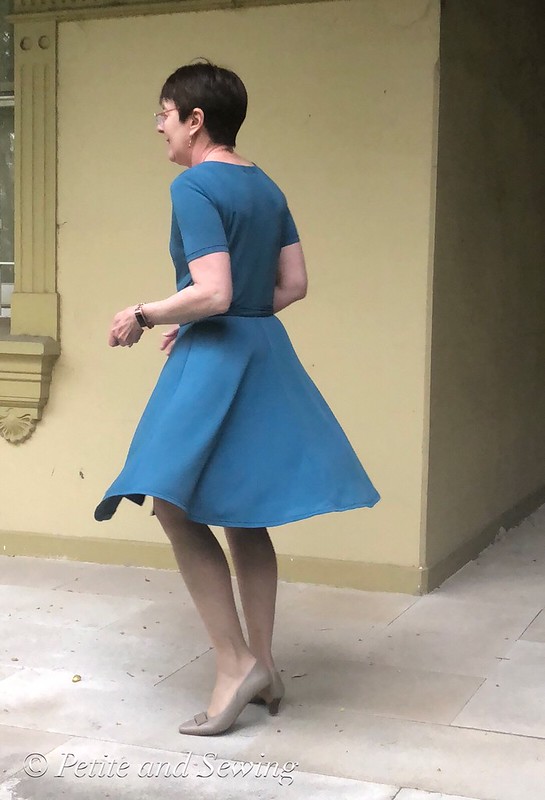
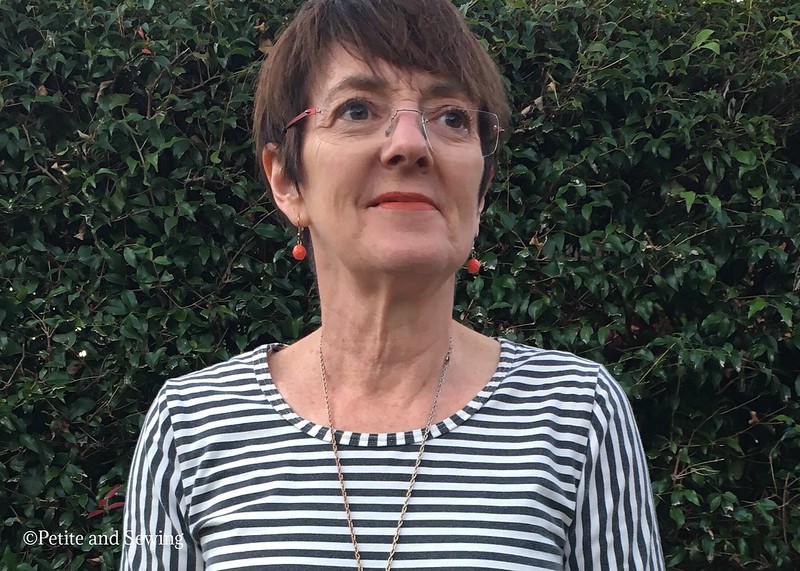
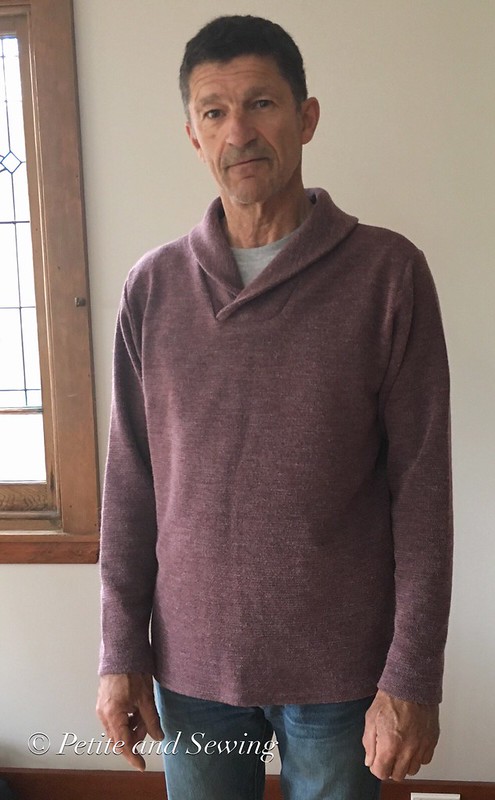
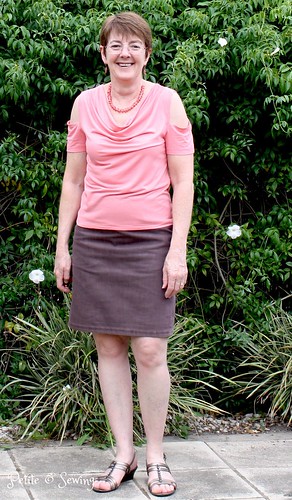
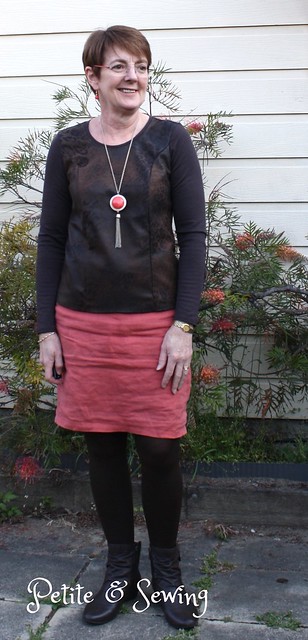
Front view minus Katniss
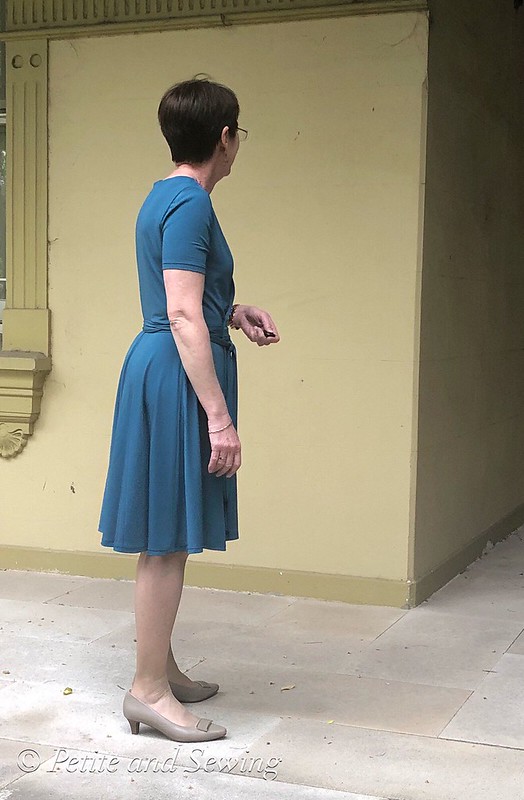
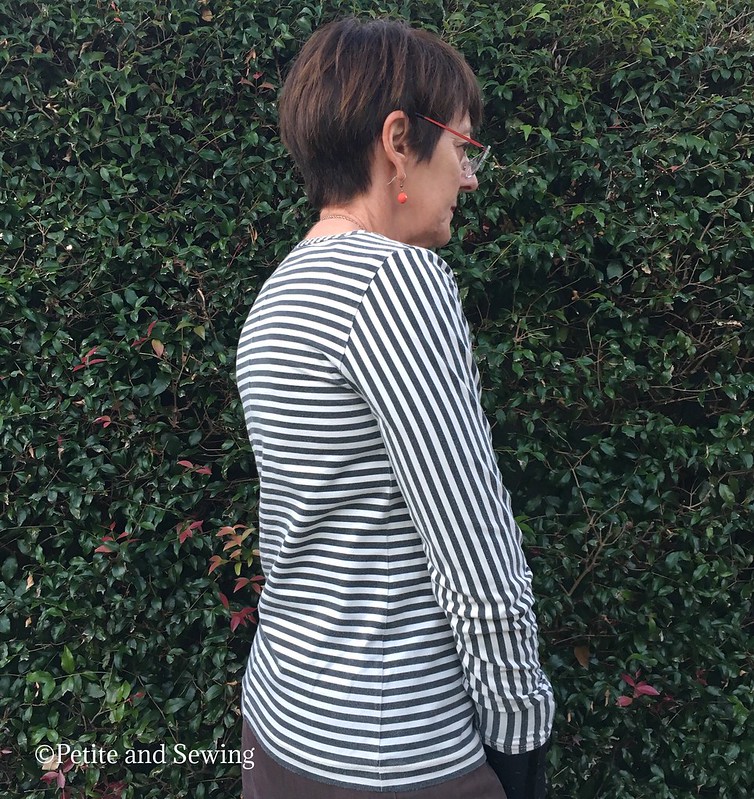
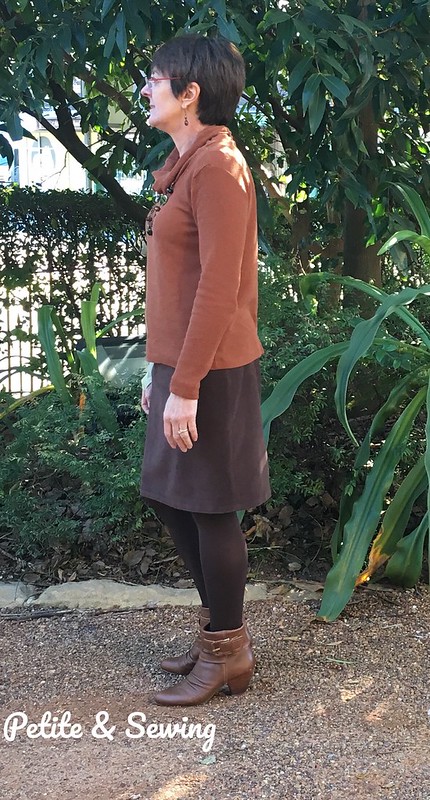
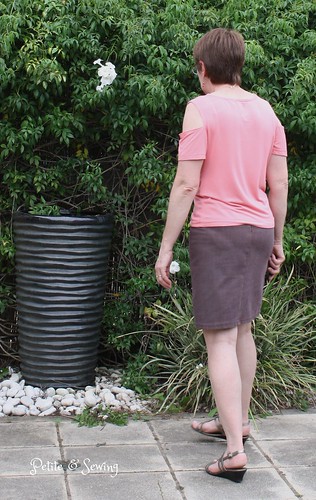
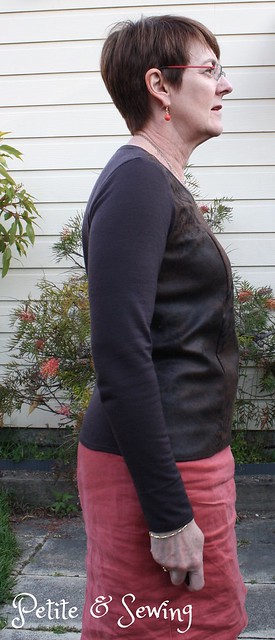
Side view

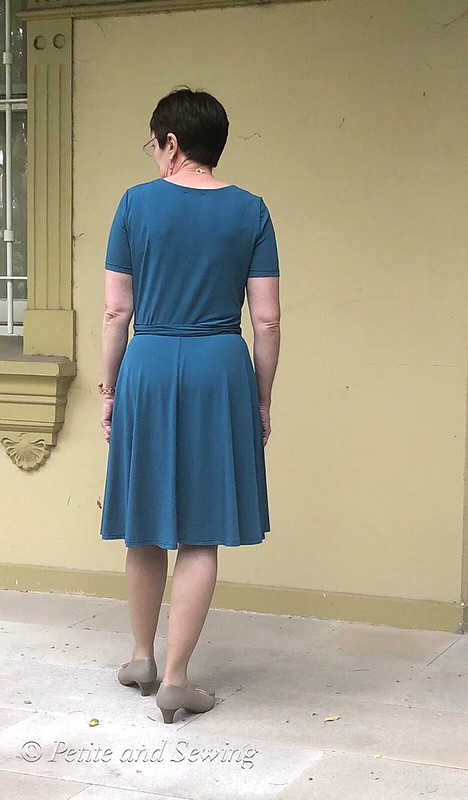
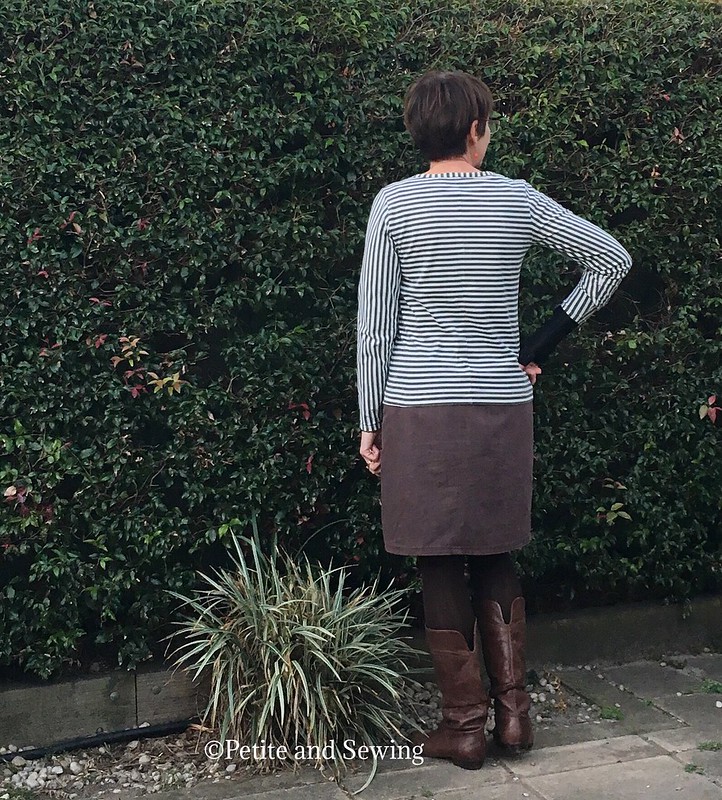
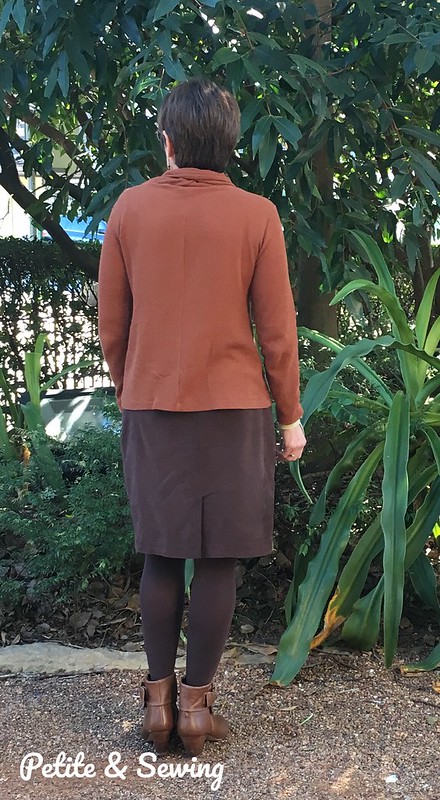
Back view

This is my 2nd piece for SWAP 2019.
******************
2019 Stash Out: 2.3 m
2019 Stash In: 0 m