Watermelon frill

When I first received this Spy polyester rayon fabric from Kerryn’s Fabric World, I had planned and had nearly finished another version of Vogue 8572 (OOP).  It was a disaster!

Now I had purchased 1.5 metres of both a salmon and watermelon colour so I had just wasted .8 of the salmon and was at a loss of what to do with the rest of the fabric.

I emailed Kerryn Swan with my query and this is her reply:

“Hi Sharon,
Because you are a fine build and the fabric is soft you need a garment that adds some soft bulk. If the garment is simple, plain it will be too flat on you.
A peasant style for example would be perfect.
Look at New Look 6179, 6599, 6891, View D, 6895 View D 6781 and 6104.
Cheers
Kerryn Swan”

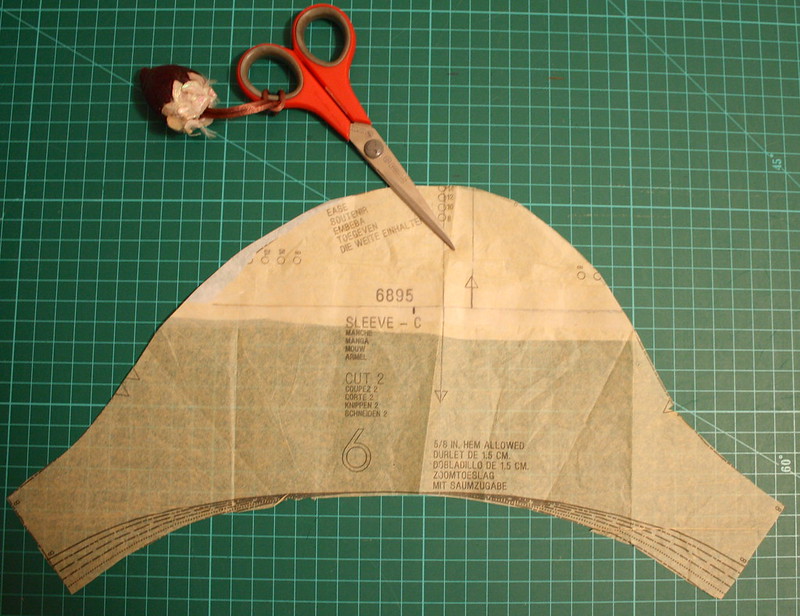
From Kerryn’s suggestions I really liked New Look 6895, View D and was very fortunate that my sister had it in her stash as it was discontinued and she kindly gifted it to me.

I cut out a size 8 and then did the following adjustments:

  • 1cm front neckline gaposis

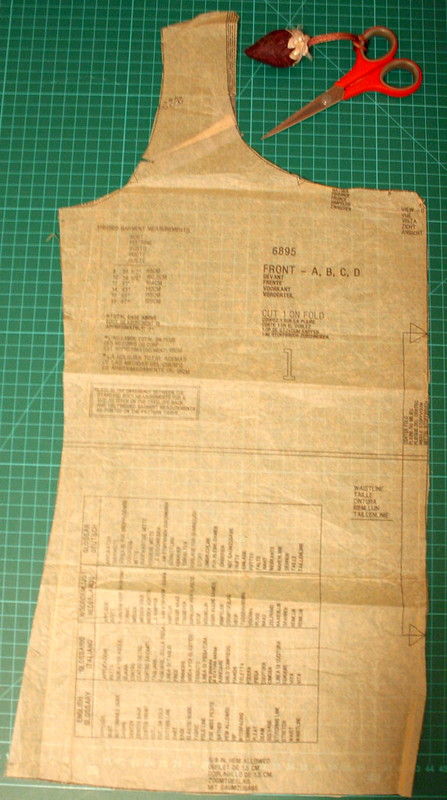
  • Round shoulder (both front and back)
  • 1.5cm round back adjustment
  • 1.5cm sway back adjustment

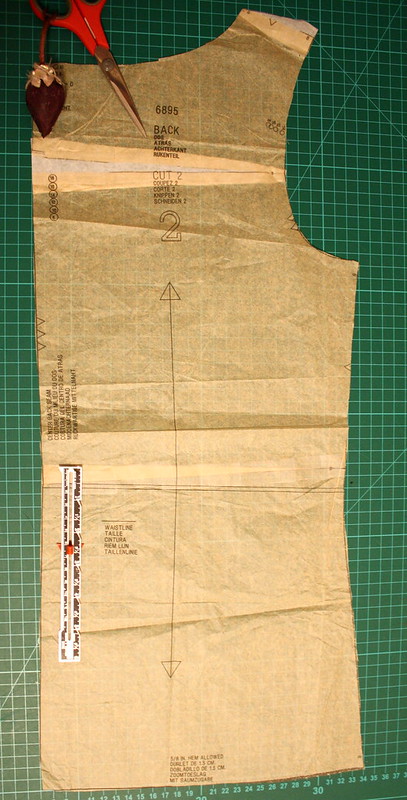
  • Moved the sleeve cap for the round shoulder adjustment

  • Raised the back opening by 2cm as it was showing my bra strap.

Once this was all cut out, I started to try to figure out how I was going to finish the ruffle.  My trusty Singer Overlocker does do a rolled hem, but I have to pretty much rebuild it do achieve it.

So this is where going to the Quilting and Craft Fair with your sewing buddies is quite dangerous.  At my ASG Group the day before, Renata told me that Juki was at the fair and she had a couple of brochures on overlockers with her.

Now I didn’t go with the intention to purchase but after sitting with my sewing buddies and giving the pros/cons of a new overlocker, I took home with me

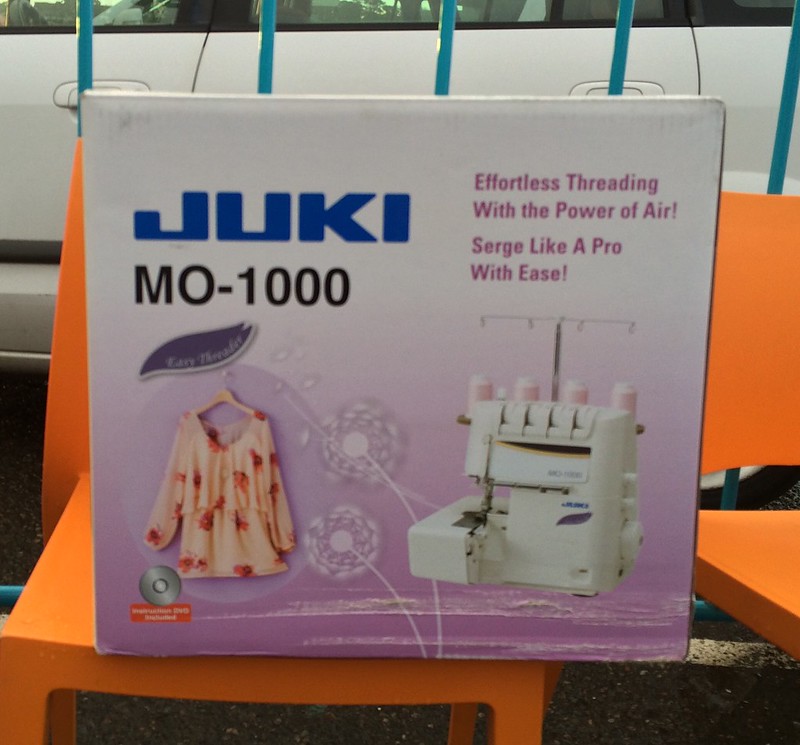
I took this to my next ASG meeting and much to the amazement of my sewing buddies they couldn’t believe I hadn’t touched it until then and they couldn’t wait to see what it could do.

It did take me some time work out the tension and this is where Alison, the Overlocker Whisperer was so generous.

Once Alison sorted out the tension for me, it was so lovely to push one control and you are all set up for a rolled hem.

It was also at this meeting that I was having issues with the neckline gathers and keeping them in place and again Alison suggested to use Solvy to keep them in place.

There are lots of advantages of sewing with your friends.

Now I did manage to get this top finished for our holiday to Hamilton Island back in July, but we had very unseasonal weather with low cloud and flights cancelled and this top stayed in my suitcase.

It wasn’t until last week that we had a warm enough day (41c) to wear it.


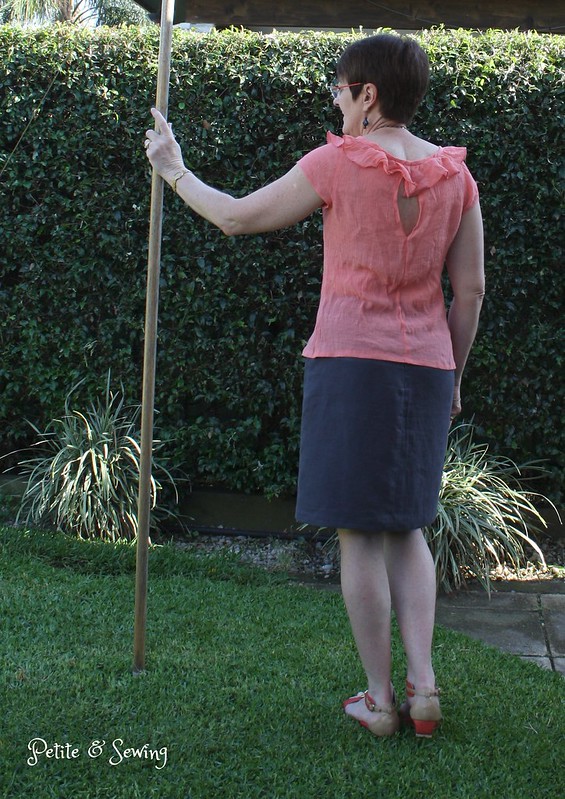
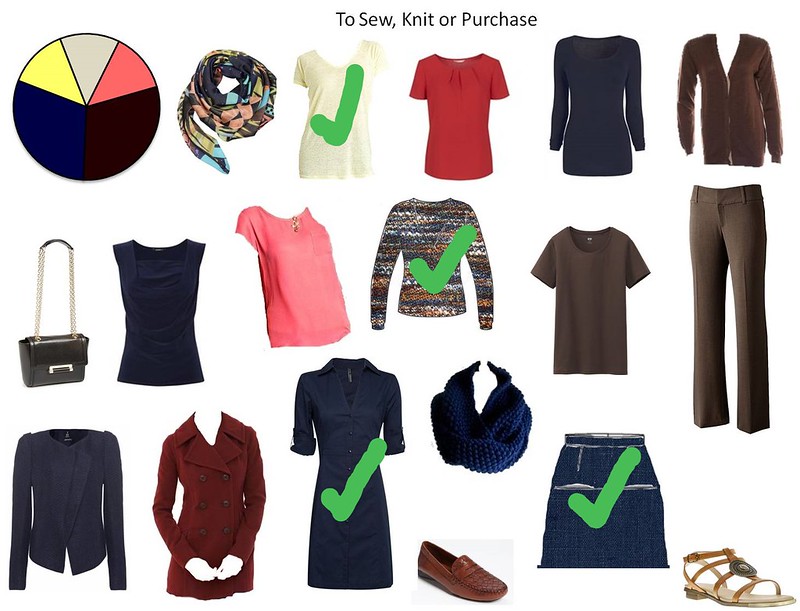
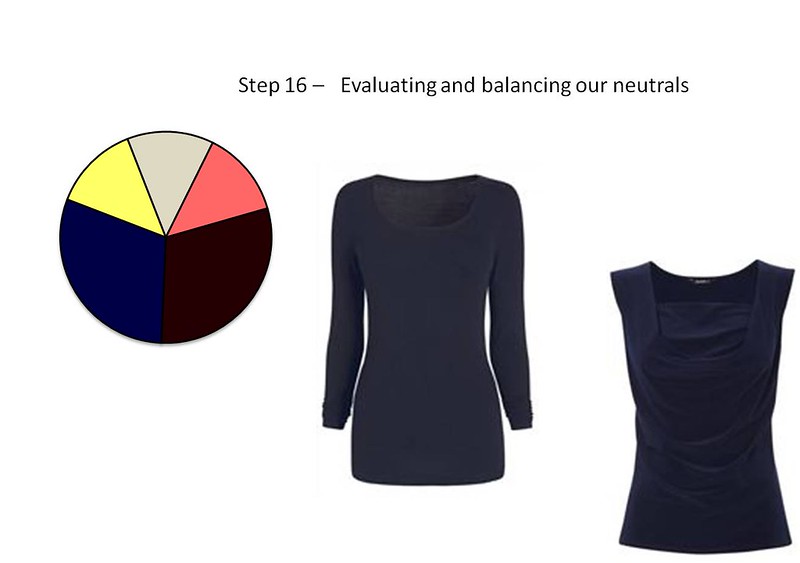
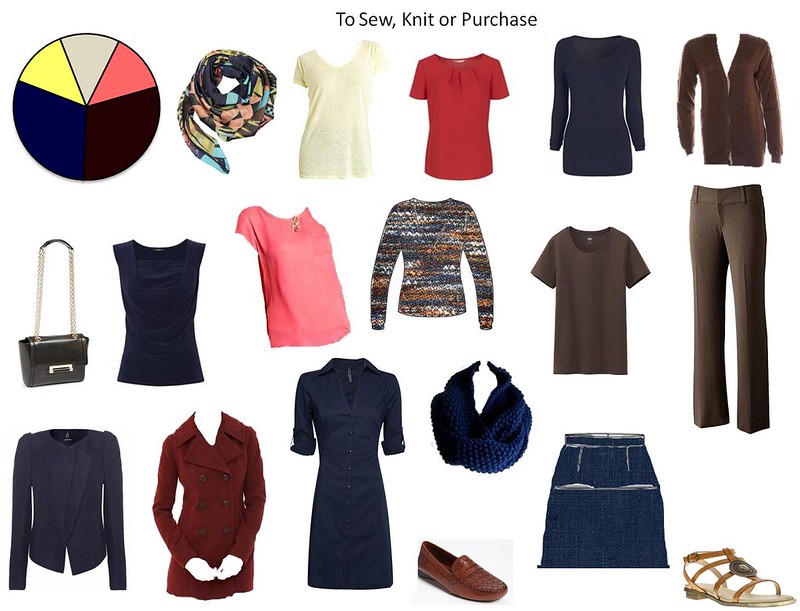
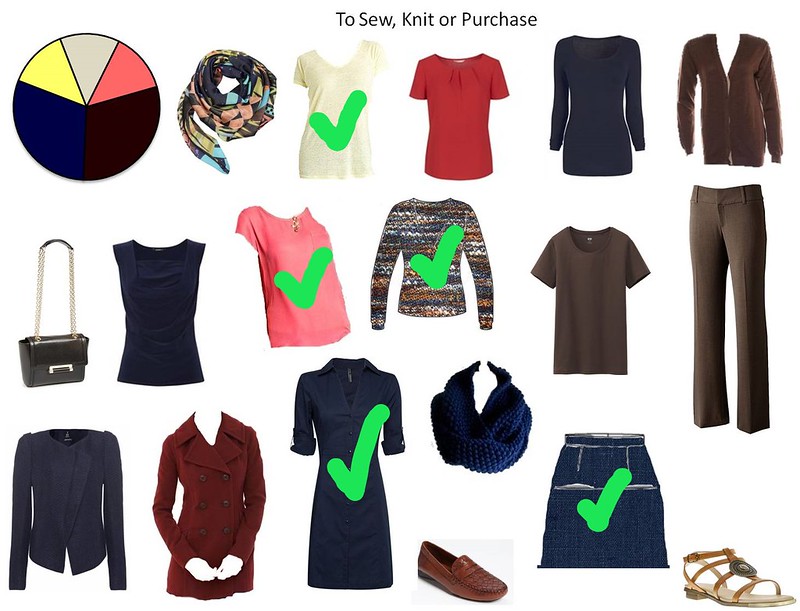
This top is another item completed from my “To Sew, Knit or Purchase” list.

******************
2015 Stash Out: 15.15 m
2015 Stash In: 18 m

Lemon T-shirt

One thing I did notice during the “Starting from Scratch” analysis was that the tops that I was missing in my final list were all “summer”.

Then Pattern Review decided to hold their Fabric Stash Contest and we had also decided to head north for a holiday so the decision to make this top was easy.

I’m trying not to turn blue -10C

Again I have used Kwik.Sew 3740, my TNT t-shirt pattern and this time I have:

  • Raised the neckline by 2cm
  • Added short sleeves
  • Added a 2.5cm cuff to the sleeves
  • Used my Janome Coverstitch binder to do a 3/8″ bound neckline

This is one of the ways I will wear it during our holiday up north

and I will remember to make sure the back hem is not turned under next time!

This t-shirt has turned out exactly as I had imagined and now to make some bright necklaces to go with it.

Another item from my “To Sew, Knit or Purchase” is completed.

******************
2015 Stash Out: 5.85 m
2015 Stash In: 16.5 m

The Shirtmaker Dress Journey

It all started when I saw this outfit on Lori’s blog, Girls in the Garden, about 2 years ago.

I used the same slate blue linen as my Navy skirt which I purchased from Tessuti in 2013 and seeing I had already made McCalls 5433 back here  my main patterns adjustments were already done.

Just before I cut this out, Louise, from Seams Like Fun (and I  had the pleasure of attending her class at the ASG Convention last month) posted Shirt Collars Made Easy.  Of course this had me downloading the instructions as I have only completed one other shirt collar and any tips to make it easier I was keen to try.

For this version I was looking for it to be able to be worn alone during Spring and Autumn and even Winter with a light layer (spencer) underneath.

To give me a bit more warmth, I decided to line the body of the shirtmaker dress only as I wanted to roll up the sleeves so using the sleeves from view D I added 1.5cm to each side of the sleeve hem width as well as another 4cm to the length.

This was all cut out and fused (collar, collar stand and front bands) for our sewing weekend back in May.

For some reason I decided to go all out and do flat felled seams on the side seams, the shoulders and the sleeves.

The lining has French seams and this was attached to the body of the dress after the dress length was finalised and before adding the front bands, so I could encase the edges.

The lining was then basted to the neck edge so I could add the collar stand.

Louise’s  instructions for the Shirt  Collars Made Easy has the ends of the collar and collar stand on the fold so you end up with a centre back seam and hopefully better points.

Oops not quite matching!

Once I inserted the sleeves, I basted the lining to the seam allowance and then added a Hong Kong finish to this seam as it was too tight to to a flat felled seam.

Now to be able to roll my sleeves up, the sleeve width at my cuff was not desirable.  This time I found this great Threads article on Shape a Sleeve with this Easy Fold-Over Placket that provided the perfect solution.

Threads do suggest you make the vertical fold for the placket about 1/3 of the way from the underarm seam, however this put the fold right on my wrist bone which I didn’t like, so my sleeve width was 28.5cm and I put my vertical fold at the half way mark which makes the fold toward the back of my sleeve.

Again the wonderful ladies at All Buttons Great and Small helped me choose the buttons and I again purchased the buttonholes from Mick at Quick Buttonhole Service.

and now for some full length views:

I still might add some darts to the back!

It looks like I can have quite a few different looks with this shirtmaker dress depending on the sleeve length and whether or not I wear a belt and switch around my accessories!

Now to find a triple belt and animal print bag that are in the inspiration picture!

******************
2014 Stash Out: 34.95 m
2014 Stash In: 48.75 m

Accent Cardigan

I love cardigans and it so hard to find ones that I really like.

So when I saw this amazing sweater knit fabric in Adelaide in 2012 it just had to come home with me.

Blue, caramel, cream, rust, brown sweater knit

The next decision was how I was going to make this work with Jalie 2566 as my previous versions here and here are made from knits that are a lot thinner.

I decided to do the following:

  • Not add the neck band facing at this would be too bulky, so I added 3.5cm to the neck edge.
  • As this knit does not have a lot of stretch, I added 1cm to the side seams as well as the sleeve seams.
The cardigan was sewn with navy thread on my trusty 4 thread Singer Overlocker and to keep the seams flat I whipped stitched them down.

 the colour is really wrong in this photo!

and now they are almost invisible in the cardigan

To finish the neck edge I fused some 2.5cm wide stabilising tape to the edge and then sewed some purchased bias binding, turning it to the wrong side and hand stitching it in place.

The lovely ladies at All Buttons Great and Small at Newtown found these gorgeous buttons for me and then I again purchased the buttonholes again from Mick at Quick Buttonhole Service at Alexandria.

and finally,

I’ve realised I need some new necklaces that will fill the “v” for when I want to wear the cardigan buttoned up.

This cardigan has turned exactly how I wanted it to.  I’m not sure how much wear it will get this year now that Summer has arrived with haste!

******************
2014 Stash Out: 32.2 m
2014 Stash In: 48.75 m

24 Garments = 377 outfits!

I am a visual person, and found this amazing to see.

From this 24 piece collection,

I can have 377 different combinations!

The following shows the 13 tops with the 6 bottoms and 1 of the cardigans, I haven’t shown the same combinations without a cardigan or even with the other waterfall cardigan or the Marfy jacket!

This group alone lets you have 312 outfits!

Pants from Step 1.

Jeans from Step 4.

Navy Marfy skirt from Step 7.

Brown suede skirt from Step 9.

Brown denim skirt from Step 11.

Navy linen skirt from Step 17.

Now for the Jalie accent cardigan from Step 15.

I would only wear this with the plain tops, 10 in total, so with the 6 bottoms you have another 60 different looking outfits.

The dress from Step 15 goes with all the cardigans and the Marfy jacket, another 5 outfits!

I have realised that if the 3 patterned tops were plain it would add another 18 outfits.

I’m not sure that I wouldn’t get tired of the tops, but this is where your accessories do play a major part in changing the look, especially when sitting at a desk.

Now back to some regular sewing, so I can see if I can make this work!

Building a Wardrobe from Scratch – The Final Pieces

I have surprised myself thinking that I still needed to do a lot of work on my accessories, it was lovely to see that so far I have covered all sets so far!

Step 14  for me is all about staying at home or clothes that we can be active in, walk the dog, or lounge around the house but still confident to answer the door!

So I have added my Jalie Yoga Pants, the Seamster Hoodie as well as my navy shorts.  The lemon singlet is one I have seen and I would love one, as this would be a perfect addition to my wardrobe.


Step 15 is a versatile dress, an accent cardigan and shoes.  I love my Navy dress with the pickstitching but I think it will only last for another summer, so I have been taking my time and making a navy linen shirtmaker and the cardigan I would pair this with are both near completion.

I’ve added a pair of Diana Ferrari Greneya sandles which I need to purchase soon.

Step 16 is evaluating and balancing the neutrals.  With all the garments I have been adding to my wardrobe Janice has suggested that we make sure we have a “Core of Four” (two tops and two bottoms that will make 4 outfits) in each neutral.  You can see below that I don’t have any navy tops!

I have chosen a long sleeved navy t-shirt and a sleeveless navy top , I don’t own either of these so they are now on the sewing list.

Step 17 we are just about at the end of the 24 piece wardrobe and may need to add some finishing touches. Note that Janice has deliberately kept out leisurewear and outerwear from this current collection and the focus is all on “street wear”.

Looking at my collection below I am missing another casual skirt and think another coral casual top would round it out nicely.

I have just finished the navy skirt, it is another version of Vogue 1247 and will be revealed soon.  The fabric for the coral top is also in the stash.

Step 18 is the last review of our wardrobe , comparing it to Janice’s Common Wardrobe and also “Whatever is Clean”.  Here we can add a “denim shirt” and two basic tops, but looking at my collection below I am very happy with where I am at.

“Street Wear”

Accessories

Here is what I need to physically add to my wardrobe, a few of the pieces are very close to being finished, and some can wait until Autumn. 

If you take all combinations of outfits using the “street wear” items, I have calculated that I have 377 combinations!!! Now I need to see this.

Building a Wardbrobe from Scratch – Part 2

It was interesting to note that at the end of Step 7 where I left you last that if all the garments were made I could have at least 2 weeks of outfits without repeating a combination!

Step 8 is adding 2 tops and a necklace and this is where we can bring in a patterned fabric. Again these items are already in my wardrobe, my yellow peplum top, the Blue and Gold swirls t-shirt and the navy necklace


Step 9 adds three pieces, a skirt, top and shoes, and these three pieces already live in my wardrobe.  My suede skirt, the navy/gold/brown silk blouse and another pair of Circa Joan & David sling-backs in brown.

Step 10 is the addition of a casual jacket, t-shirt or blouse and casual shoes. This time I have added my Minoru jacket, blue/brown/green boatneck top and I will have to go shopping for some casual brown shoes.


Step 11 is where we add a complete outfit for balance and accent, so I have chosen to add my Brown denim skirt and brown waterfall cardigan that are already in my wardrobe.  The coral blouse is one to make and I have just ordered the perfect fabric.

Step 12 is adding a winter coat, boots and a scarf.  Can aubergine be a colour of coral?  I have the perfect fabric for a winter coat and do have the pattern ready to go!  I know I don’t want a brown or navy coat but coral or yellow is taking a bit too wild for me.  I have the boots but will also need to knit the scarf/cowl.

Step 13 is all about more accessories and Janice does suggest a bracelet and brooch. I am not a bracelet person, I wear the gold chain bracelet that was in the first round of accessories all the time.  I do have some brooches and do dig them out every now and again.  I could also do with an evening bag so I have included this in this round.  The necklaces and earrings are already in my jewellery box – Smokey quartz necklace and earrings  , Brown beads with some double spiral chain maille, Blue,Grey rope and earrings

There are a lot of garments and accessories in the group above and there are still a few steps left to add.  I have been surprised at how much of this is in my wardrobe already.

Following Alexandra‘s idea I have also decided to keep a separate list of garments that I need to sew, knit or purchase and this is what it looks like so far.

Has anyone else got this far along with their planning, please share in the comments.

Building a Wardrobe from Scratch

I have been a follower of Janice’s over at the Vivienne Files for years and a couple of months ago she started a series about how to build a wardrobe Starting from Scratch.

When I saw Alexandra’s plan I thought it would be interesting to see how it would work in my wardrobe.

Now I do have quite a co-ordinated wardrobe as it is, but there are some major holes and I thought I would use this to see what garments I need for the coming spring/summer.

First up I had to choose my colour scheme, the two neutrals were pretty much a given, milk chocolate brown and navy.  Next was the two accents, well yellow is a colour I love and for the second one I have chosen salmon.   Then Janice suggests a variation of white so that is my cream that will function well as a blouse or t-shirt.

Most wardrobe planners tell you start with a suit, however Janice has started with a pair of dressy pants which takes you on a completely different journey.

Pants are the one garment that I am still working on, and later this month I will be attending Louise Sparrow’s “Louise Pants that Fit – Create your own Pattern” at the Australian Sewing Guild Convention.

Step 2 is comfortable pair of shoes, it has to be my Circa Joan & David Calalilly Pumps, I just love these shoes!

Step 3 is adding a cardigan/jacket or t-shirt or blouse, in the same neutral.

Thankfully I have some lovely dark brown wool knit to make up a twin set for this Step.

Step 4 is adding jeans and a blouse!

I have both these pieces in my wardrobe already, the cream boat neck t-shirt and brown denim jeans.

Step 5 is all about accessories, this is an area that I know I need to work on, although I have managed to accomplish Round 1 Accessories with my leather bag that is used every day, silk scarf purchased in China, my everyday watch and earrings.

Step 6 you add another scraf and two accent tops, here come the yellow and salmon tops.  I’m not sure why but I have realised that I haven’t worn many scraves this winter, but I would love to find one that incorporates my colours.

I couldn’t remove the necklaces from my pictures, so please ignore this round.

Step 7 is where we bring in the 2nd neutral with a jacket/cardigan or skirt/pants and some more shoes.  This time I have chosen my Navy Marfy Skirt and do plan on making the Marfy jacket to go with it.  The shoes are a pair of Circa Joan & David slingbacks in navy that are also in my wardrobe.

This is good time to assess if I am heading in the right direction with my garment and colour choices.

I’m not in love with the style of the brown top, but I know that I can make it my way so I just need to ignore the silhouette at the moment.  I didn’t do the grouping with the brown jeans but you can see how easily they would fit in.

Have you been following Janice’s posts and looking at your own wardrobe, I would love to know if you are and how you are going.

This about a third of the way through so I will be back soon with some more steps.