Como Trunks

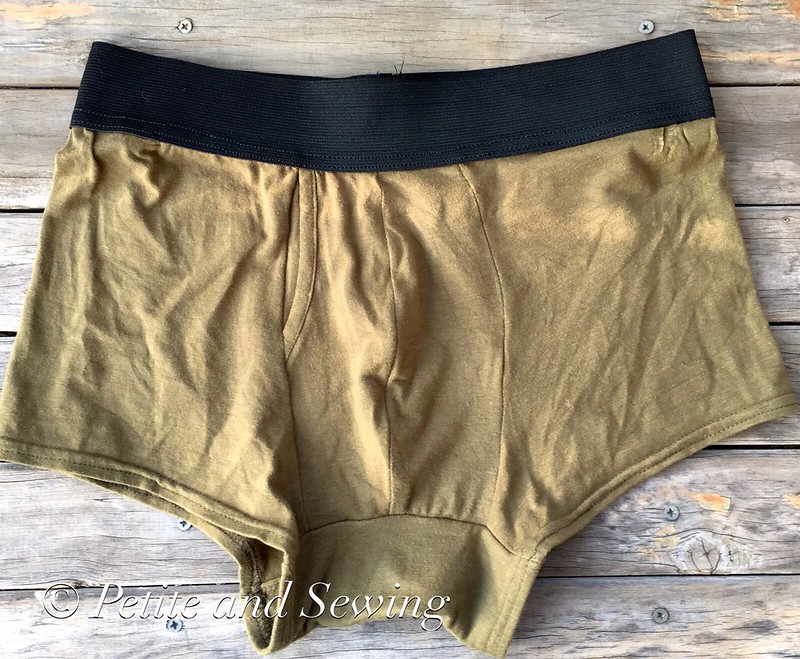
Still catching up with my sewing backlog, here is a gift I made for Mark back in September last year.

I have read a lot of reviews of the Thread Theory Como Trunks and purchaed a kit back in 2016 to check out the fabric quality as well as the elastic that they suggest you use.

These were made for our 16th Wedding Anniversary in 2017, and the gemstone colour is Peridot which by my thinking is green therefore this olive fabric in the Como Trunks kit was perfect and thankfully quite quick to make up.

For some reason last year Mark decided to wear trunks and went on a bit of a purchasing spree.  At this time he did make the comment that he didn’t want any for his Birthday or Christmas so I felt that I could still give him a pair for our Wedding Anniversary.

As usual the Thread Theory instructions are very clear and you end up with a very professional looking pair of trunks.

The only change I made was the way I sewed on the elastic for the waist, I followed how Mark’s RTW trunks were sewn which meant I had to trim the excess fabric away using my Duckbill scissors.

The Coverstitch was perfect for stitching the elastic in place as well as for the two leg hems.

There are no modeled photos but they are in high rotation which is great, but so far there hasn’t been a request for any more so I will see if that changes as the year progresses.

******************
2017 Stash Out: 21.9
2017 Stash In: 14.6 m

Garnet Finlayson

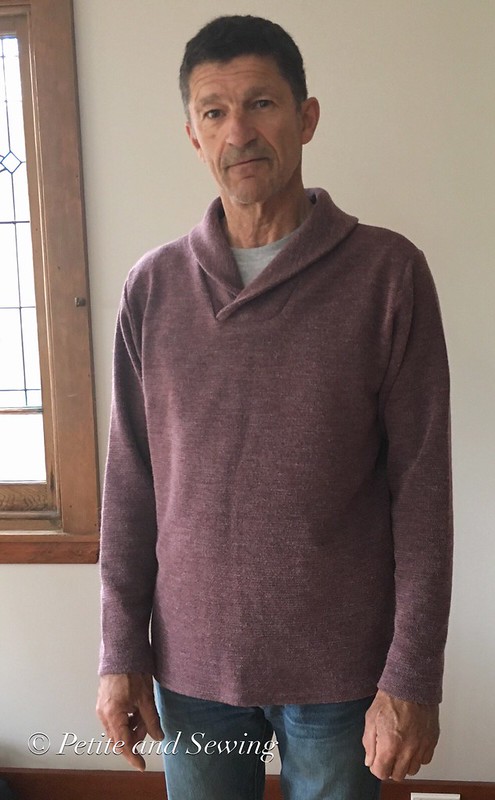
I’ve been sewing for Mark again for our 15th Wedding Anniversary back in 2016 and it has taken me quite a while to get some photos of this garment even though it is worn quite a lot.

Some of the choices from Traditional and Modern Anniversary Gifts suggested Glass, Watches, Ruby, Alexandrite and Rhodite Garnet.

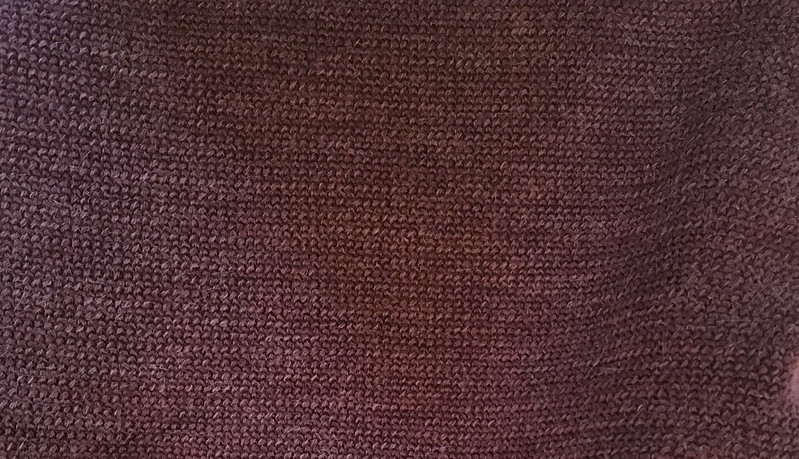
I then remembered I had been given some Sweater Knit from Knitwit by Alison’s mother about 10 years ago that I had earmarked for a smarter sweatshirt style that Mark had been wearing for years that were starting to show their age.

So I headed to Thread Theory and purchased the Finlayson Sweater PDF as I planned to sew this during our Sewing Weekend in Brisbane as Mark was going to be away for our wedding anniversary. However his plans changed so I suddenly had to get this made.

Working from his much loved sweater I cut a large and added 7.5cm in length as I wasn’t going to add the bands.

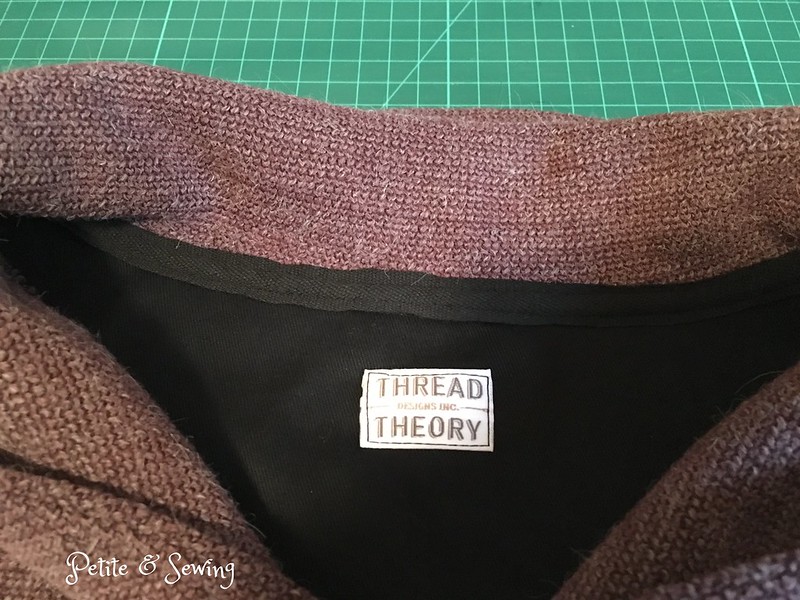
From my bag stash fabric I found some black twill that I used for the back neck facing.

and used my Duckbill scissors to trim the bulk from the collar which I also understitched.

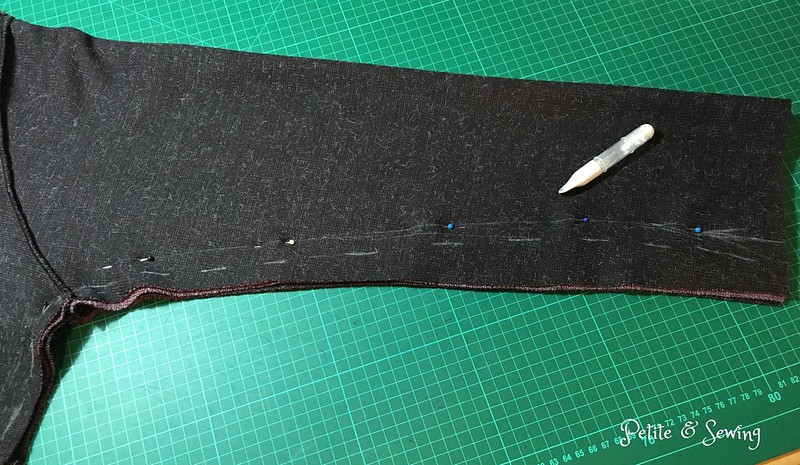
This pattern went together very well and when I had the sleeves in I decided to compare it to his much loved sweater and realised it was going to be too large in the sleeves and also thought I’d take some extra width from the side seams as well.

The solid line is my stitching line and the dashed is the cutting line.

The final steps were to add some black twill tape to the neckline and to do the hems on my Coverstitch.

Mark has said that it is a different neckline but he seems to be quite comfortable with it as it got a lot of wear during Winter.

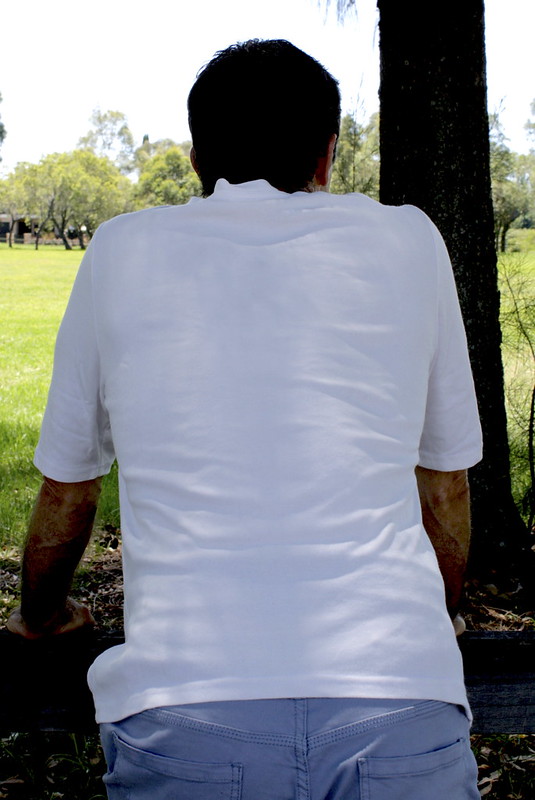
This is the only photo I have got of the back view, which shows how much fullness there is in the body,

mucking around with Roscoe

so I will compare this to the Medium to see how much difference there is for the next version.

******************
2017 Stash Out: 21.9 m
2017 Stash In:  14.6 m

A Special Birthday present!

My DBIL is a keen Ducati lover and rider and he celebrated a big “0” birthday in April with friends and family.

I had been racking my brain what I could do for a present that was a bit different.

Then I started to see some patterned mens t-shirts about and was seeing a lot of fabric printed at Spoonflower and an idea started to formulate.

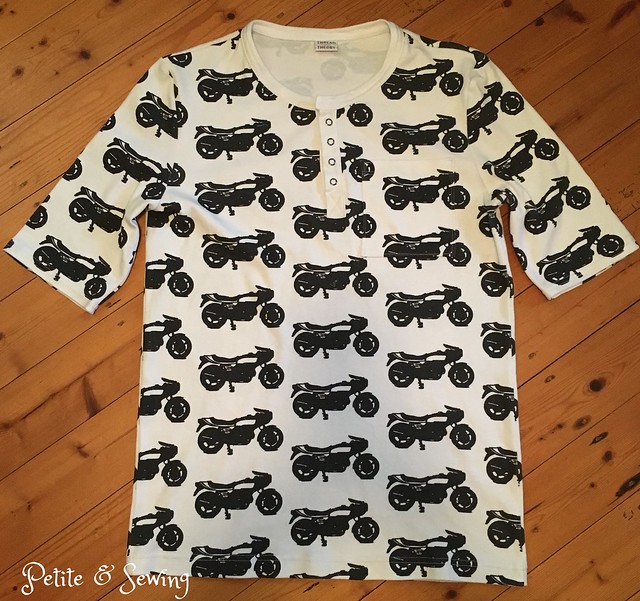
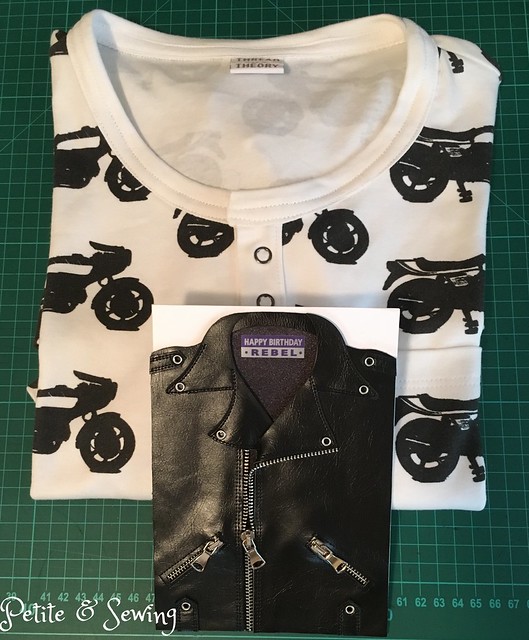
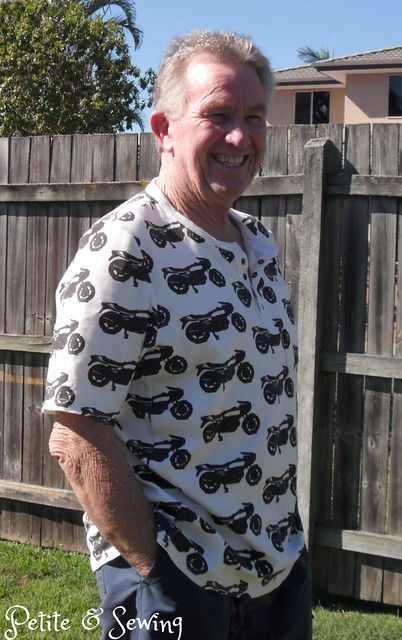
My BIL loves to wear t-shirts and also likes to have a pocket, which most RTW don’t have, so after making 2 Strathcona Henleys for Mark, I decided this is what I would do.

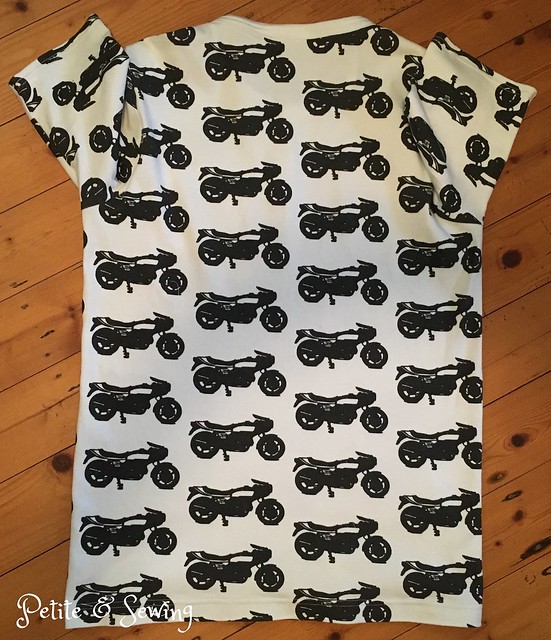
I found a picture of his 900 SS Darmah and then used the feature in PowerPoint to “remove the background” and with a bit of fiddling I had a pretty clear black and white jpg of this bike.  I uploaded it to Spoonflower and chose a half-drop layout and then ordered a sample in their Organic Cotton Interlock Knit.

This arrived just before Christmas and gave me time to think about exactly what I was going to do. So at the end of February I ordered the Ducati fabric as well as a metre of the plain Organic Cotton Interlock knit in case I wanted to use it on the Henley.

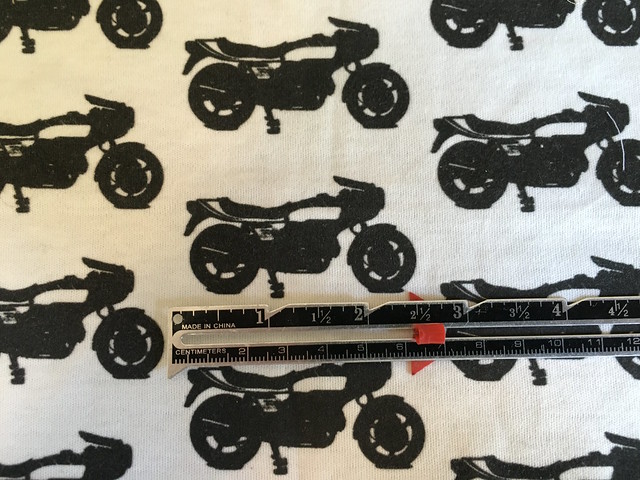
Now this is where I had a bit of a shock, the sample I received the bikes looked like this

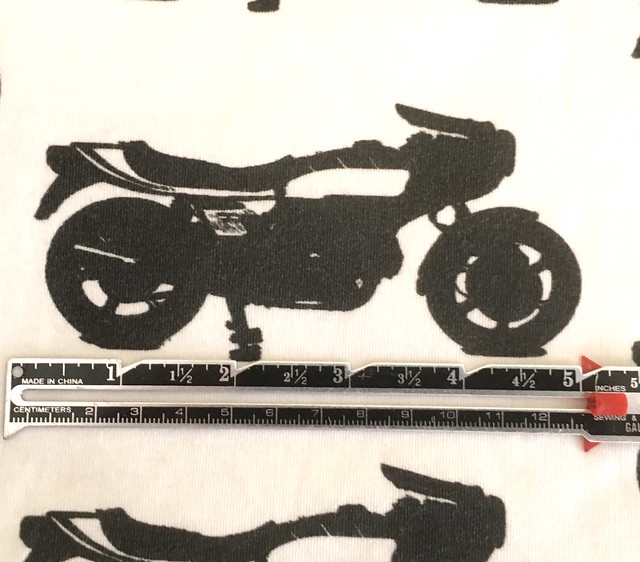
and the real fabric they looked like this.

I did pop back onto Spoonflower to double check what size I had chosen, and it was the 5″ size.  I completely forgot to the check the size of the bikes on the sample because if I had I would have reduced the size of the bike to 2.5″ only if I could have spaced them out a bit more.

Now I wasn’t sure if this would look like a t-shirt or a night shirt but I decided to go keep going.

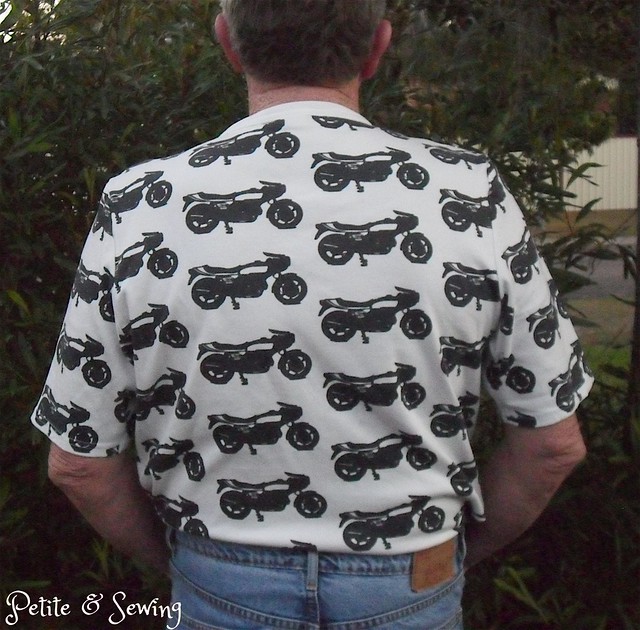
It did take a bit of head scratching to cut it out, Roscoe was locked outside and the fabric was spread out on the floor so I could get a better idea of the positions.  I soon realised that I would not be able to pattern match the sides so I decided to have a

  • full bike at centre front

  • a full bike at the side seams on the back.

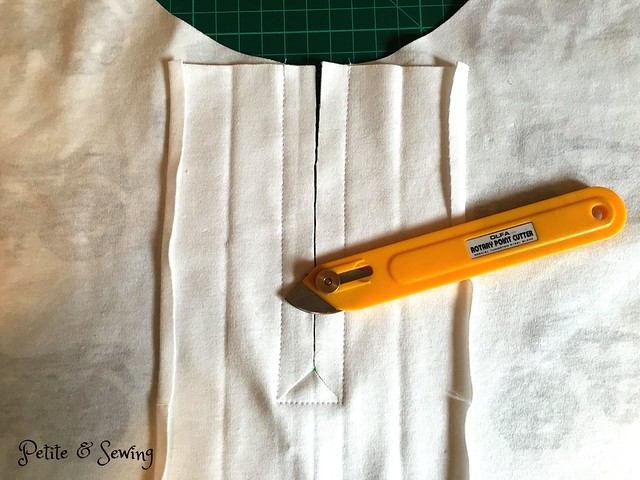
The first thing you do is the placket, so I chose to use the white organic cotton interlock knit for this and it went together very well with the help of the Olfa Rotary Point Cutter.

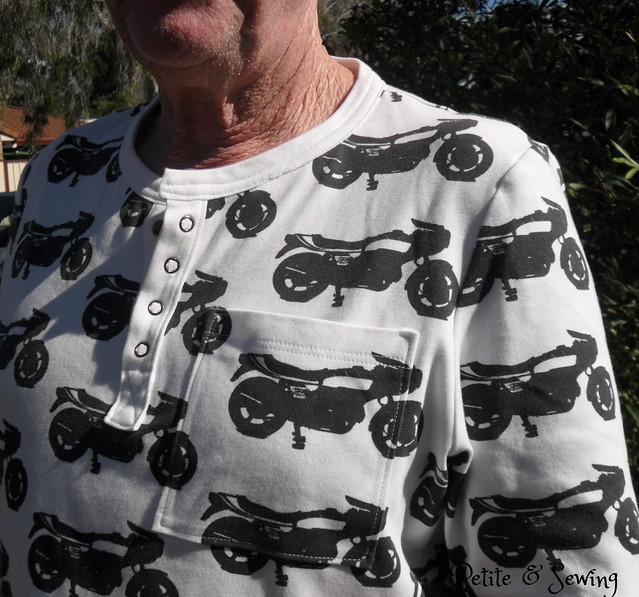
Next up was the pocket.  Now I wanted this to be invisible so I traced of a pocket pattern

and then laid it on the fabric to get the design and placement correct.

I’ve never installed a knit patch pocket before and found this great tutorial over at Seamwork.

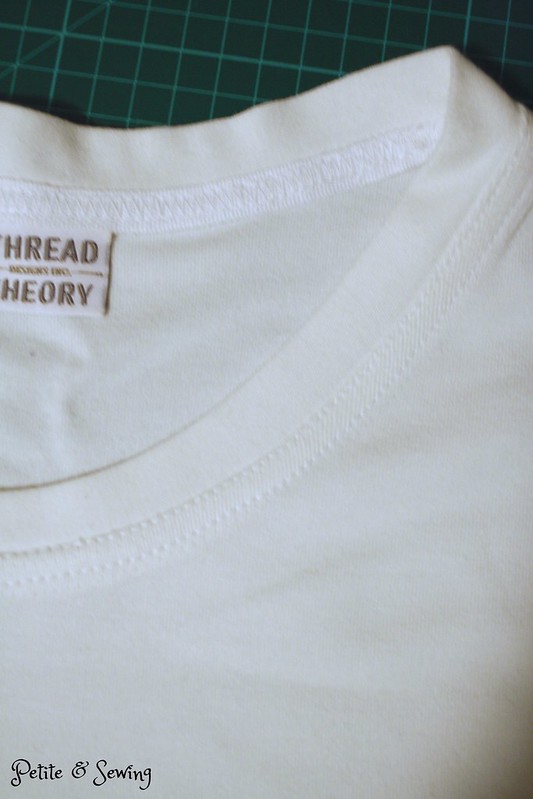
Next the shoulders and then the neckband.  I have tried the method that Thread Theory suggests but I just don’t like the overlocking on the neckband and this is the way I did the neck band on Mark’s but didn’t document it.

I sew the ends of the neckband together as per the instructions, but that is where it stops.

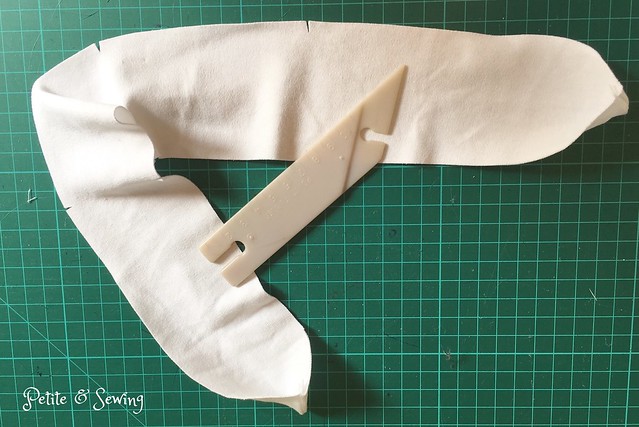
Then I pin the neckband to the neckline like this, and sew it in place.

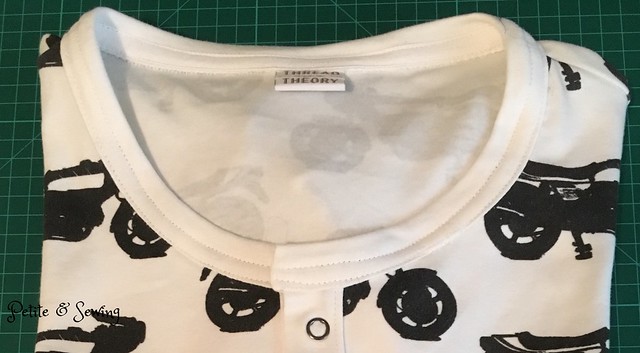
Then I turn under the other neckband edge and pin in place and handstitch this in place, remembering to add the label.  Thinking about this it is like attaching a waistband.

oops I forgot the label!

The final step is to add some twill tape to the inside neckband just like RTW and I did this for Mark’s Skiing Henley but found more information over at Baste + Gather and her T-shirt Neckline Twill Tape Tutorial.

The rest of the t-shirt went together very smoothly.

My final decision was what I was going to use on the placket:

  • black buttons
  • white buttons
  • smoke open prong ring snaps
The snaps won and I got to use my new toy, the DK-93 snap press which you saw happening here!
The problem with a surprise gift and your sister telling you not to make the t-shirt because you are so busy, is the Henley was a bit too tight for my BIL’s liking, it did fit him and in fact it is the best fit across his shoulders he has ever had but it was just a bit too close fitting for him to be comfortable in.

So it came back home with me so I could adjust the fit.

Luckily I had some left over fabric and manage to cut out two side panels of  8cm width that ended up in a point into the sleeve hem.

And look at this cool card I found when we were in Canada!

When he opened his parcel he thought I hadn’t done anything to his Henley until my sister showed him the pattern matching at the front side seams.

He is very happy with his Ducati Henley.

*****************
2016 Stash Out: 8.1 m
2016 Stash In: 18 m

Shorts for the man

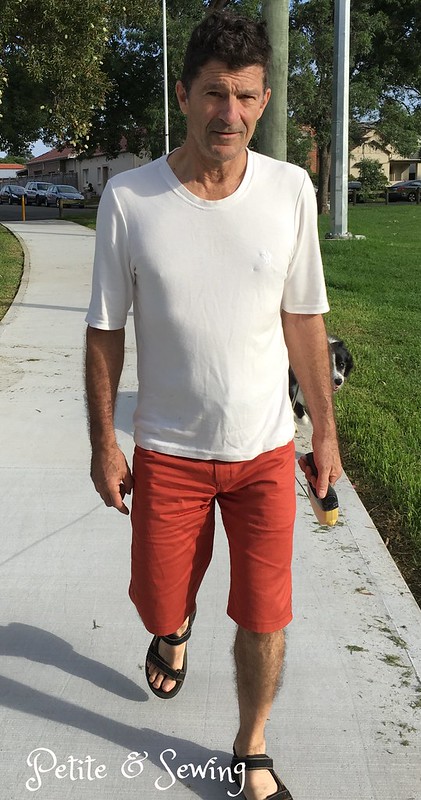
Every now and then I plan to make a garment for Mark and seeing I had already made him two Strathcona Henely t-shirts and had purchased the Jutland Pants from Thread Theory, I thought a new pair of shorts was in order.

Mark does own a pair of red shorts so I didn’t feel that purchasing this burnt orange would be too much except my sewing buddies keep telling me it is my colour.

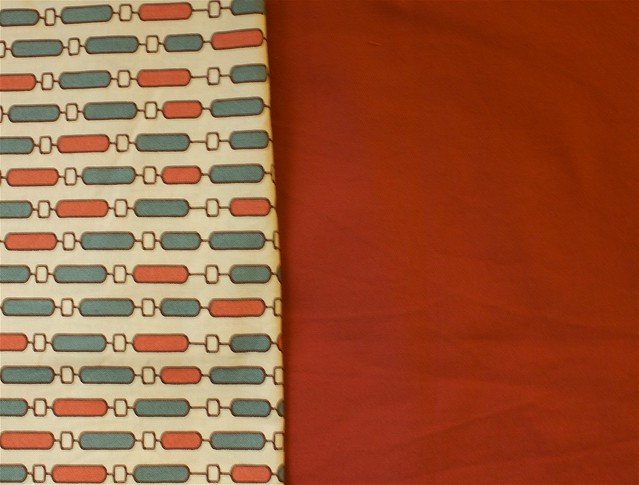
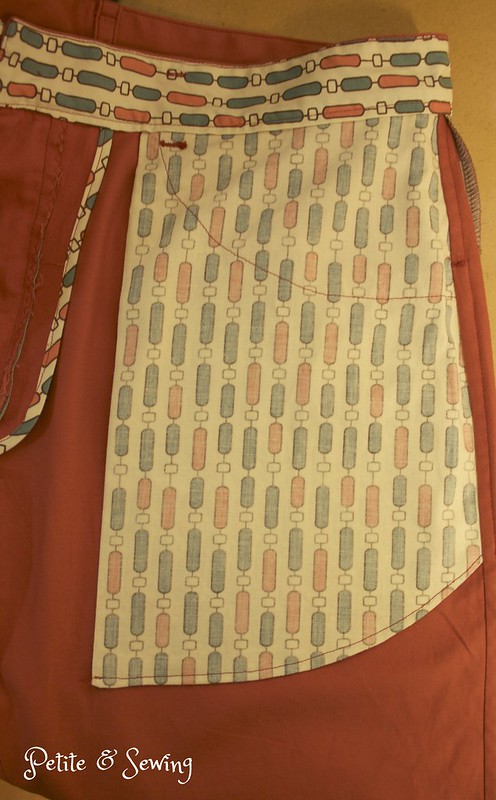
I then had some fun finding some manly cotton fabric for the pocket bags, waistband lining and bias binding.

My madness is based on the fact that Mark has a 30″ waist and last year I found it extremely difficult to find pants/trousers in this size and as he prefers not to wear a belt it looks like I could have a new job.

So I cut out a size 30″ and then couldn’t make up my mind if I was going to do patch pockets or welt pockets.

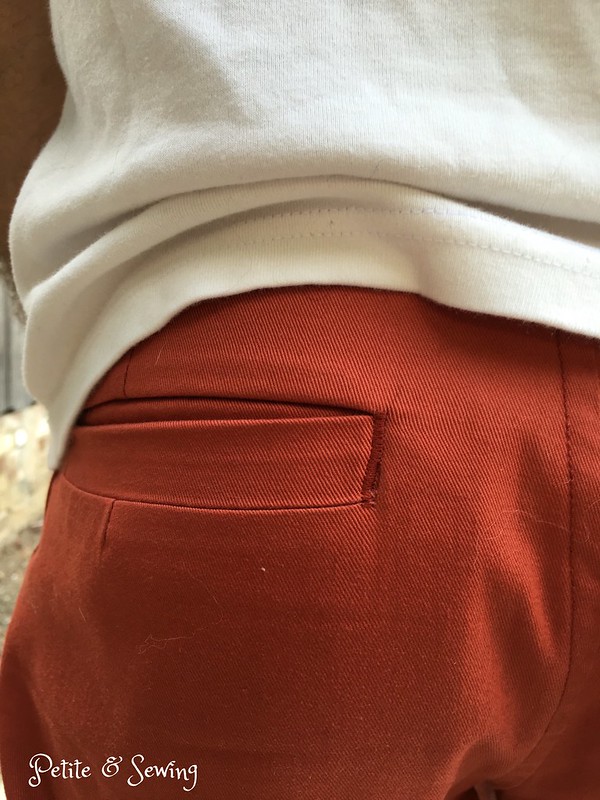
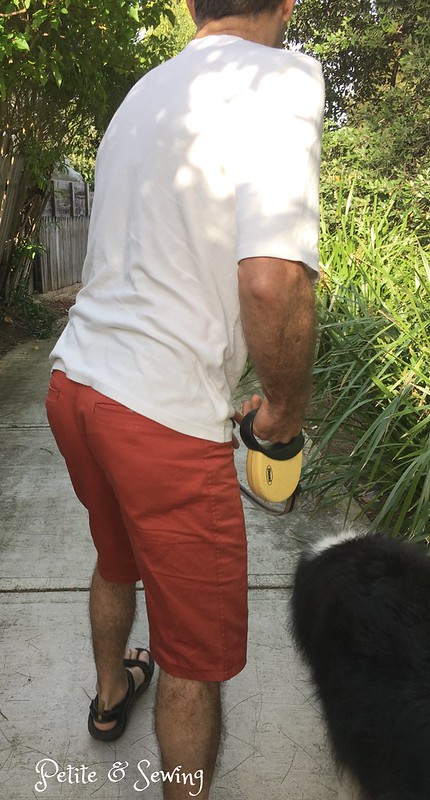
Welt pockets won, but it has been a long time since I have done these and I’m glad his RTW shorts have the bar tacks at the end of the pockets as this has helped cover my overcutting.

Even though I wasn’t completely happy with the welt pockets I decided to still make these as I wasn’t sure that the pattern 30″ waist would be equal to Mark’s real waist.

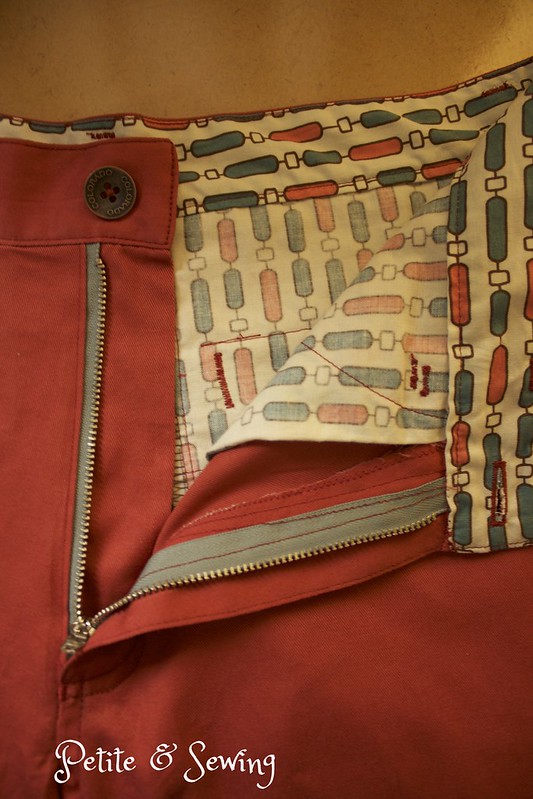
All seams are flat felled and I have used bias strips for around the edge of the fly.

Again my sewing machine didn’t like the buttonhole so I have again used the tutorial I used for my Jeans.

I found this button in my button jar and think it works perfectly for these shorts.

Mark found the waist to be very comfortable but did comment that these are a slim fit in the legs.  So next time I will add a some extra width in the front leg and see how that goes.

This is at the end of the day.

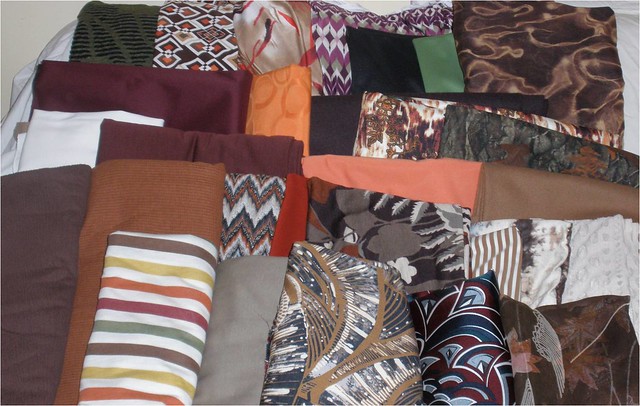
Now the fabric for these shorts were counted in the 2015 totals, but I attended the Sydney Spoolettes Fabric Destash event last Sunday and donated the green/black mesh knit that you can see at the top left hand of the picture below.  This was purchased during our trip to the USA back in 2011 and now I can only see the black in it so I am very happy it has found a new home.

******************
2016 Stash Out: 2.9 m
2016 Stash In: 15 m

Skiing Henley

The planets have finally aligned and I have been home when Mark has put on his Anniversary gift from September last year.

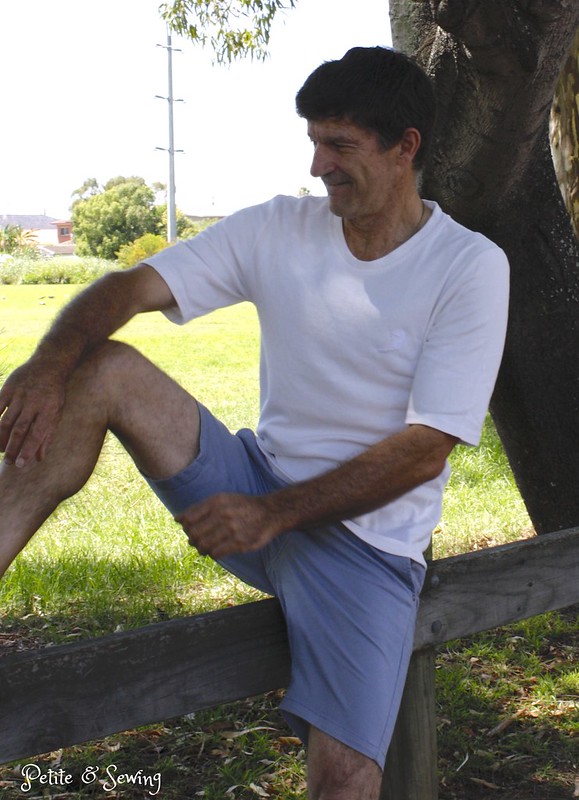
The modern gift guide for our 14th anniversary suggested Ivory or gold jewellery and seeing he doesn’t wear any jewellery I put my thinking cap on regarding Ivory.  Luckily I remembered that I had some Ivory Bamboo Interlock purchased in 2009 from The Bamboo Fabric Store in my stash which would work perfectly for another Strathcona Henley, maybe the t-shirt with short sleeves this time.

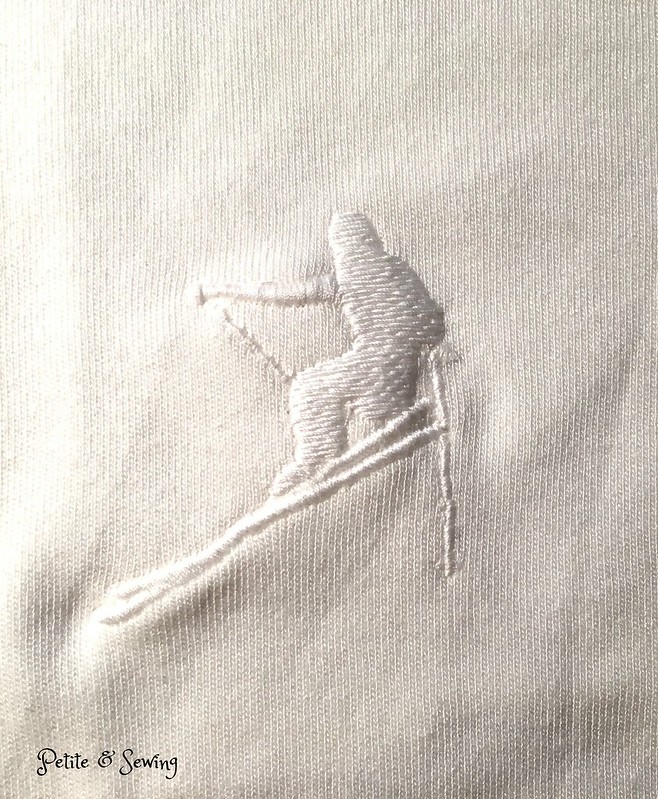
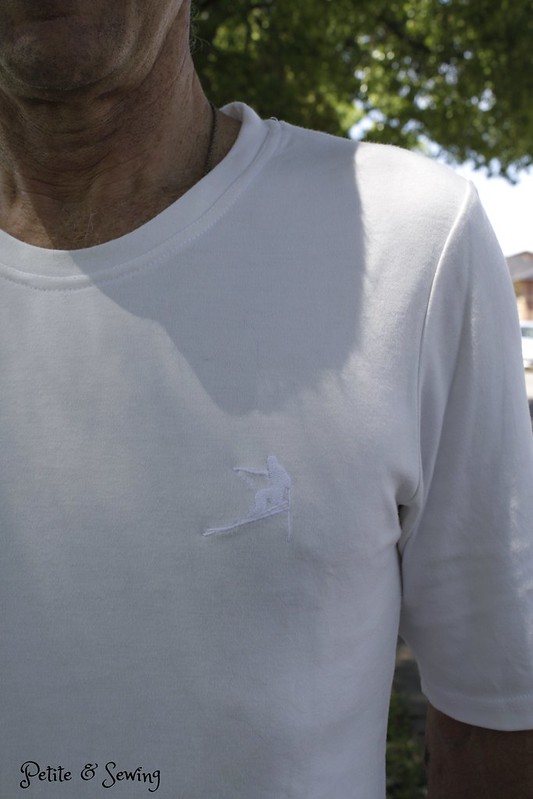
My next quandary was how to make it not so plain and then remembered Mark had a purchased t-shirt from Japan back in 2005 which was looking very sad, but had a tone-on-tone embroidered skier on it.

Now how to do this as I don’t have an embroidery machine, but this is where talking to your sewing buddies is great, Alison volunteered to do this for me.

So I headed over to Great Designs and purchased a skier design for Alison to use on her machine.  It took Alison a few test runs with different threads to get the skier to look like I had imagined, and we ended up using Mettler No 703.

The only adjustment I made to the pattern was to lower the front neckline by 2cm.

And to make the t-shirt look more RTW I dug out some white twill tape and stitched it around the back neckline like Mark’s RTW t-shirts.

Mark is very pleased with this t-shirt, it has had a lot of wears already.

******************
2015 Stash Out: 25.55 m
2015 Stash In: 32.8 m
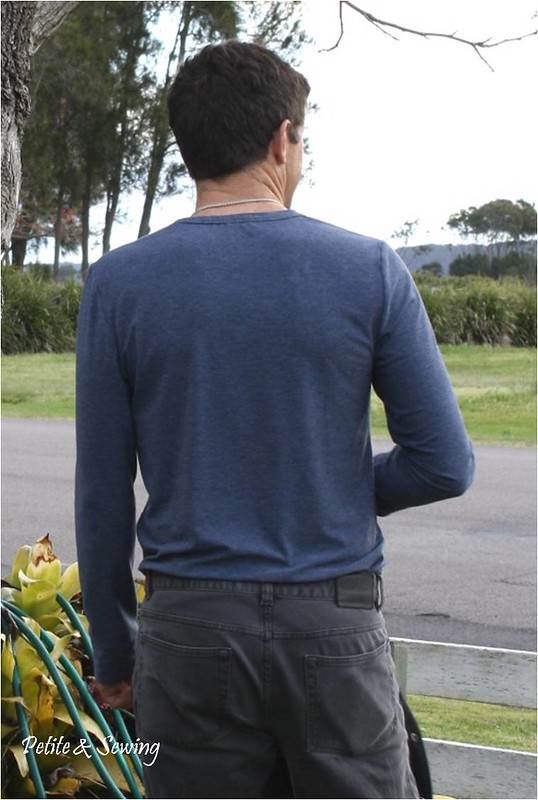
Steel Blue Strathcona Henley

Another year and another wedding anniversary gift for Mark, my husband, and this year the modern gift guide suggested textiles, fur.

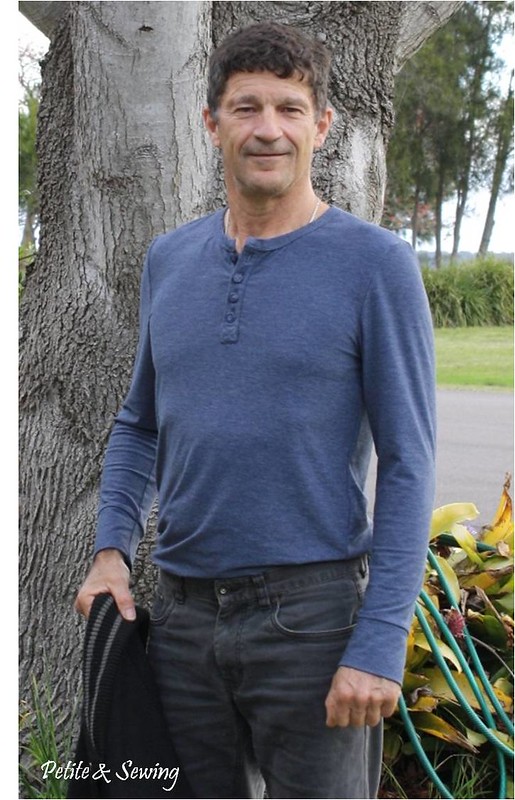
I did for a fleeting second think of making Mark a woven shirt, but once I spied this wool knit (that had been in my stash since 2010) and remembering that I had also purchased the Parkland Selection from Thread Theory, the Strathcona Henley was the winner.

Based on Mark’s measurements I cut out a medium.

It wasn’t until I sat down and started to sew this, that I realised I was doing my first buttonhole placket on a knit! Thankfully the instructions for this were quite good and using a lot of basting I was very pleased with how it turned out.

There was no way I was going to  do the buttonholes, so I again purchased them from Mick at Quick Buttonhole Service at Alexandria.  I couldn’t believe my luck in finding the perfect buttons at Spotlight.

The Strathcona Henley is a “modern”, “slim-fitting” t-shirt and I chose to make it with long sleeves seeing the fabric was a wool mix. I did have a bit of concern when I had all but the hem done that it was going to be too big, however when I measured it against one of his current t-shirts it was a slightly slimmer fit but the length seemed a bit long.  I did cut off 4.5cm from the length and that left me with a 2cm hem.

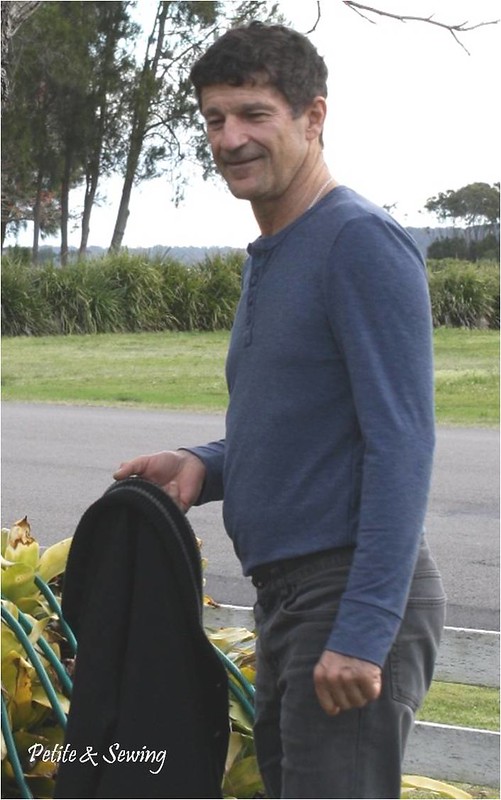
It looks like it’s a winner, it has had a few outings already!

******************
2014 Stash Out: 29.35 m
2014 Stash In: 47.25 m