SWAP 2014 Viewing and Voting

Viewing and voting is now open for SWAP 2014 and you can find the details here and the photos here.

There are 12 fantastic collections to view and do have a look at them, they are certainly amazing.

If you are a member of Stitcher’s Guild you can vote for First, Second and Third which I will be doing before 17 May!

Yellow Blouse – April Garment a Month – completed

Back in January Alison and I joined the ladies at the ASG Frocks Group at Bateau Bay to attend a Confident Coverstitch – Techniques and Attachments Workshop run by Baby Lock.

The workshop book is based on the Baby Lock Coverstitch models, however there were quite a few of us with the Janome Coverstitch and our teacher, Michelle was very knowledgeable about both brands of machines.

I love my Coverstitch and do use it for all my knit hems but I wanted to learn how to use it better as well as getting to understand the knit and woven binders I had purchased previously from Sharp Sewing Supplies.

As you all know I love my TNT top pattern and had purchased the 3/4″ woven binder (finished width) particularly for this blouse.

It did take me a little while to get it working and I was very lucky that Alison had taken her Coverstitch to our ASG Group at The Remnant Warehouse the other Saturday and I was able to play with the binder with some scraps of fabric on her binder whilst I was sewing the blouse together.

Once I got back home, I settled down with my machine to finish the construction of the blouse as follows:

–  Sew the darts and press.

–  Sew the right shoulder seam and press (leaving the left shoulder seam open).
–  Edge stitched the blouse neckline.
–  Cut a 4cm bias strip which I then pressed in half as my binder is a A binder (raw edge) and I didn’t want that sort of finish for this fabric.

–  Attached my Janome extension table.
–  Tightened the foot pressure knob to a height of 1cm.
–  Threaded the Coverstitch for a chain stitch e.g. single needle.
–  Set up my binder and fed the bias strip through and under the needle and did a few stitches.

I still had the 2 needles in at this stage.

–  Then I set up my fabric so that it fed half way up the binder, this worked best for me.

–  Sew the left shoulder seam and pressed, and then hand stitched the binding edges down at the shoulder seam as the binding ended up quite thick.

–  Put in the invisible zip in the left side seam, sewed the right side seam, put in the sleeves and did the hems.

    Debbie Cook has some fantastic information about Coverstitch machines on her blog.

    I have also managed to sew something that fits with the Stashbusting theme this month, COLOUR!

    Note: I have managed to get a photo of the neck binding for those interested.

    ******************
    2014 Stash Out: 7.6 m
    2014 Stash In: 31.75 m

    Interview and March Garment of the Month – completed

    Emily, our Stash-busting co-host asked me to share my thoughts about how I go about creating a cohesive wardrobe and you can read all about it on Emily’s blog.

    Now half of My Garment of the Month has been completed, it is my TNT Self Drafted pencil skirt in the navy wool that I told you about here.

    Again there is not much to tell, it is made like all the others

    Looks like the fabric is a magnet for Roscoe’s fur!

    Waistband using twill tape.

    This is also a garment for the March Curating Challenge – Wardrobe Evaluation – I definitely need more work attire and this skirt fits the criteria perfectly.

    Now to get back to work on the Marfy skirt, it has taken a few backward steps since last Saturday, I had to undo the hand picked zipper and pick stitching along the waist facing as the skirt is too big!!

    Seeing I am still working on my SWAP garments, I am not sure if this will be part of the 3rd 3-pac as my coral top will be great with it!

    ******************
    2014 Stash Out: 6.8 m
    2014 Stash In: 31.75 m

    Coral shirring!

    Over at Pattern Review there is a new contest, “New to Me Pattern Company” and thinking about it, I realised that I have a couple of Christine Jonson’s patterns and thought I would make up the Shirred Top in a gorgeous coral knit that my DS gifted to me a couple of Christmas’s ago.

    The reviews of the pattern over at Pattern Review say it is a snug fit and seeing I was inbetween the XS and SM sizes I decided to play it safe and cut out a size SM and did the following pattern adjustments:

    • shortened the lower bodice length by 4cm
    • shortened the short sleeve by 2cm

    This pattern is very fabric hungry as the top pieces are on the fold and you cut 2 of them each, so I changed the top back and top front pattern pieces to a single layer, as my knit is 150cm wide and this worked out a lot better.

    I basted the front and back together using the 1.5cm seam allowance and tried it on however it was a bit snug so I stitched it permanently together with 6mm seam allowances essentially meaning it is a size MD.

    I used my Coverstitch to stitch the neckline edges.

    The rest of the pattern went together fairly quickly until I came to the sleeves which gave me a bit of grief, so this is when I did a Full Arm adjustment (Fit for Real People, page 169) of 1.5cm

    and cut out another set of sleeves! They do look much better.

    My top is still very snug and looks like I need to do a small FBA as well as a gasposis for the back neckline.

    I really like how the ruching looks on the side seams, which surprisingly doesn’t look like it adds any bulk.

    This is quite a comfortable top to wear.

    Still making up my mind if it will be another top for my SWAP, however at this stage I’m not 100% certain where it will fit in.

    ******************
    2014 Stash Out: 5.2 m
    2014 Stash In: 31.75 m

    Off-white squares!

    I have only completed one Marfy garment before so I thought it would be a good idea to make up a wearable version of Marfy 1913 in a similar fabric to the silk I purchased for this blouse.

    First of all I made it up without any of my normal changes in some lining fabric that I have a lot of and soon realised I needed to lower the front neckline by 2cm as it was choking me.

    The next problem was the back, I had these drag lines and I wasn’t sure where they were coming from.

    tried High Round adjustment but that didn’t work!

    Thankfully I had an ASG meeting to attend at The Remnant Warehouse and knew one of my sewing buddies would be able to help.  Wendy quickly pointed me in the right direction and I now know that for this pattern I needed to do the “Sticky Out Shoulder Blade” adjustment  (Fit for Real People, page 125 number 3) as well.

    This brown Georgette with off-white squares has been in the stash for a long time, so after putting it through the gelatine mix I started to work on this top.

    Over at the Marfy sew-along, Leisa had been given permission from Susan Khalje to post her wonderful tip on how to do the back slit, which is essentially a dart!

    French Seams have been used for the shoulder and side seams.

    For the collar I used Pro-Silk Organza from Fashion Sewing Supply for the interfacing of the collar (both upper and under) and added a self fabric rouleau for the button closure at the back.

    When I attached the collar to the neckline, Leisa suggested that we machine stitch to the gathering and then hand stitch the gathering section.  I did this as my fabric was a bit stiffer (without the gelatine) than the silk and I wanted the gathers to fall softly, which I think they do.  I then pick stitched the collar in place from the right side.

    To finish the armholes I cut  2.5cm bias strip of Sun Silky as Leisa explained under the Couture heading, and then pressed this in half, matching the cut edges right sides together, machine stitched this in place and then turned the bias strip to the wrong side and catch stitched it in place.

    My hem length was another challenge, I added 8cm to the pattern and then cut off 6.5cm and realised the top was too short for the elastic to be used so this version has no elastic and will only be worn tucked in as it is a bit full around the hips for my comfort level.

    After wearing it today, I have realised it needs a couple of extra changes e.g. lower the armhole, add the length back to try the elastic at the hem and add some extra to the armholes to cover the bra straps, but for this version I will add some strap keepers!

    I am still very happy with this blouse and was surprised at how well it matched this skirt, so I think this will be my one of the two wild card for SWAP 2014.

    ******************
    2014 Stash Out: 3.2m
    2014 Stash In: 24.25m

    First 3 Pac for SWAP 2014!

    As I mentioned in my last post, my wool skirt is finished and I now have all 3 pieces for my first 3-pac for SWAP 2014; a skirt, blouse and jacket!

    This is my TNT skirt pattern and the fabric is a very fine light brown wool which was gifted to me by a wonderful sewing buddy who decided it needed to go to a home where it would be used!

    There is not a lot to say about this skirt, it has been made exactly how I make all my skirts –

    Waist finished with twill tape and edge stitched.
    Hong Kong finish on vent, mitred corner, slip stitched hem and lace on lining

    and the complete 3 Pac!!

    I have made a toile of Marfy 1913 blouse and will show that as soon as I wash the gelatine out of it.

    ******************
    2014 Stash Out: 2.4 m
    2014 Stash In:  19.25 m

    Cream Blouse – January Garment of the Month completed

    The Make a Garment a Month is having themes this year and for January it is a new skill, a old pattern seen anew, or a new wardrobe plan.

    I am going for an old pattern seen anew, this is my trusty blouse pattern Vogue 8572 (OOP)  but this time I am seeing it in a very different light due to the reasons below.

    Following on from my last version, this time I have made the following adjustments:

    *  I moved the bust dart up by 1cm e.g. moved 2cm from the very original position.
    *  Levelled the dart as per Vicki’s comment.

    I am much happier with the look.

    I also said that the sleeves were giving me trouble, but after reading about Lisa’s lace blouse I ended up at Handmade by Heather B and her photographic tutorial on how to do the Forward Shoulder Sleeve Adjustment that Gigi Louis had posted a tip about on Pattern Review.

    I have been doing a forward shoulder adjustment for years, and have tried unsuccessfully to reshape the sleeve head but always had excess fabric in the back as well as getting the sleeves to sit nicely.

    So I followed Heather’s photo tutorial and changed my sleeve pattern and it now looks like this.

    I knew that I had enough silk left over to either cut out a pair of my old sleeves (original pattern still intact) or bias strips to make the blouse sleeveless.

    For the first time ever, my sleeves went in the first time, no excess fabric giving me grief and in silk, I am ecstatic!!

    Now I need to do this adjustment to all my sleeves, I wonder if this will fix the twist I get in my knit top sleeves!

    This blouse ticks a few commitments:

    • is my 2nd piece for my first 3 pac for SWAP 2014.
    • my completed January Make a Garment a Month
    • is my IttyBit for the Stash 2014 sewalong as I used under a yard and it was leftover from my jacket.

    I am also wearing my new brown wool skirt and will share more details about it soon!

    ******************

    2014 Stash Out:    0.8 m

    2014 Stash In:      19.25 m

    Marfy 3 piece suit

    I have admired Marfy patterns for a number of years, and even have 2 of their Annual catalogues as well as completing one garment but this was with the assistance of a sewing teacher being beside me as Marfy patterns have no sewing instructions.

    Then late last year I found the free Marfy patterns that you can download to print at home.  I just love this suit.

    You do need to register or sign in to your account to get the downloads, but that is only your email address and you never know you may want to order a pattern or two!

    Then during the final days of the Little French Jacket sew along (I am still going to make mine) Leisa from A Challenging Sew posted that she was going to hold a Marfy Free patterns sew along.  This decision was made after Leisa had received a number of emails asking her to show how to make the various Marfy patterns that she had constructed during last year.  With the free Marfy patterns available the sew along makes it perfect as everyone has the same pattern to work from.

    So you know what is next don’t you, I am sewing along and this will very likely be my 2nd 3-pac for SWAP 2014.

    Here is my fabric, navy wool which was purchased from the Fabric Cave when my sister and I visited it last year before they moved to their new location at 112 Bowden Street, Meadowbank.  The crinkle georgette silk is from Tessuti purchased last Saturday specifically for the blouse or I have some tobacco silk crepe de chine that would work for the top as well as the lining for the jacket, now that is a thought!

    Is anyone else going to sew along?

    ******************

    2014 Stash Out:    0 m

    2014 Stash In:     19.25 m


    Chanel inspired workshop

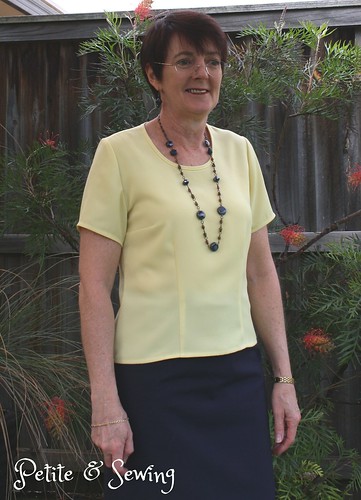
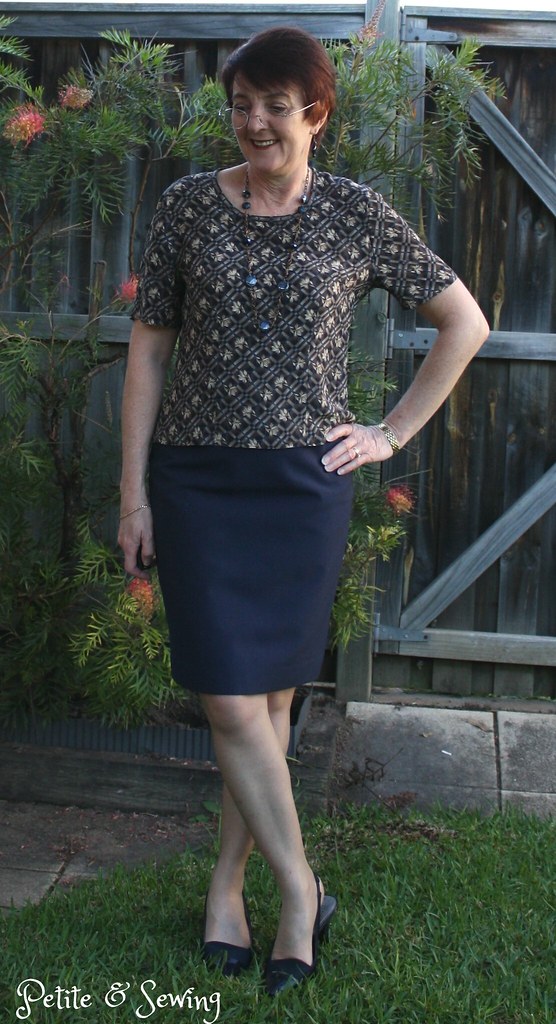
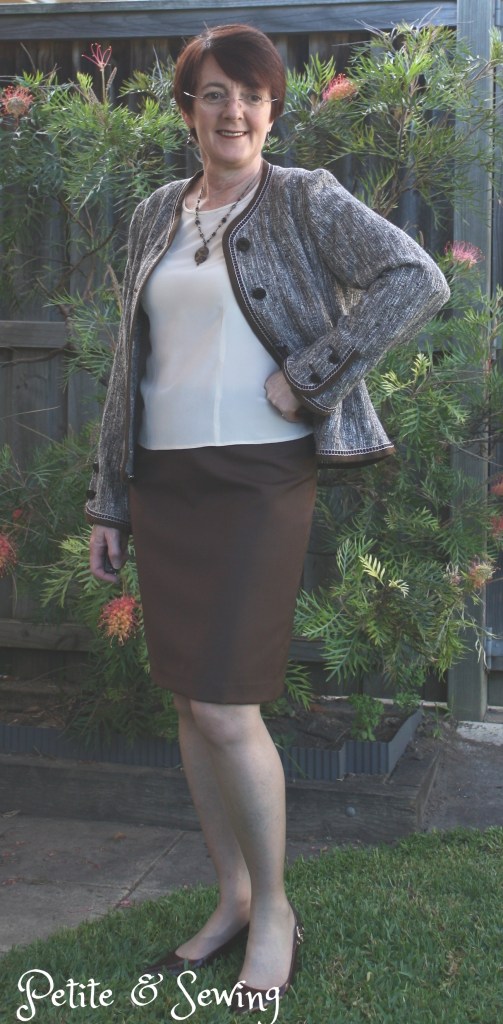
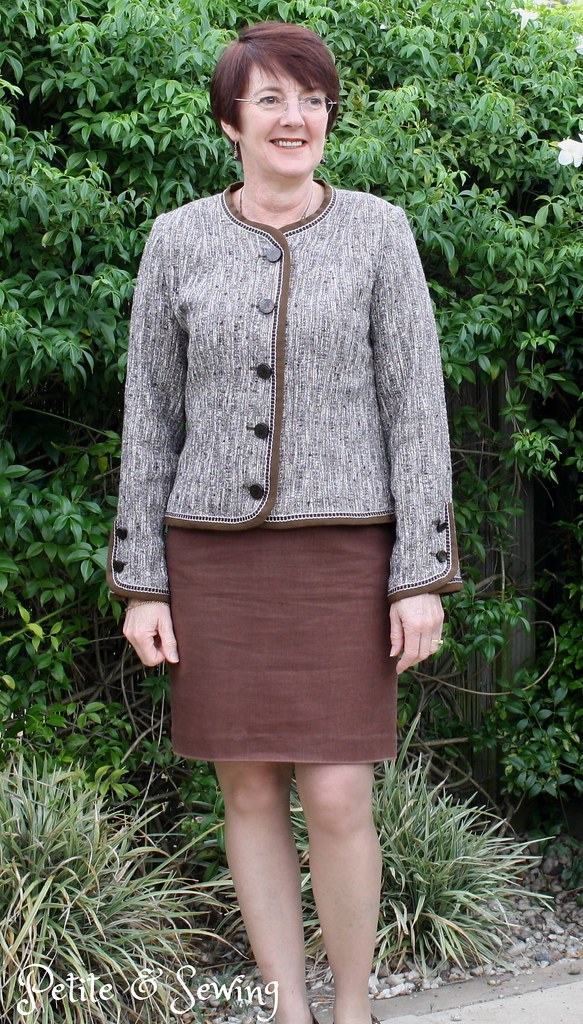
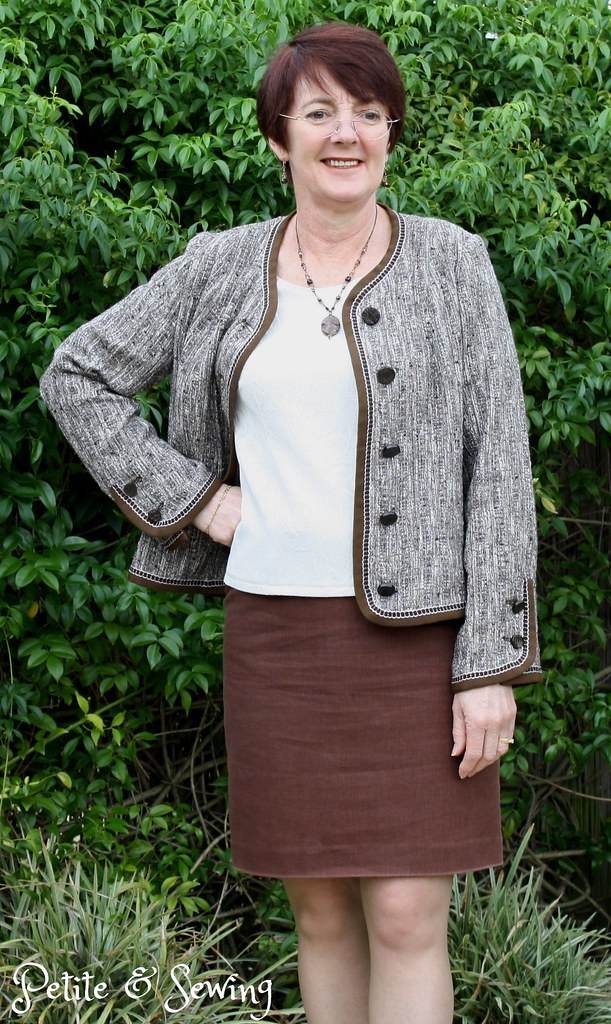
    Back here I mentioned that I was working on a 2nd Chanel inspired jacket and I am now happy to say that the jacket is finished.

    Now it all started back in October 2012 when I saw an advert in Dressmaking with Stitches magazine.

    Rita Camastral from Ricama Fabrics had written a 2 part article for Dressmaking for Stitches, Volume 20, Issue 7 and Volume 20, Issue 8.  Then in Volume 21 Issue 2 Rita advertised this workshop for early 2013 and I very quickly contacted Rita to find out about attending.

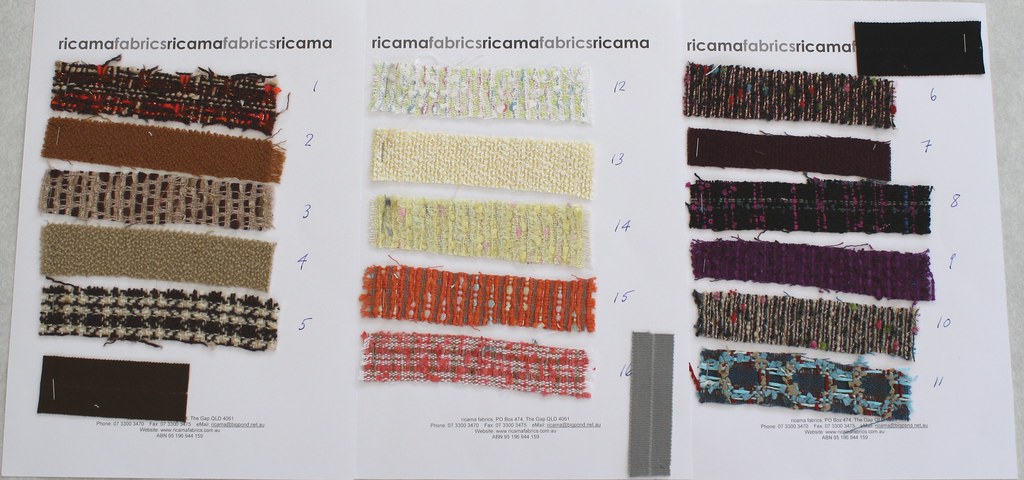
    As the workshop was being held in Brisbane I chose to only attend the main workshop that was over the weekend of 9/10 March and Rita was very generous in sending me the pre-workshop information as well as samples of her tweeds and gro-grain ribbons.

    I also did some shopping and found this perfect cotton tweed at The Silk Shop

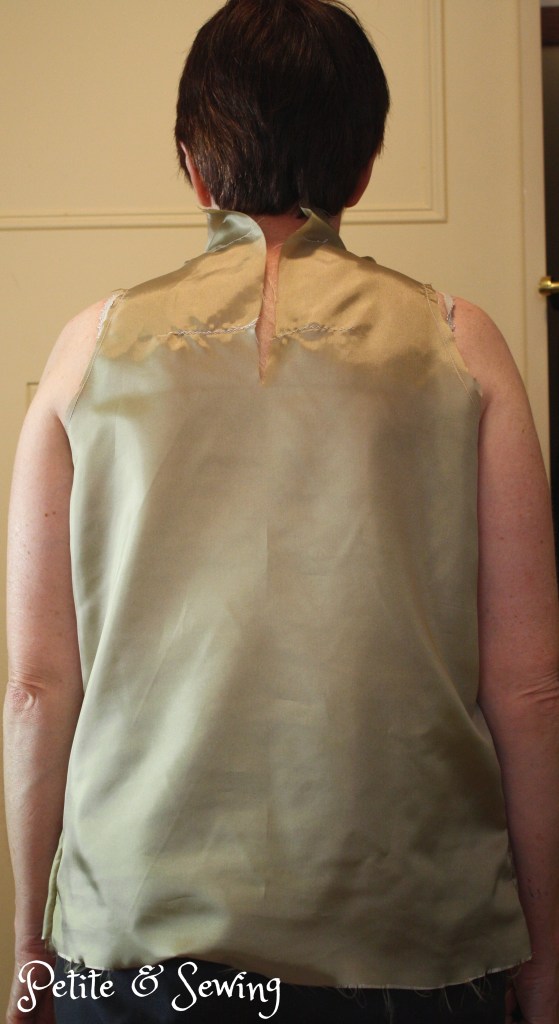
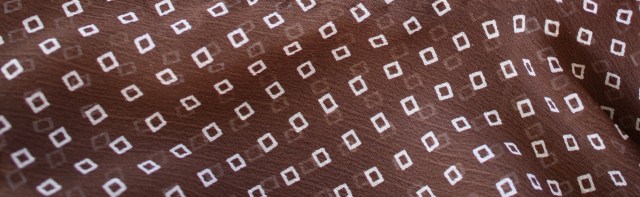
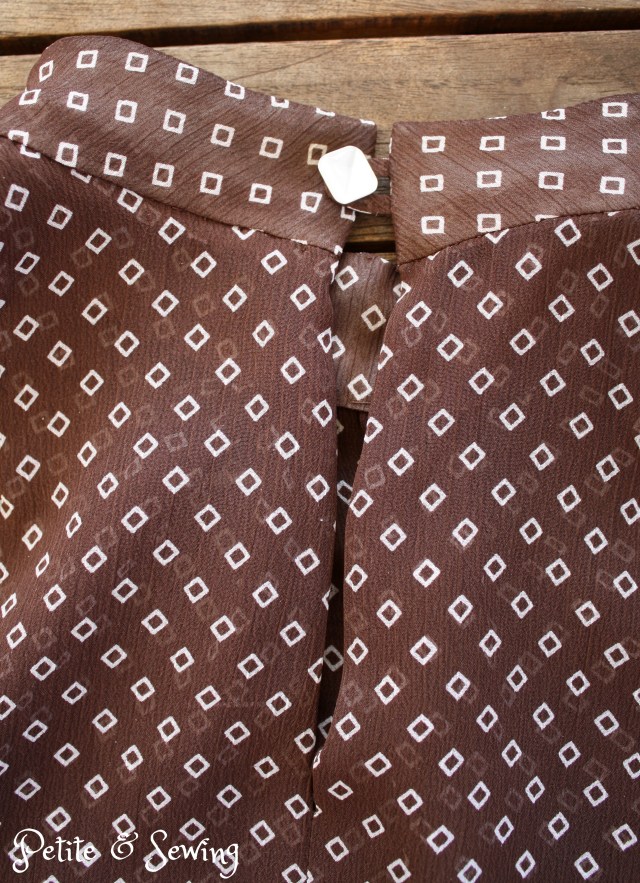
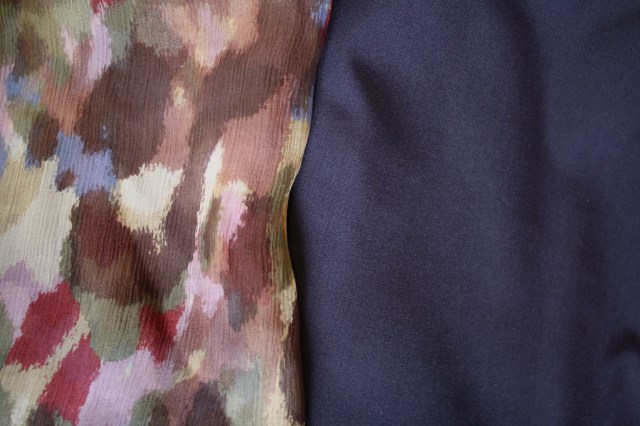
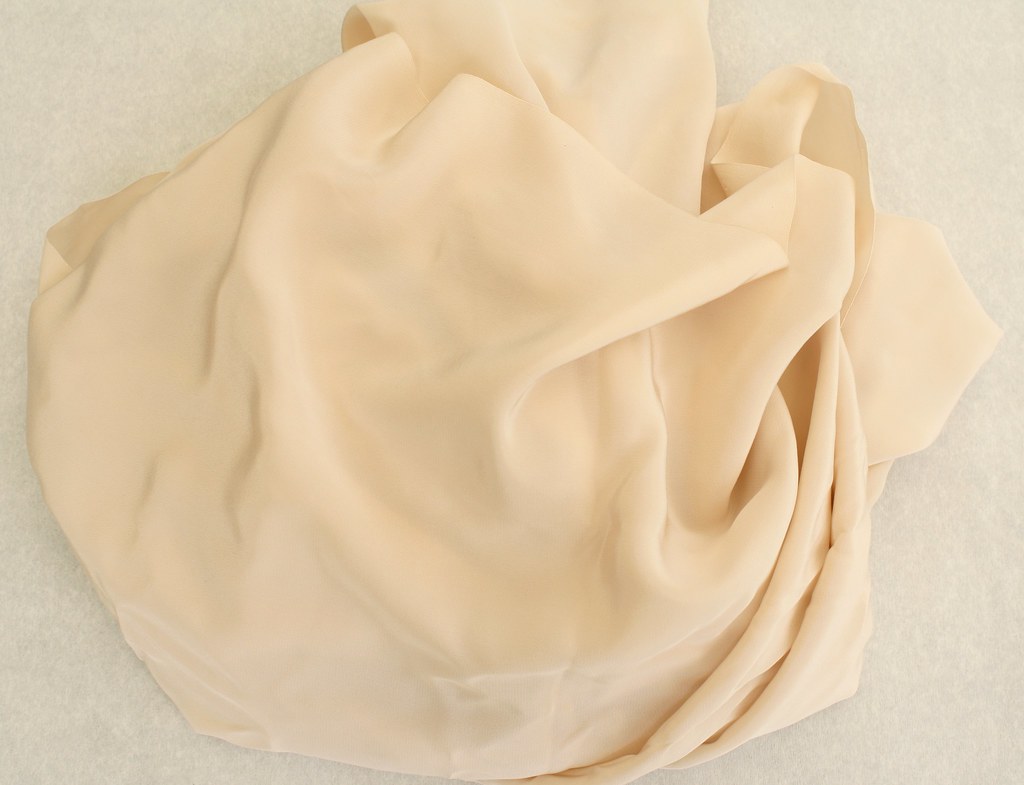
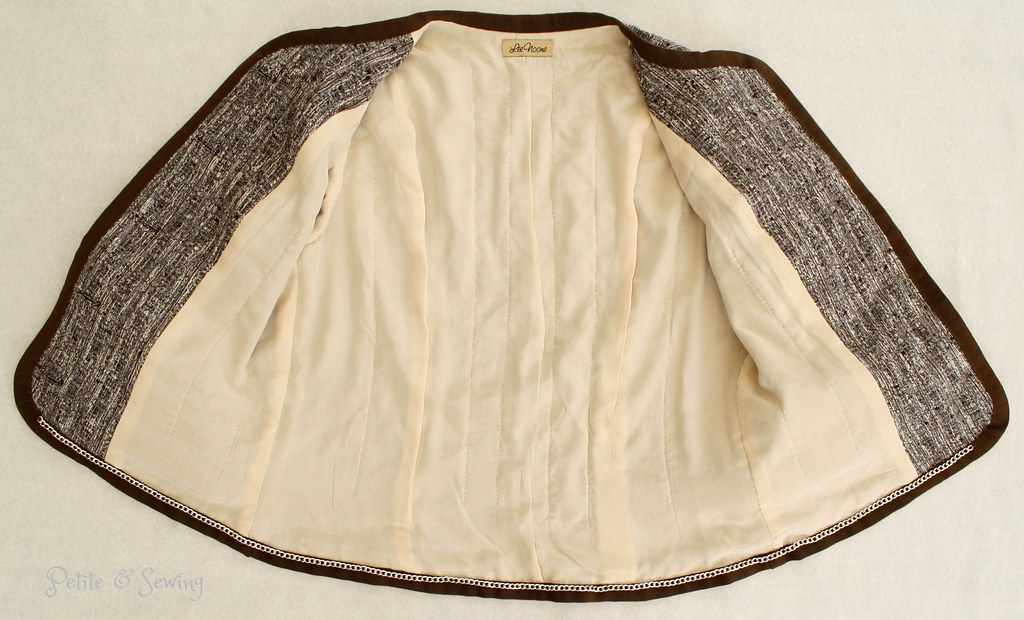
    and purchased this silk crepe de chine and the foldover gro-grain ribbon directly from Ricama Fabrics.

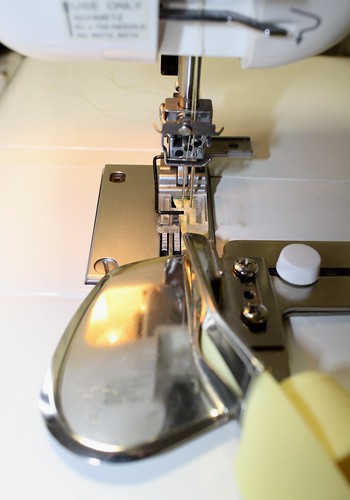
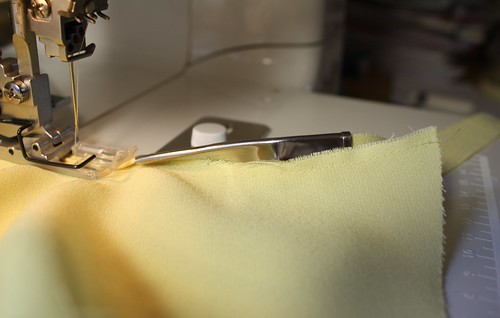
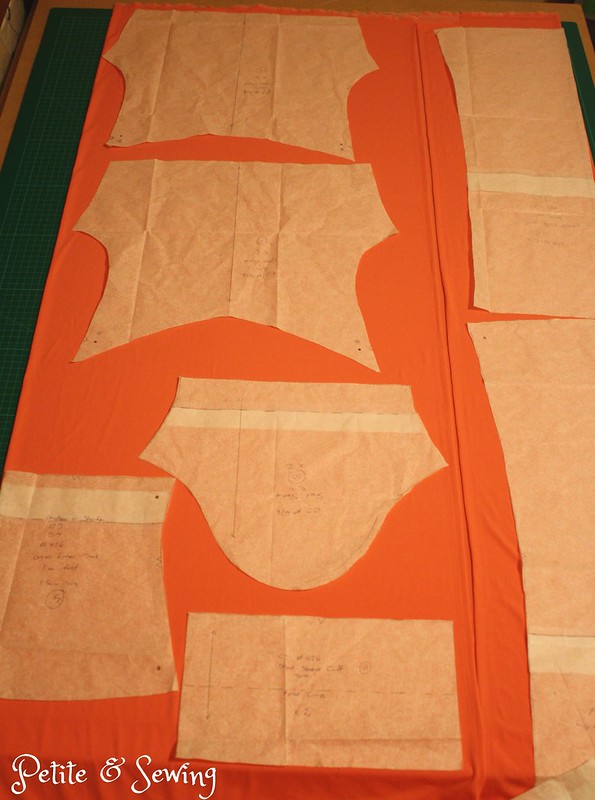
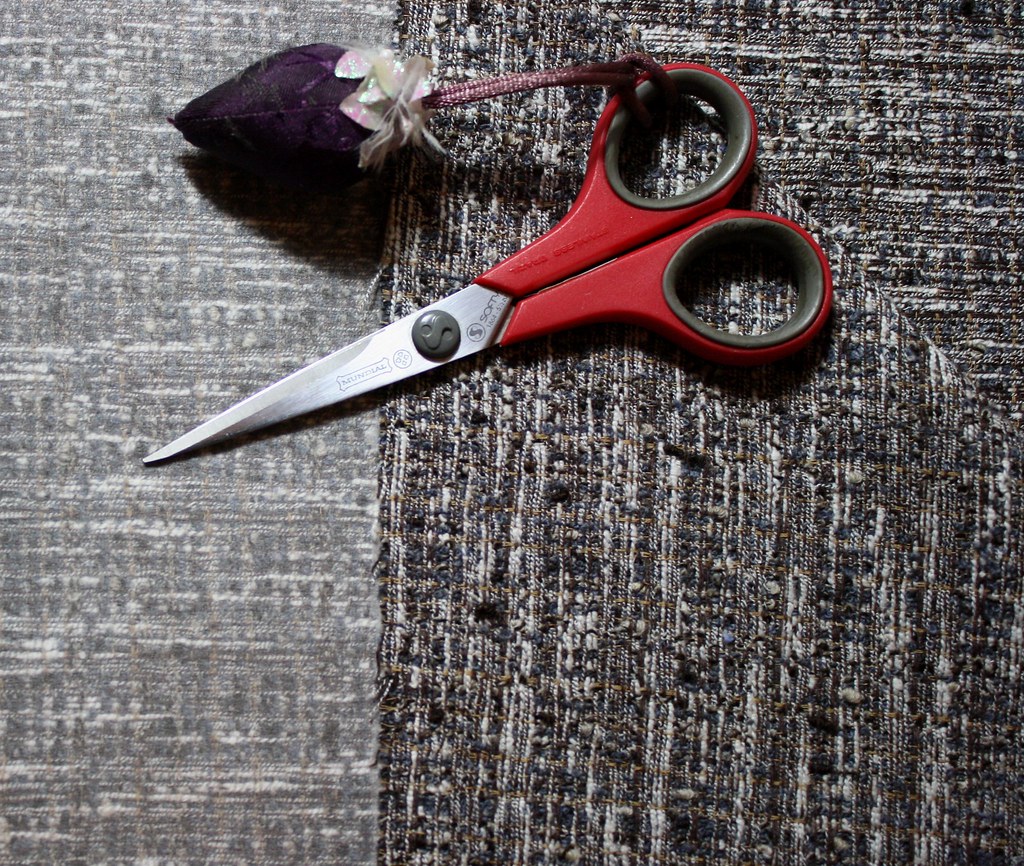
    This workshop is a technical workshop and because my fabric didn’t fray I had all my pieces cut out and the edges fused as per Rita’s instructions (this is very different to the LFJ). The other advantage about the workshop being held in Brisbane is that I could stay with my sister, so before I headed off to the workshop on the Saturday morning we overlocked the jacket edges and cut out the silk ready for quilting (again following Rita’s notes).

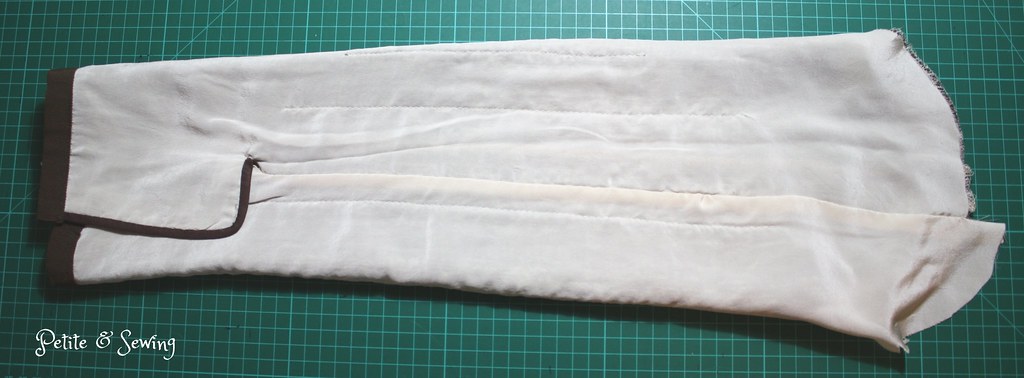
    By the end of Saturday I had machine stitched the side backs to the back, the front sides to the front – this left the side seams open as well as stitching the 3-piece sleeve seams leaving the under seam open for both the Tweed and Silk. My homework that night was to tack the silk lining to the tweed ready for quilting the next day.

    On Sunday I started quilting the silk to my sleeve and then realised that if I focused on the sleeve for the remainder of the day it would have me accomplish:

    • Sewing the last seam of the tweed
    • Finishing the silk lining on the seams
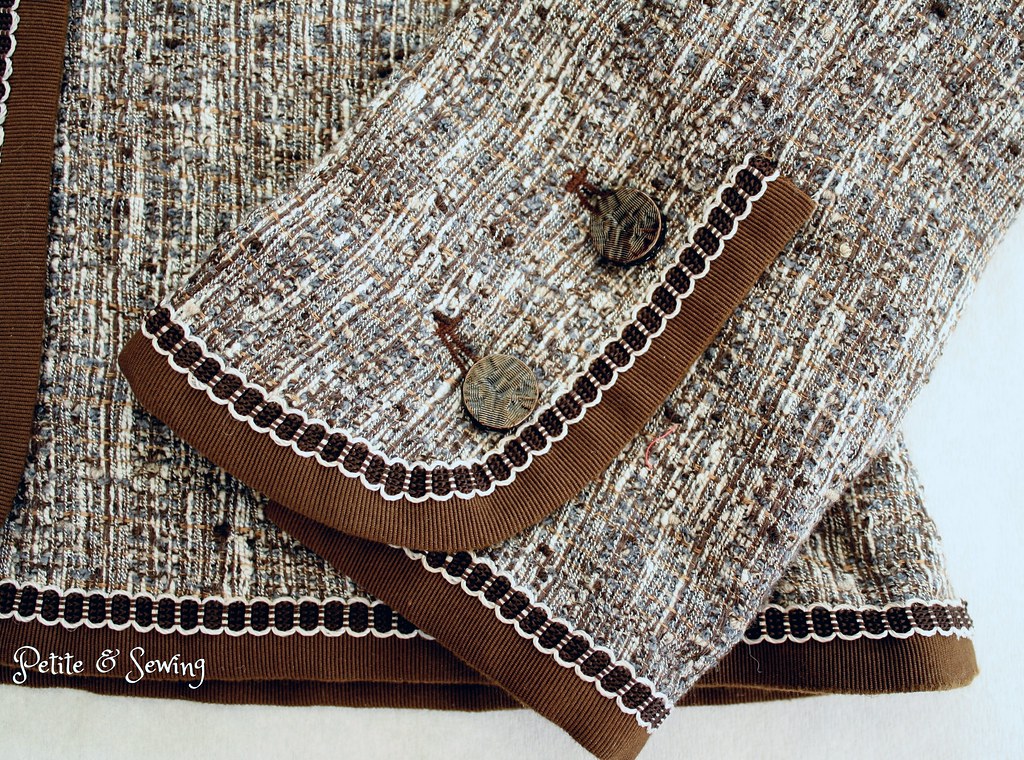
    • Adding the bias binding edge to the sleeve vent.
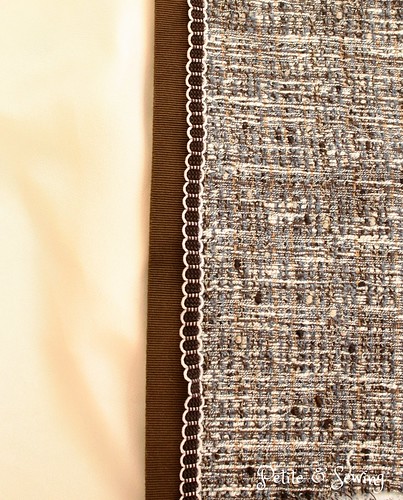
    • Adding the special gro-grain ribbon (it has a groove in the centre) which will bind the whole jacket. 

    For the remainder of the Sunday, I then worked on quilting the remainder of my pieces and then proceeded to tie-off the ends in-between the silk and tweed by the time the class finished.

    It was at the beginning of October that I picked up this project again.

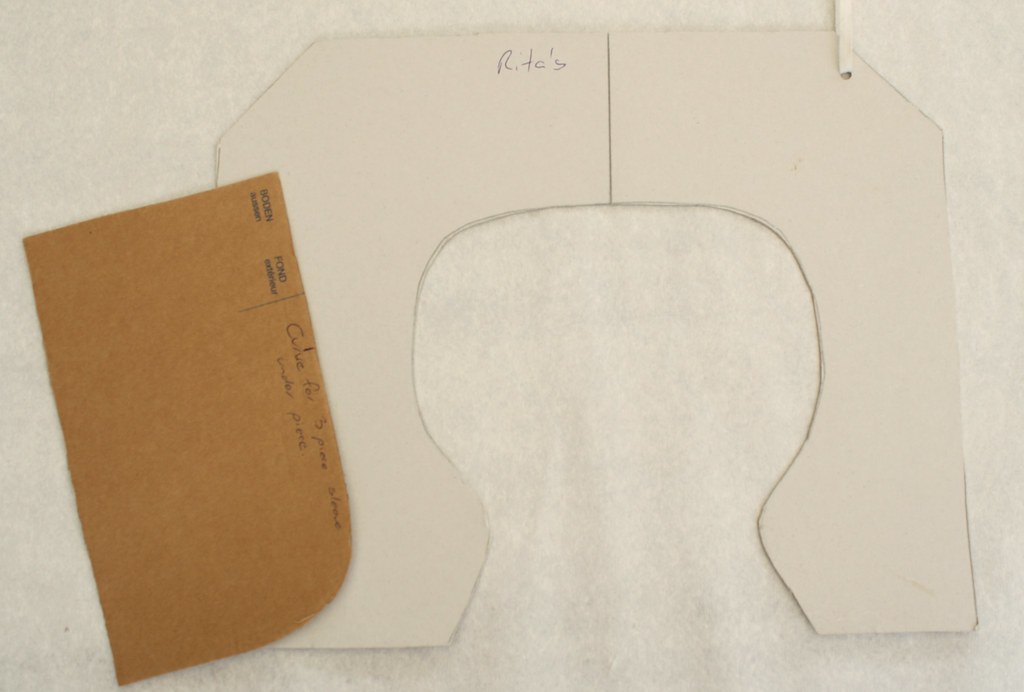
    At the workshop Rita also gave us cardboard templates for the sleeve edge and neck edge for us to pre-shape the gro-grain around the corners with the addition of some small gathering stitches.

    Whilst working on the jacket I realised that I needed some additional trim.  I found this rather challenging and even pulled a lot of threads and crocheted a trim but it needed some additional threads to make it better.

    Crocheted trim from threads pulled from fabric

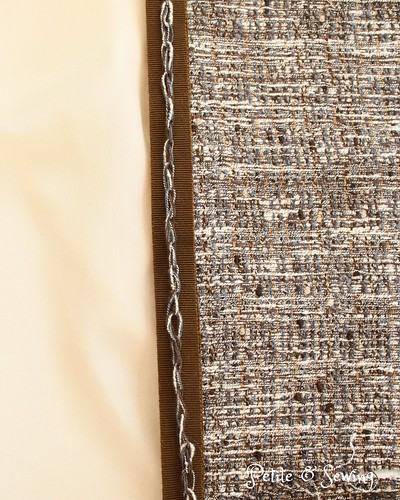
    When I was at the ASG meeting at The Remnant Warehouse I found this trim and Patricia suggested I place it on the edge, perfect.

    Purchased trim

    Once the trim was hand sewn in place, I headed to All Buttons Great and Small at Newtown and let the girls find all the different buttons that would be suitable for my jacket.

    Then it was off to see Mick at Quick Buttonhole Service at Alexandria to get the 7 buttonholes stitched, which cost $27, very good value in my mind. I waxed my thread and sewed the buttons on.

    Finally the chain was stitched just on top of the gro-grain ribbon at the hem edge.

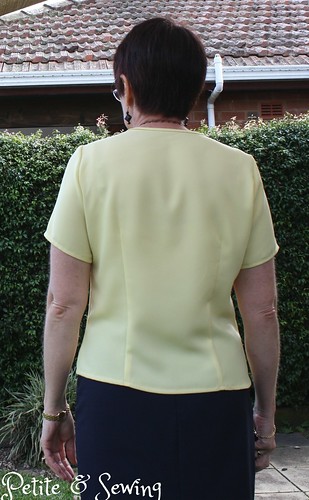
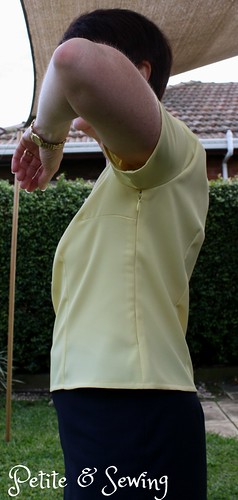
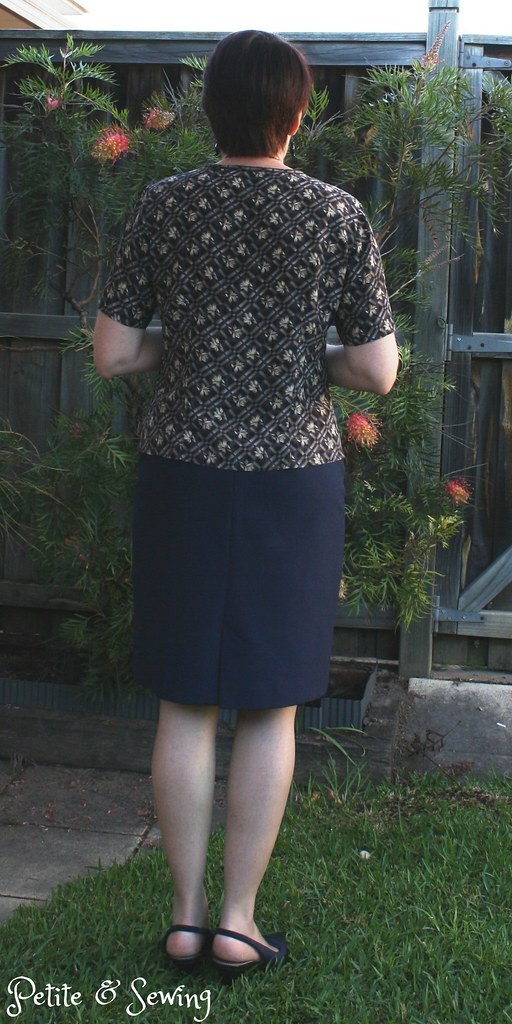
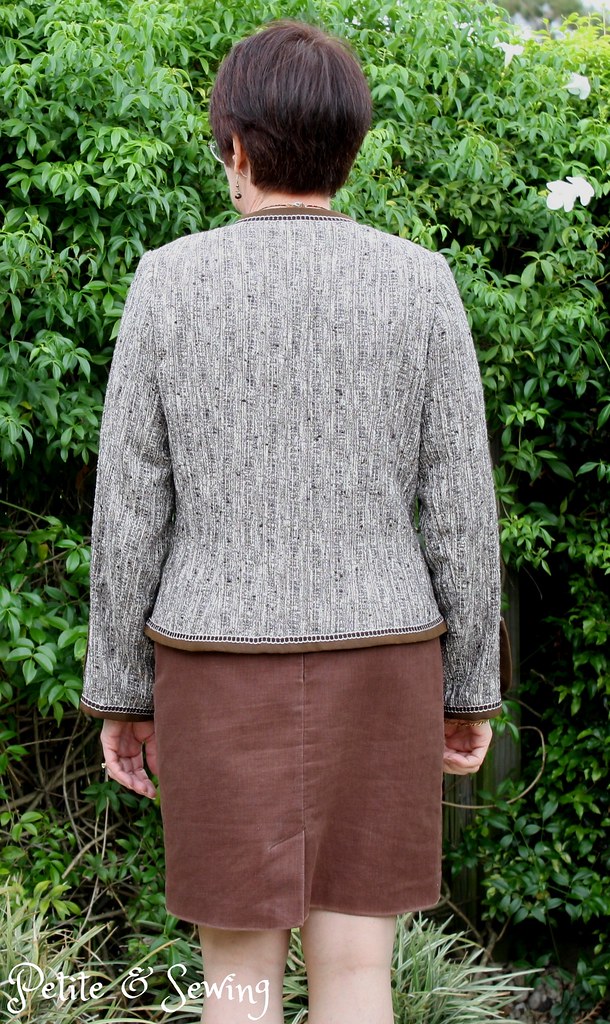
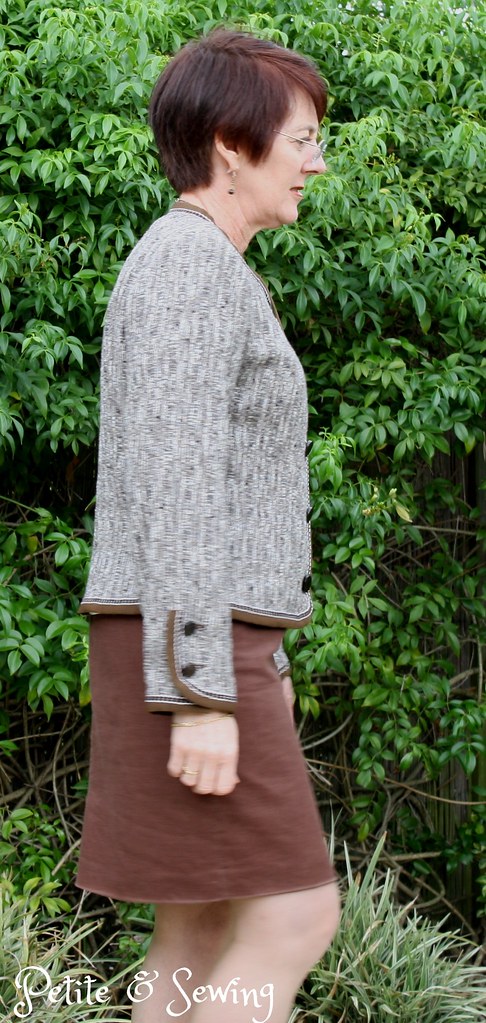
    and a few more views:

    oops I must have moved!

    This will be my first piece for SWAP 2014 – “if you have an item you’re working on now, you may include it as long as it is completed before the official sewing date of 26 December 2013.”

    It is also my first piece to be completed for my December Garment of the Month, now to get my skirt hemmed!

    I also must thank one of my lovely sewing buddies for loaning me her copy of Claire B Shaeffer’s book, The Couture Cardigan Jacket it was a wonderful resource.  Fingers crossed my 2nd copy arrives, not sure what happened to the first one.

    ******************

    Stash Out:    29.45m

    Stash In:      24.80m


    SWAP 2014

    On the 29th of October the rules for the 2014 SWAP were posted and I’m surprised I haven’t posted about them before, as I was  again spending far too much time at Artisan Square waiting for them! 

    So this year the rules are:

    We’ll be following Blue Mooney’s “Algebra SWAP” formula:

    3 “3 packs” + 2 “wild cards” = 11 garments.

    Each three pack will be:

    2 tops + 1 bottom
    or
    1 top + 1 bottom + 1 outer layer
    or
    1 dress + 1 top + 1 bottom

    The “wild card” options can be just about anything you like, but they must be “garments” not accessories (hats, bags, blankets, etc.) 

    A “top” will be any shirt or blouse worn on the upper half; a “bottom” will be any garment worn on the lower half, and it shouldn’t be obscene to wear either without another layer. 

    A “dress” will be any garment that covers both upper and lower halves, and again, it shouldn’t be obscene to wear it without an additional layer.


    An “outer layer” will any jacket or sweater that is intended to be a second layer, over a top or a dress. If it can also be worn alone, that is fine.


    A “bib” garment will considered a bottom, unless it can be worn alone without a top under or over it.

    One garment may be previously sewn; another may be purchased. 
    If you have an item you’re working on now, you may include it, OR you may stitch up one item from scratch before the official sewing date of December 26.

    There’s no requirement that every garment match or every top match every bottom.  However, all the individual pieces must form a cohesive collection -they should all look like they belong together in the closet.

    “Sewing” is a blanket term; you may sew, knit, crochet, weave…whatever works.  If you can make 11 garments with a 3D printer, that’s fine.

    Sewing will begin December 26th, and all garments must be finished by April 30th, 2014.  Muslins, pattern fitting and cutting may be started whenever you are ready.

    I have so many 3 pack combinations going through my head at the moment means that I haven’t quite got a firm plan, however I do know that some work garments definitely need to be included but then there is a casual top that I really want to make.

    Although if you can work out what my first garment will be then you will have a very good idea of the direction the first 3 pack is going in Facebook smileys

    Is anyone else planning on attempting SWAP?