Advent Knitting

Back in 2017 I was seeing Advent Knitting packs being shown all over the internet/instagram and I was intrigued.

So in 2018 I found Dingo Dyeworks, an Australian wool dyer in Perth and Sweet Georgia Yarns in the USA who are only a two of the many of producers of Advent Kits around the world.

I also realised that Ambah O’Brien, (knitwear designer) designed a wrap for the Advent Kits in 2018, so I signed up for Ambah’s Newsletter and fell into the rabbit hole of the Advent boards in her group on Ravelry.

In July Ambah O’Brien opened up a board in her group “ADVENTurer KAL 2018” which shared links to all the Advents Kits that were available and I ended up purchasing two kits –

Dingo Dyeworks

which I emptied out of the box it came in into a nice cane basket I had at home.

Sweet Georgia Yarns

Ambah had also designed the ADVENTurer Scarf & Wrap pattern so I purchased this and decided to use the Dingo Dyeworks kit first.

It was fun to open a box each day, but my knitting wasn’t as quick, but I did manage to cast-on on 1 December and do a few rows.

by 4 December I had only started my Day 2’s colour.

It was interesting to see the new colours each day and I finally finished knitting it on 4 January 2019.

but I didn’t get a chance to block it until 13 January where Katniss decided to help.

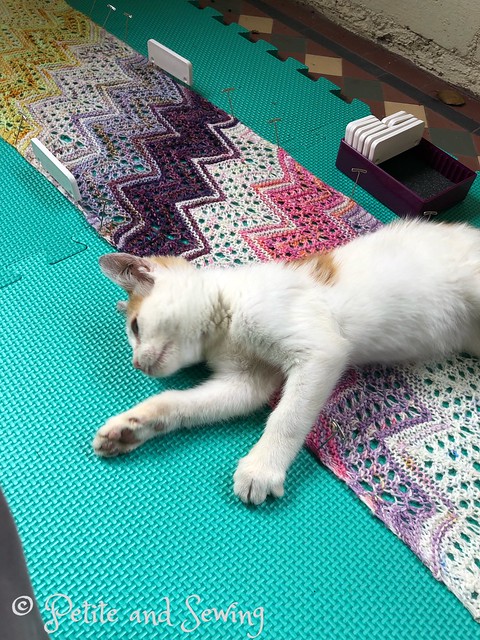
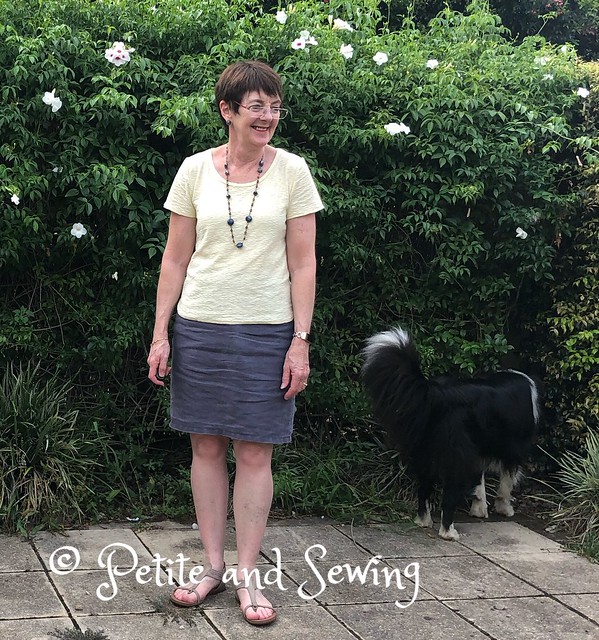
Here it is draped along the front fence.

I haven’t had a chance to wear it yet and I am not 100% certain about the colours, only time will tell if it will get worn when the weather cools down.

The Sweet Georgia Advent kit is still waiting for me but first I have a couple of the knitting projects I need to finish.

The 2019 pre-orders for this years kits is up already on Ambah’s page.  I am trying not to look!!

Lemon slub knit top with shirt tail hem

This is another version of KS 3740 in a lemon slub knit that was in the stash.

I would also like to introduce you to Katniss our new family member.  This is why Tomba is in nearly every photo as he is busy trying to find out where she is in the hedge.

Now to change up a plain t-shirt I decided to use the downloaded shirt-tail hem extension from Christine Jonson Patterns that I had downloaded sometime last year that has been sitting in my KS3740 pattern folder waiting for me to remember to use it.

So finally I got to play with it.

My t-shirt length is long meaning I usually cut off around 7cm depending on the fabric drape, so I already had some length built into my pattern to play with.

You make your t-shirt as normal until the side seams, so I used the binder on my Coverstitch for the neckband,

and then used the chain stitch on my Coverstitch to baste the side seams together so I could work out the length of my top and the point I wanted the split to occur.

I then machine stitched my side seams, stopping 6cm from the hem, where I pressed open the seam allowances and then had Mark level the front and back hems.

Once this was done, I pressed the hems and then used the shirt-tail hem extension to draw in the shaped hem with a FriXion pen.

Then with some 6mm Steam A Seam I finger pressed this around right at the outside edge the hem allowance,

and then trimmed the fabric back so I only had a 6mm hem allowance.

which I then carefully removed the backing tape from the Steam A Seam and finger pressed the hem in place

so it was ready to be taken over to the Coverstitch to finish the body and sleeve hems.

Front view minus Katniss

Side view

Back view

This is my 2nd piece for SWAP 2019.

******************
2019 Stash Out: 2.3 m
2019 Stash In: 0 m