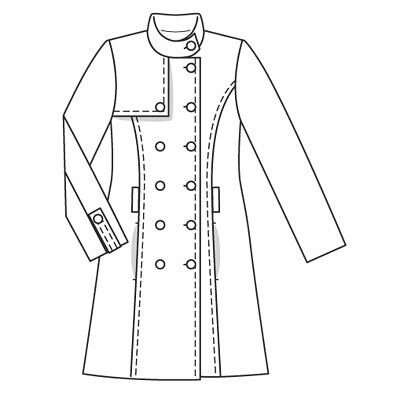
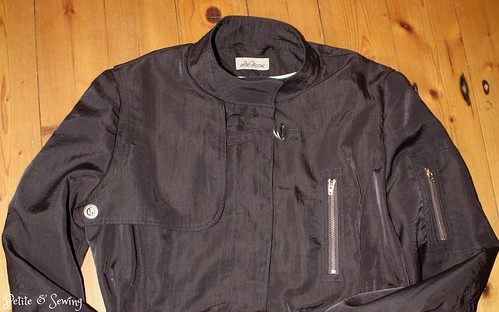
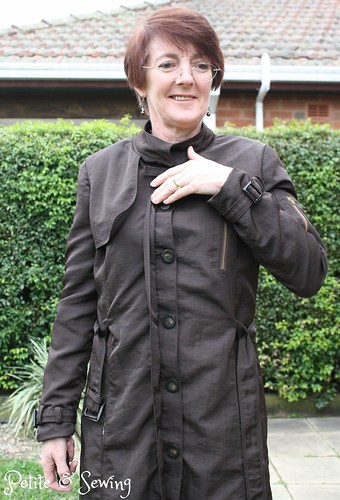
the Trench is finished 
It first started here, then the toile and pattern changes and lastly how it looked when you last saw it,
and now!
This has been one of the most challenging projects I have undertaken ever, but so worth it.
The rain coat fabric had its own requirements, but once I worked up the courage it was very easy to work with.
- I used fusible interfacing, Sheerweft TM for the facings and this fused very well using my Singer Magic Press,
- I used a Sharps needle,and increased the stitch length for my top stitching to 3.5 (previously using 3)
- The fabric ravels quite a bit, so I over-locked/serged all the seams.
When you last saw the trench I had basted in the lining. When I sat down again to work on the trench I realised I should have sat down a lot sooner and sorted out my to do list in a logical construction order as I hadn’t,
- added the hanging strap,
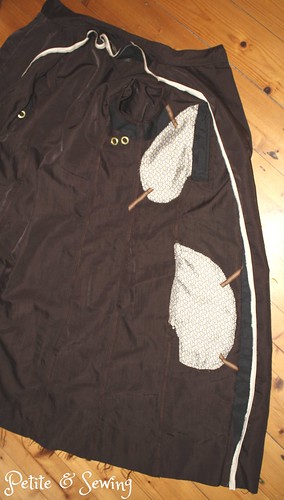
- installed the eyelets on the storm flaps,
- made or sewn on the belt loops,
- made and sewn on the double d-ring closure at the neck edge
this meant I had to do a lot of “going back”!
Now for a lot of detailed photos:
 |
| Pocket bags secured to seams |
This is a great tip from my sewing buddy Dilliander which she has posted on Pattern Review.
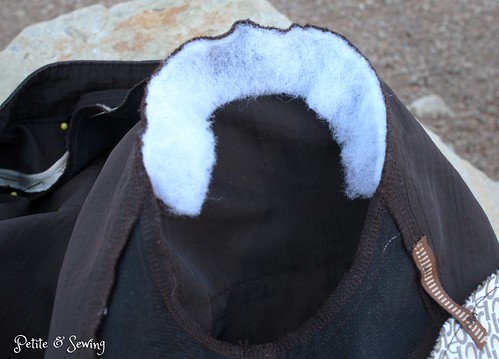 |
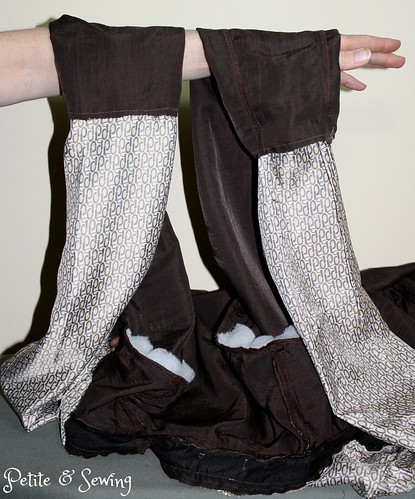
| Batting used for sleeve cap |
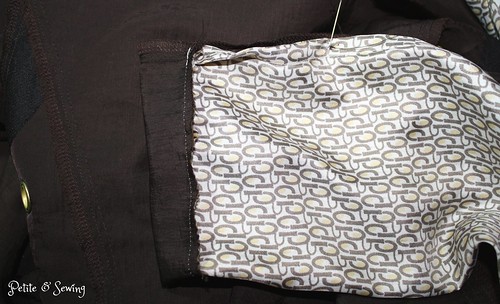 |
| Caught the lining on the sleeve seams to stop the sleeves moving forward |
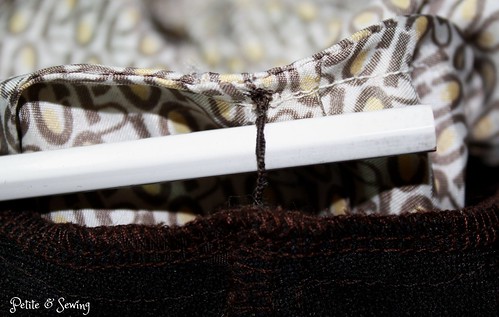
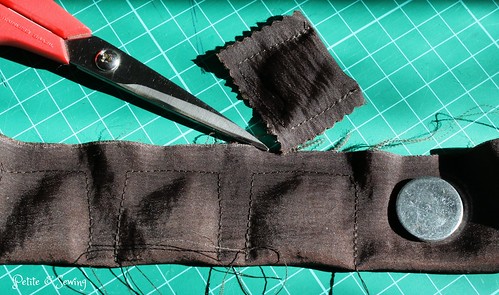 |
| Pockets made for hem weights |
 |
| Interfacing fused at hem, weights in place and hems finished |
 |
| French seams used for the lining |
 |
Double D rings for neck closure, storm flaps have eyelets with washers installed using a Prym Kit
I purchased from the UK. |
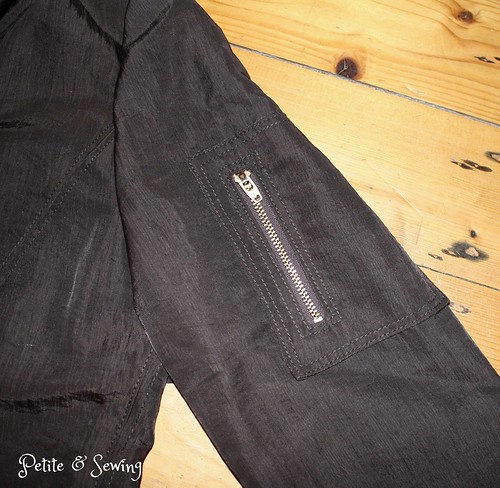 |
| A closer look at the zippered pocket on left sleeve |
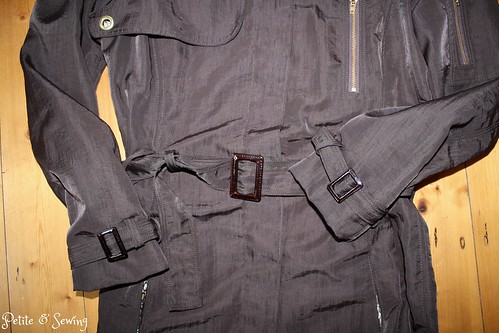 |
| Belts and buckles. |
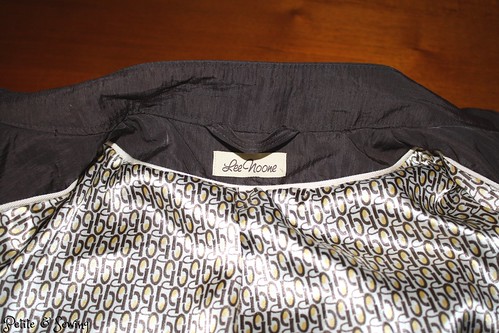 |
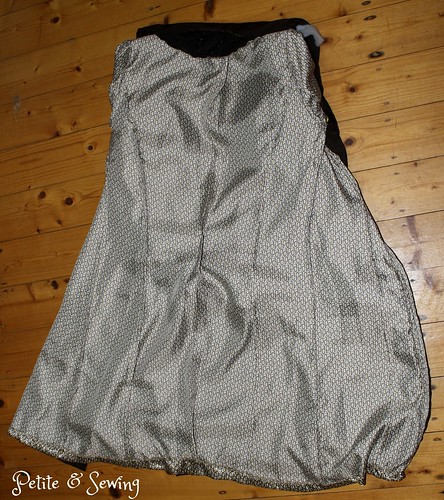
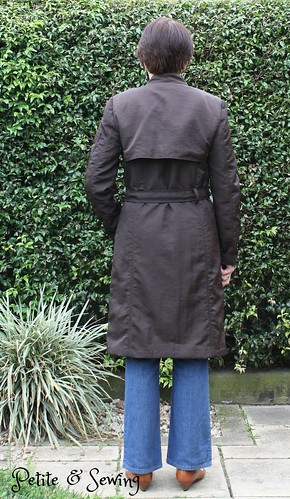
| Lining with piping and hanging strap
|
 |
| Concealed buttons |
 |
| oops, I missed a belt loop! |
and last of all
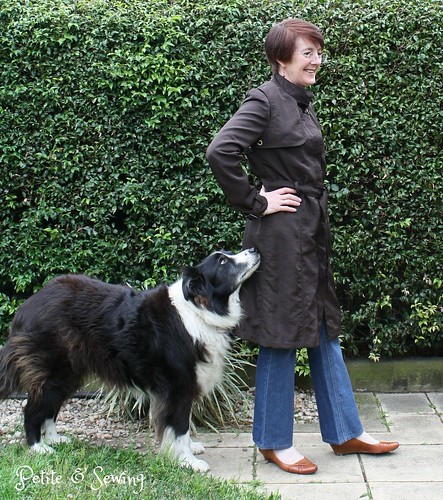 |
| can we go play now! |
Even with the challenges and time this has taken I am thrilled with my Trench and look to forward to getting a lot of wear from it.
******************
Stash Out: 19.25m