and heading off to our sewing weekend.
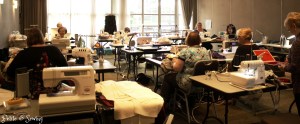
This was last Saturday morning and after hubby had loaded the car for me I drove to the Mercure Hotel at Parramatta to meet up with 14 of my real life sewing buddies to sew and chat all weekend!
Here we are all busy and if you look closely you can see my trench coat hanging on the window sill at the back of the room.
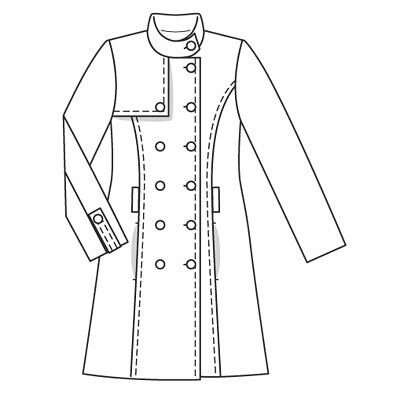
At this stage the trench still had 18 steps to do in no particular order and those with a line through them were completed during the weekend.
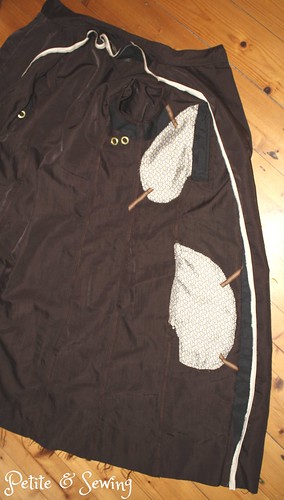
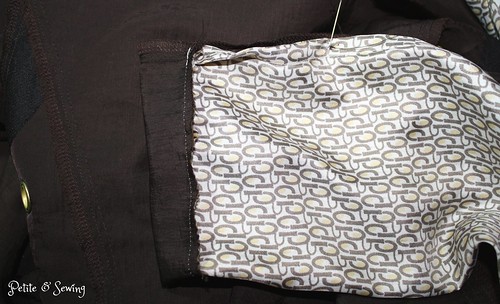
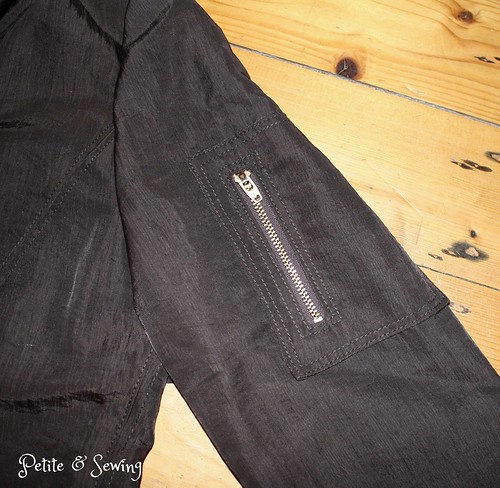
– finish pockets
– secure pockets to seams
– install grommets on storm flaps both front and back
– attach back facing
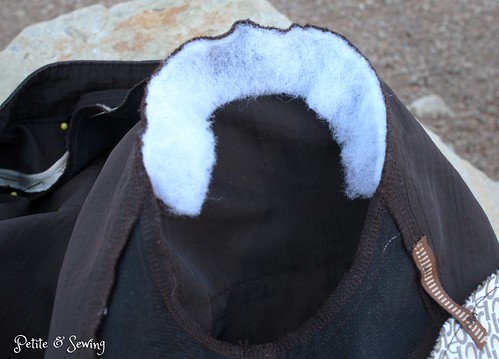
– work out how to put zip in curved collar
– if work out then finish hood and install
– make collar and attach the Burda way
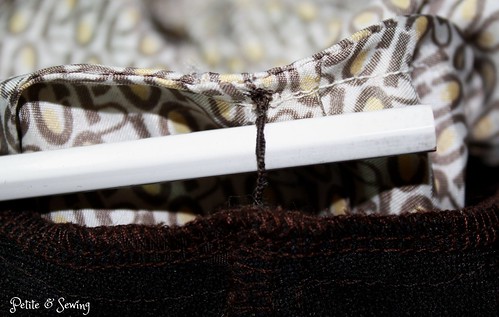
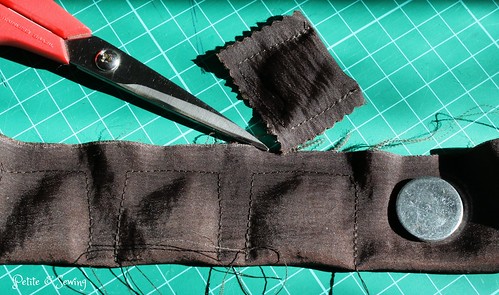
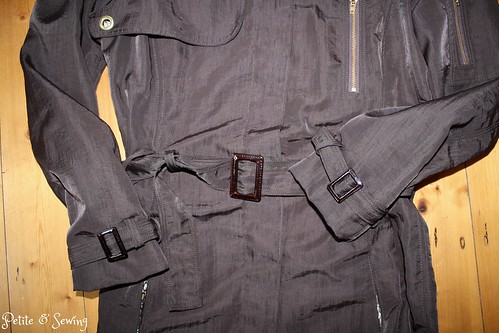
– make carriers for belt and sleeve carriers
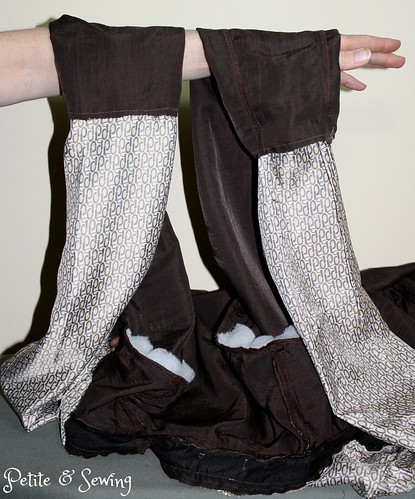
– set in sleeves
– add batting to sleeve cap
– attach carriers
– baste piping around facings
– press hems in place
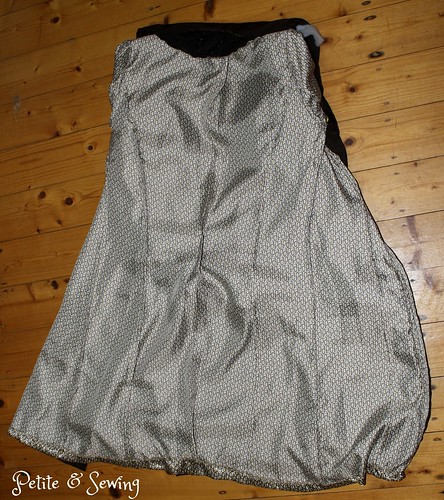
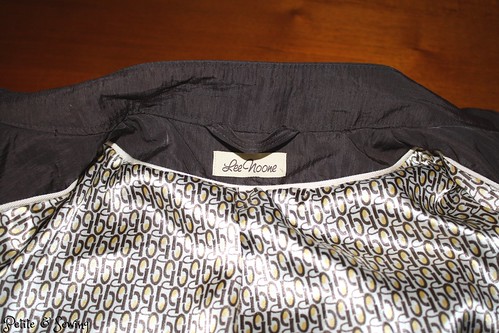
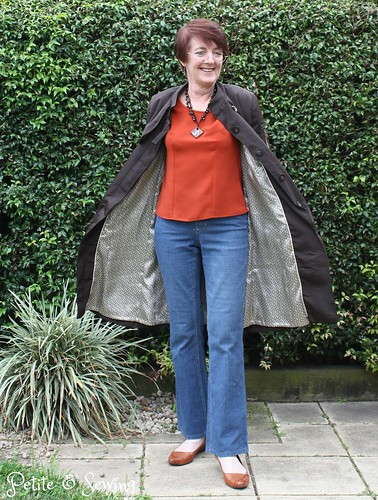
– attach lining – already made – basted in as I wanted to see how it looked 🙂
– handstitch/sew hems
– sew on buttons
– make belt for coat
– make straps for sleeves
I spent Saturday morning making various collar prototypes trying to work out how to put the chunky metal zipper into the curved collar for the hood. No matter how much pressing and shaping of the zipper tape I did, I couldn’t get it to fit the curve of the collar so that idea has been scrapped, so my trench doesn’t have a hood, but I can live with that.
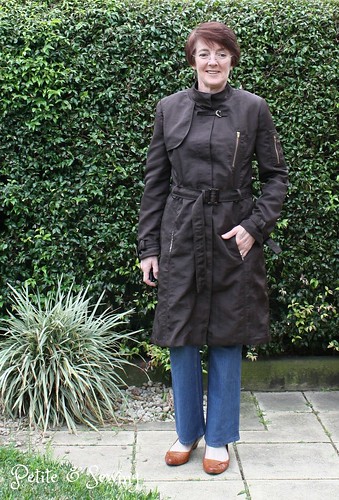
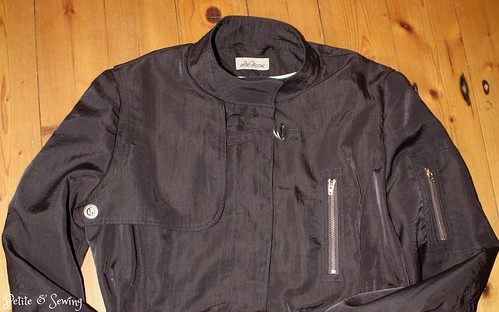
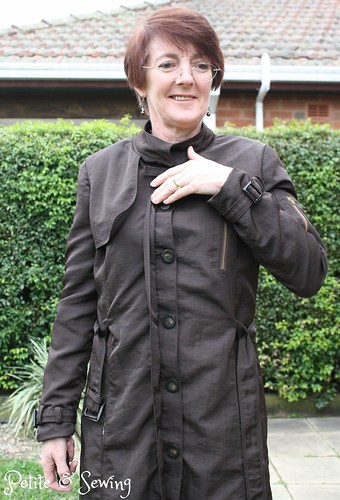
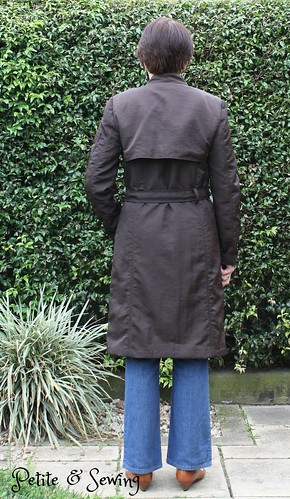
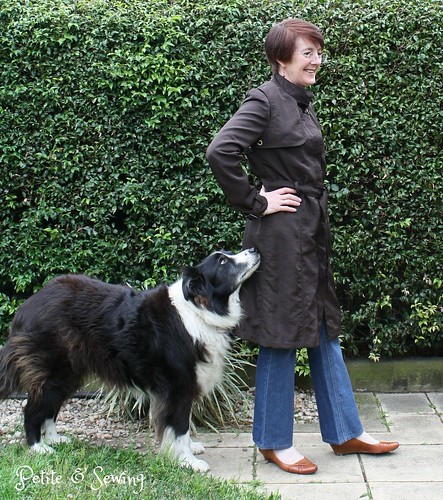
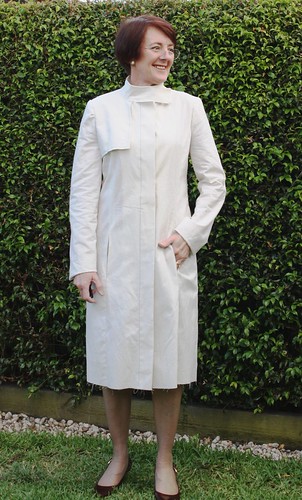
The remainder of the weekend was spent completing the other steps and here is how the trench looks at present:
There are still quite a few steps to do on the trench and they are going to take some time.
Thank you ladies for a wonderful weekend of laughter, shared experiences and knowledge, it was a lot of fun!!
Not much other sewing has been going on besides the pants muslins but I have decided to join the Pyjama Party over at Did you make that? as I am in need of some new winter PJ’s as well as a lighter pair for when we head to the snow as our accommodation is centrally heated and I definitely don’t need my flannel PJ’s then.
Is anyone else sewing along?