Japanese Knot Bag and November Stashbusting

I follow Sue from Fadanista and this month she hosted a sewalong for her Japanese Knot Bag.

This bag has appealed to me from the start and I was very happy to sign up for the sewalong.

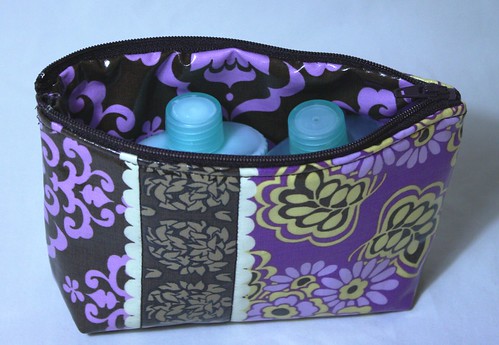
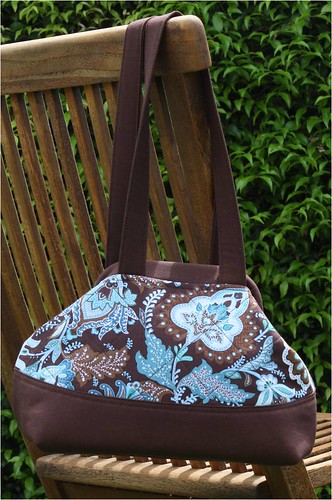
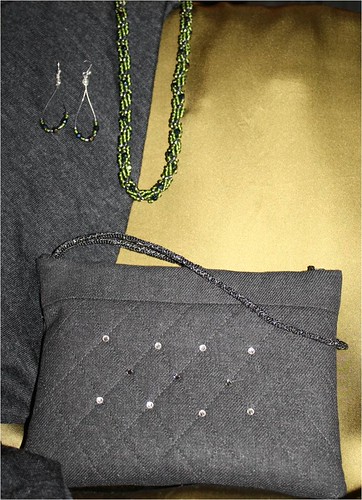
For my bag I used some home dec fabric which I had purchased from Spotlight back in 2009 for a jacket in my SWAP plans but it never happened and now the fabric stood out for the perfect evening bag.

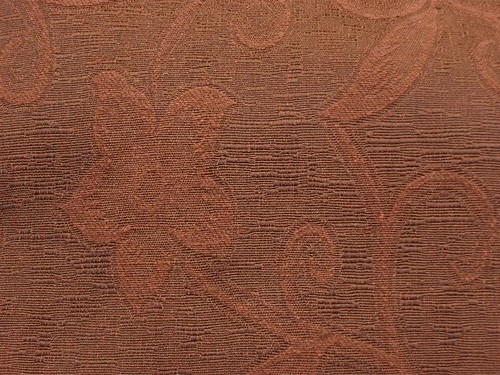
I reduced the bag pattern by removing 2.5cm (1″) around the bag as I wanted a small bag for date nights.

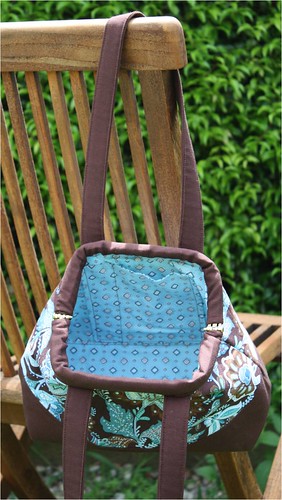
For the main fabric I used some black SheerWeft to stabilise it.  The lining is a fat quarter of quilting cotton that was in my stash and I reduced the lining pattern by a scant 3mm (1/8″) so that the seams would roll to the inside.

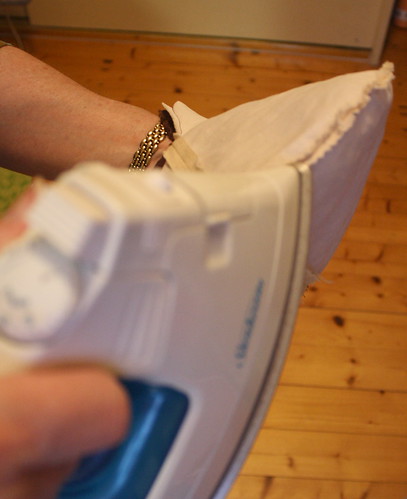
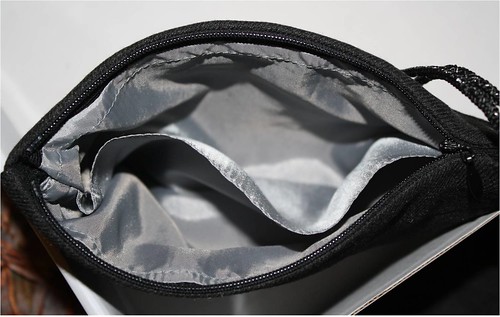
One of the things that I am quite obsessed with is pressing, so even with this bag the pressing happened.  This is where my silicone mitt comes in very handy.  It looks like the one below.

This lets me put my hand inside the bag and use the edges of the mitt to press the seams open.
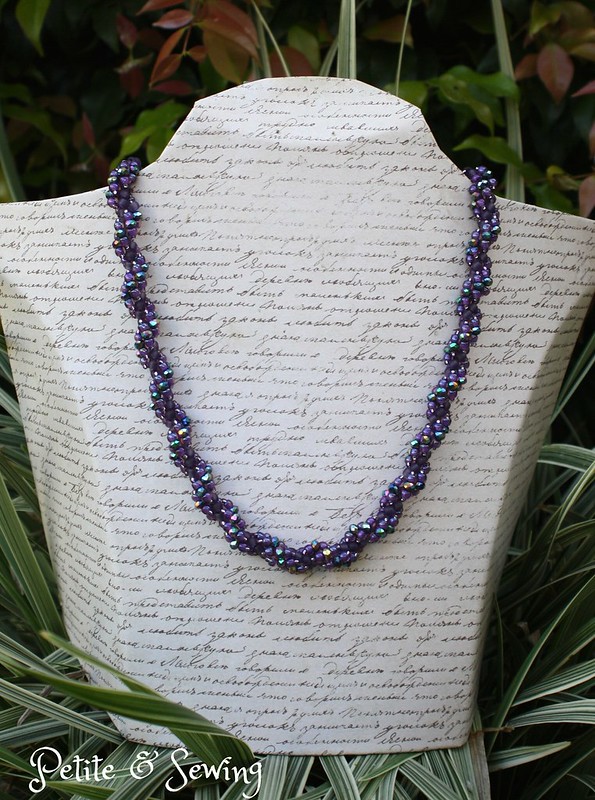
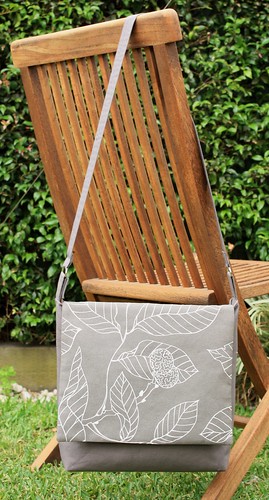
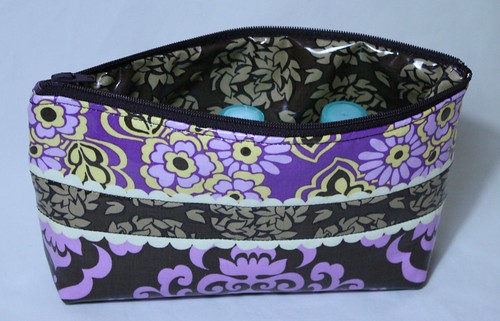
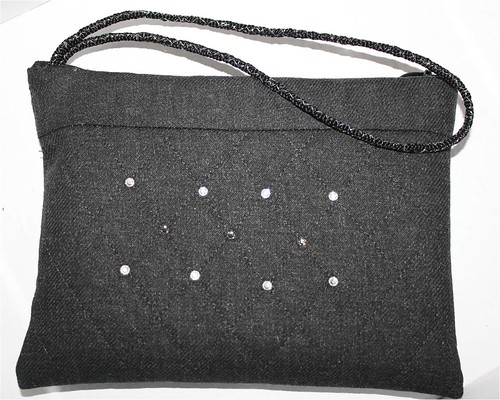
This is version 1.

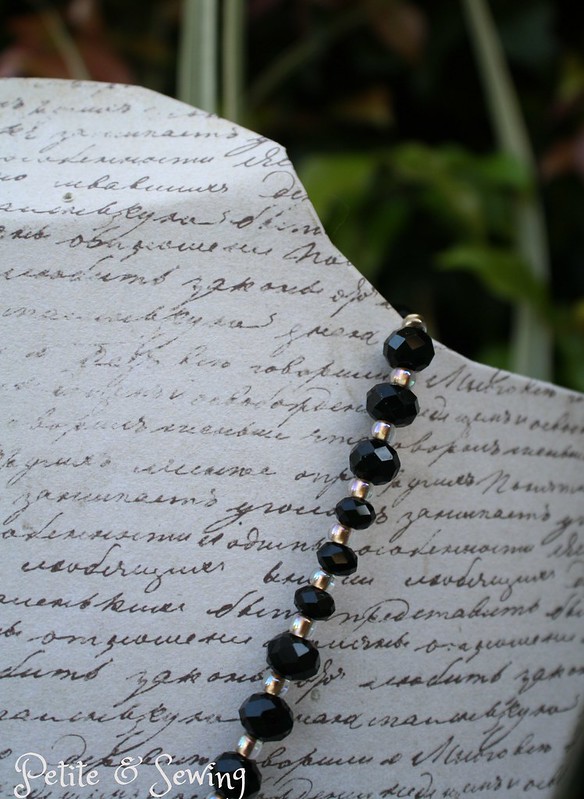
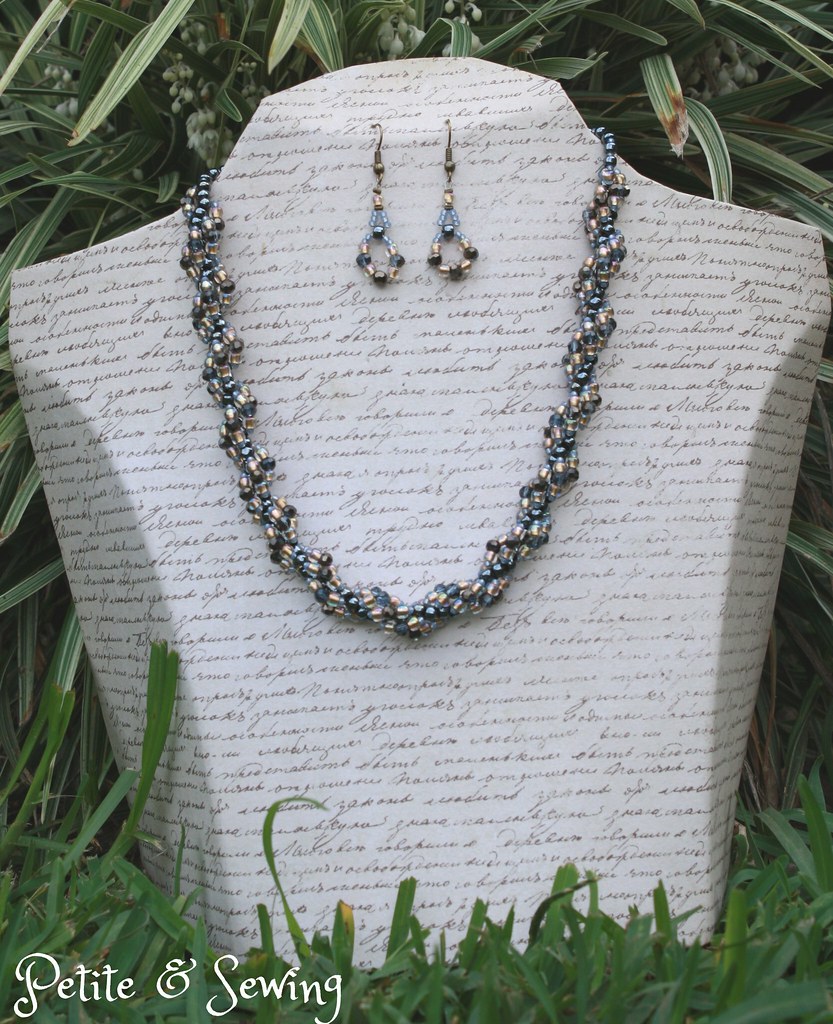
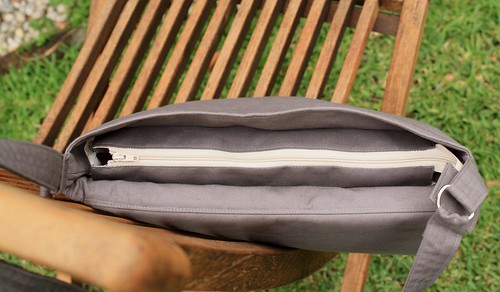
Here is the finished bag and the goodies that I carried it in.  Hubby even managed to get his wallet in there as well.
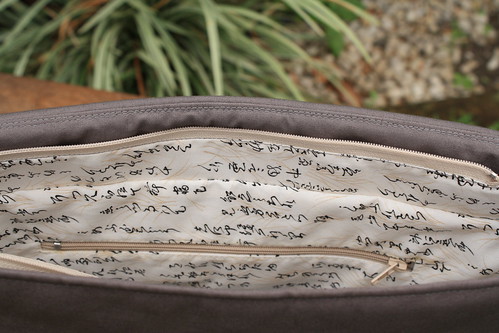
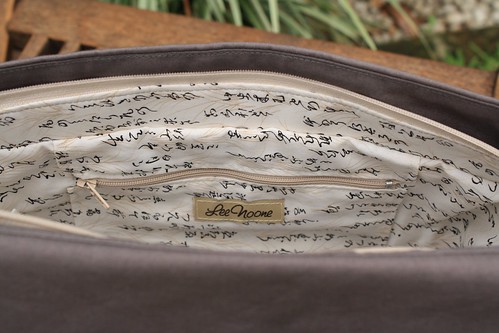
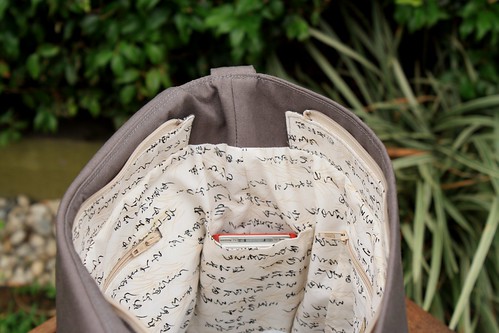
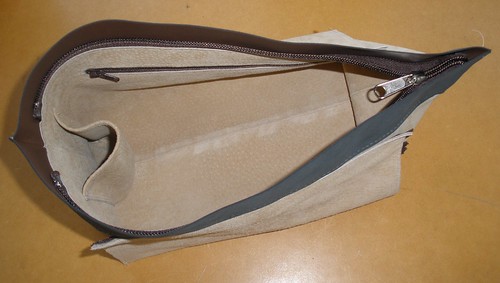
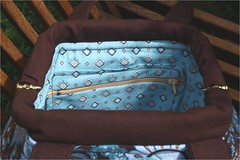
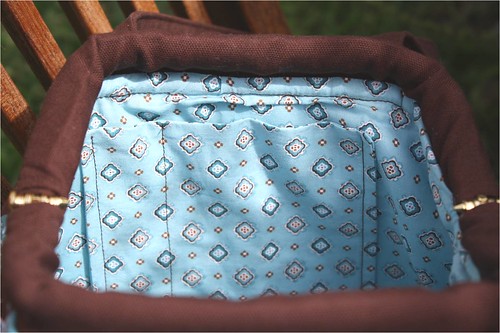
The lining

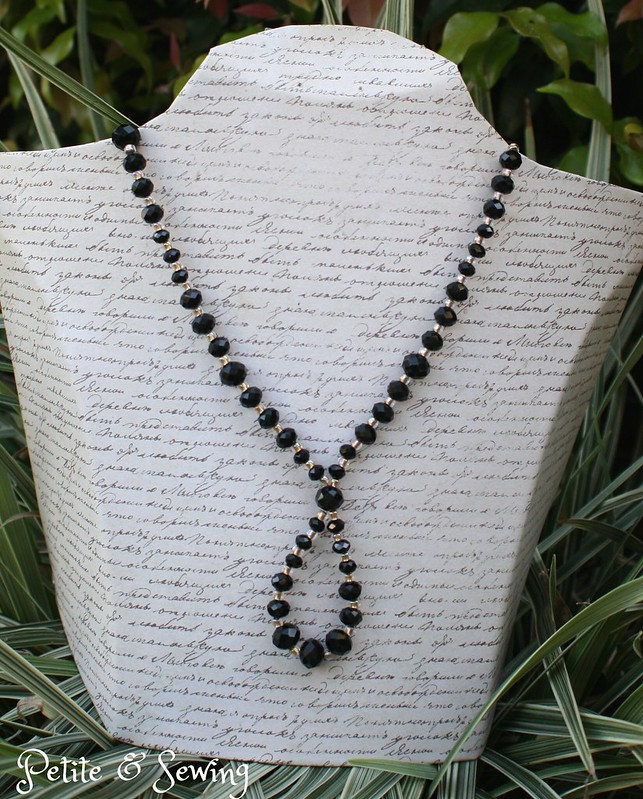
Oops no pattern alignment!

and finally how it went out last night.

and I can’t believe I have managed to complete a piece in time for the Stashbusting Sewalong 🙂

******************
2015 Stash Out: 13.95 m
 2015 Stash In: 18 m

Gift giving

It all started when my best friend saw this necklace and gave the largest hint that one in various shades of purple would be a wonderful Christmas present, so who was I do deny her.

Another trip to Zilchbeads was organised and the lovely ladies helped me sort out the beads for this necklace.

and a close up of the colours

Whilst I was there, I saw a very stylish necklace and thought it would be an ideal gift for Mum so before I left the class the beads were gathered.

and an evening later I had finished this necklace which is 48 cm in length.

It will work with all her plain tops to add a bit of sparkle!

Whilst there I also saw some lovely beads that are hand made that will be perfect with the coral and watermelon fabric that is part of my 2015 SWAP plans, just not so sure I want to get involved in making beads!

A new necklace

At the Stitches & Craft show in March at Rosehill, I found a new bead shop at Winston Hills, Zilchbeads so just before we flew out for our trip I booked myself in for a class.

The thing I struggle most with beading is how to co-ordinate the colours, I can do it for my wardrobe but not for the beads, so this is where the lovely Vicki and Janelle at Zilchbeads were so helpful.

I took along this fabric and said I wanted to make a necklace to go with it.

This is the bead combination and pattern that we came up with, I am thrilled!

Now to work out when I can head there again.

Beading

My sister has decided to give beading a go and to try and help her I went looking for a bead shop in her area, and guess what I found, Tribute to Tribal beads at My Beads.  Oh my I knew exactly what I would be dropping hints for for Christmas!

I definitely wasn’t disappointed when I opened my present on Christmas morning.

We were at Mum’s for Christmas and she mentioned that she had a new top but had no necklace to wear with it so of course I asked her bring it out and it worked perfectly with some of my new beads.

Last week I made up this necklace and posted it to Mum and she is thrilled with it.

Now to get organised to make myself a new necklace or two!!

Zipper Workshop

Back in October, Maria, Alison and I headed to Canberra for the day to attend a Zipper Workshop by Nicole Mallelieu at Addicted to Fabric.

Our requirement list had us purchase fabric, lining and zips for the Large Tote and Satchel.

After checking out the Nicole Malleliue Design – Made by You flicker group I fell in love with the all the different flaps that people had added to their Totes, so I headed off to Ikea and found this wonderful print and then managed to get a reasonable match in some quilting cotton for the remainder of the Tote and the lining.

The workshop consisted of 4 types of zippers which Nicole said we would probably only get 2 completed, maybe 3 but were given notes for all 4, which were:

  • Super Simple Zipper
  • Exposed Zipper Pocket
  • Lapped Zipper Pocket
  • Zipped Gusset

I decided to do the Exposed Zipper Pocket first in the Tote lining,

and then proceeded to work on the Zipped Gusset for the top of the Tote.

Over the last month (I’m not sure where the time has gone) I have:

  • Added a zipper patched pocket to the opposite side of the Tote lining;
  • Added a phone pocket on the end wall of the lining.

and now have a bag that looks like this:

and this:

I’m not sure if you can see the black pins on the strap on the right hand side of the Tote above but this is where the bag is up to.

It was whilst I was trying to decide on the strap length, that I realised that no matter what length I made the strap the actual size of the Tote was not something I would ever use, it wears me which is not how I want my bags to be.

Now it is fortunate that when my darling Mum and Sister visited yesterday the Tote wasn’t quite finished but my Sister did like it “quite a lot” so maybe this Tote has a new home already, I am waiting for the call back!

Leather Workshop – Convention 2012

Well I’m home again and what a fantastic week I had at the ASG Convention in Adelaide.

In my previous post I did tell you about the Fractured Knit Cardi workshop I was going to be doing, however I didn’t mention the Luscious Leather Handbag 2 day workshop with Yvonne Twining.

My kit for this workshop was $48 for the small bag and that was for the leather and pigskin for the lining.

The class started with us choosing 3 or 4 types/colours of leather and Yvonne had so much gorgeous leather to choose from and what colour pigskin lining we wanted to use.  This is my leather choice, safe but perfect for me to use every day.

This is during construction showing the 3 leathers

By the end of the first day we had cut out the leather pieces, pigskin lining and had completed the sewing of the pigskin lining.

2 side zip pockets and an iPhone pocket

At the end of the 2nd day, all 9 of the workshop attendees had a finished bag and here is mine:

The 3 leathers on the front and the back is the plain leather

Not sure how I’m going to fix that wayward stitch 😦
Internal view

I am thrilled with my new bag and it was an excellent learning experience for working with leather.

The Fractured Knit Cardi just needs a few more finishing touches.

Cosmetic Bags

On Friday night I realised that I needed something to take to my ASG meeting the next morning and seeing I have so many garment ideas running around my head I have ended up with some paralysis as to what to cut out next.  This is when I spied this project that had been sitting on my sewing desk since earlier this year.

I purchased a kit for a Laminate Cotton sew-along thinking it would give me some practice for sewing my rain coat trench that is one of the garments on my sewing list.

I chose the Orchid Fiona Panel by Riley Blake Designs.  The kit was packed up so nicely with samples of the different cotton laminates, a Wonder Clip as well as the fusible Pellon, zips, cord and cord holder to make the 2 cosmetic bags and a sunglasses case.  I cut out all the pieces on Friday night and fused the Pellon to the cotton laminate – on the ironing board I had the Pellon face up, the laminate cotton on top and a muslin press cloth on top, iron on cotton and no steam and it worked perfectly.

I used a size 14 needle and a Teflon foot for my sewing machine and normal Gutterman thread for the construction.  All pressing was done with a dry iron on cotton setting and my muslin pressing cloth.

Here is the completed set:

The larger cosmetic bag showing the interior:

The smaller case showing the interior:

This was a good quick project and I am surprised at how well my travel sized bottles fit in them!

********************

There were a couple of questions on my last post about KS 3740.

shams – the neckline is the cowl from this pattern, it falls very softly in this fabric so is hard to see it in any detail.

mary – I do a round shoulder adjustment which moves the shoulder seam 1.5cm forward and when I lined up the sleeve head with this point the cap height of the sleeve is not in the correct place causing my sleeve to twist.  I normally place the sleeve cap notch 1.5cm behind the shoulder seam then the sleeve cap height is in the correct position and my sleeve doesn’t twist.   I hope that makes sense.

New accessories

Over the last few weeks I have been working on some new accessories, namely necklaces and have learnt a few new techniques as well.

The first is a bead spiral with the netting stitch for the smaller beads.

Here is a closer look at the beads in the spiral.

Next was something to go with the greens in my wardrobe, so to take a break from needlework and get back to using the tools, I worked with jump rings and created Byzantine chains and then added beads in between.

This is better shot of the colours and you can see the Byzantine chain a bit better.

Sewing news is that the Minoru is very close to be being finished, only the elastic at the waist and hem are left to do!!

Unfortunately, I have to pack up my sewing room for guests to stay, but do plan on cutting out my knit top for the SWAP and setting up my machines to sew on Anzac Day at the dining table, I will just pretend I am at a Guild Meeting Skype Emoticons

Sewing, is this counted!

Yesterday at the Rhodes Fashion Sewers ASG Group we had a workshop by the talented Monica Poole, the creator of  Moonshine Design, where there are patterns for bags, quilts and fashion.

We all stared worked with the one pattern, The Spice of Life pattern and the 12 bags were all very different, traditional quilted cotton, faux fur, and Gail’s woven upholstery carpet bag which is very impressive.

The main fabric and lining is a Vera Bradley quilting cotton that I bought off Etsy a while back and the brown is duck cloth that Alison had left over from her daughter’s laptop bag, friends are wonderful.

The batting suggested for this bag is Matilda’s Own Bag Batting which a lot of the girls found very hard to find.  I ordered mine from Under The Mulberry Tree and it arrived very promptly and well packed.

I also needed some Template plastic which another friend suggested I purchase the very thin cutting boards that are readily available at the $2 shops, I got a pack of 3 for $3 and they are just a bit thicker than the template plastic but much more cost effective.

The zip for the internal pocket was from my stash and Monica had the Ghee’s tubular bag frame available on the day for sale.

I made the small bag, the dimensions are 20 x 30 cm (8 x 12″).

For the workshop we had to have all the bits cut out ready to start at 10.00am.

By 3.30pm most of us had completed bags.

And here she is:

I divided the pocket in two,for my iPhone and a pen.    

I’m very pleased with my new bag, yes I know there is a tuck of fabric above the pocket from when I topstitched the top down, and that the zippered pocket is not quite as nice as I would like, but this is my first handbag and I’m thrilled with how it looks.

One of the girls did ask me if it would go with anything in my wardrobe!!

Accessories

Later this month we are attending a Formal Dinner in Cairns, which is not a frequent event in our lives.

I was tempted to make a new dress, however time was not on my side, so I decided that I would wear the dress I had made for me whilst we were in China in 2008 that was for a Ball that I was attending the night after I arrived home. At the Ball the dress was accessorised with bronze, burgundy and olive.

In an attempt to make the outfit look different, I decided to change the base to charcoal/silver to start with. I did have the dusty silver strappy shoes and was given a beautiful charcoal wrap for my birthday this year, so all I needed was the necklace, earrings and a bag.

So I headed to Goddess Beading at Beverley Hills where I have been having my beading classes with the dress and shoes, and discussed the options with my teacher. This is what we came up with.


Next was the evening bag, so the other week at The Remnant Warehouse, Alison and I found some charcoal wool (that matched the wrap perfectly) and then when reading the Bag’n-telle website I saw a reference to clutch play by the very creative Don Morin. I was lucky and managed to borrow a copy of the Vogue April/May 2011 magazine, so this weekend I have been making my clutch bag.

This is my very first bag and I am rather pleased with the result. I got to play with the quilting attachment on my sewing machine and also had the opportunity to use the Professional Touch Applicator Wand that Alison gave to me for my birthday last year to attach 3 rows of Swarovski Hot Fix Crystals (another gift for the same birthday from a sewing buddy).

Thank you Alison for showing me your bag and the tip about the metallic thread and the cord, it worked a treat.


The clutch has a divider inside.


Here are all the pieces with a small part of the dress (sorry it is not warm enough to wear the dress tonight, but I will try and remember to get a photo at the dinner so you can see the outfit) together with the charcoal wrap.


Next, fingers crossed, is the cargo pants.